
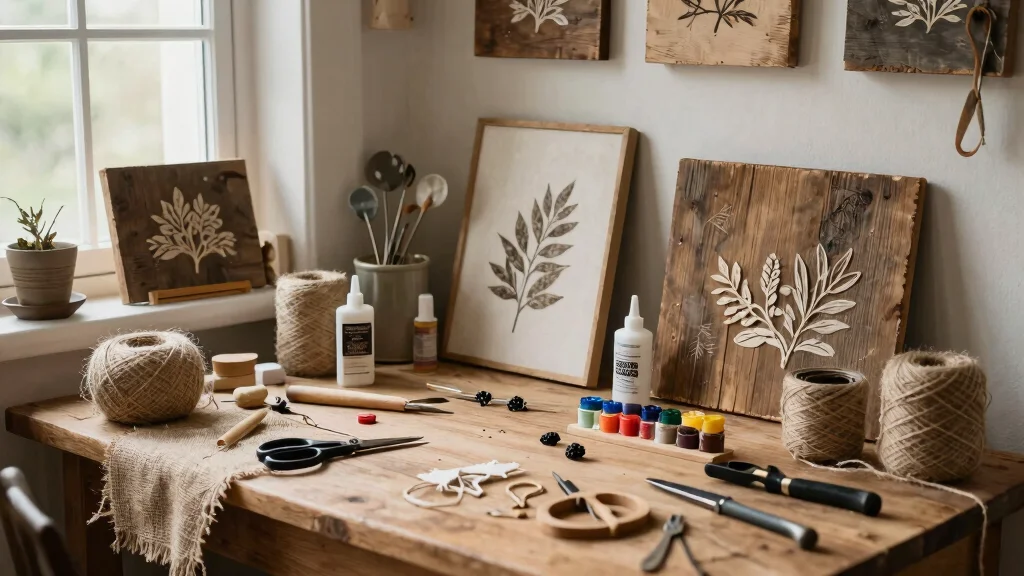
If you’ve been craving a touch of rustic charm in your home, you’re not alone. The weekend is the perfect time to dive into some farmhouse DIY crafts that not only elevate your space but also give you that satisfying feeling of creating something with your own hands. I made this post to share my top picks for quick and delightful farmhouse DIY decor projects. Whether you’re a seasoned crafter or just starting out, these ideas are designed to fit into your busy weekend without overwhelming you.
If you’re someone who loves cozy, handmade touches in your home, this collection is for you. From wall art to planters, these projects will not only spruce up your decor but also allow you to express your personality. Plus, you can create beautiful, handmade home accents that reflect your unique style. I’ve put together nine easy and fun weekend farmhouse DIY crafts that are simple to follow and will transform your space in no time.
So, grab your supplies and get ready to unleash your creativity! With these quick projects, you’ll enjoy the charm of farmhouse home decor while spending quality time at home. Let’s jump right into the fun and see what crafts await you.
Key Takeaways
– You’ll find nine unique projects that enhance the rustic feel of your home, each easy for a weekend.
– The crafts range from wall art to planters, offering a variety of handmade home accents to suit different tastes.
– Each DIY project includes straightforward instructions, making it easy for you to jump right in, regardless of your skill level.
– You can use affordable and easily sourced materials, making these weekend projects budget-friendly.
– Completing these crafts will not only beautify your home but also provide a rewarding experience of creating something personal and unique.
Recommended Products

RUSTIC STYLE: Primitives by Kathy wood box sign featuring a sentiment and distressed detailing

1. Distressed Wooden Sign Artwork
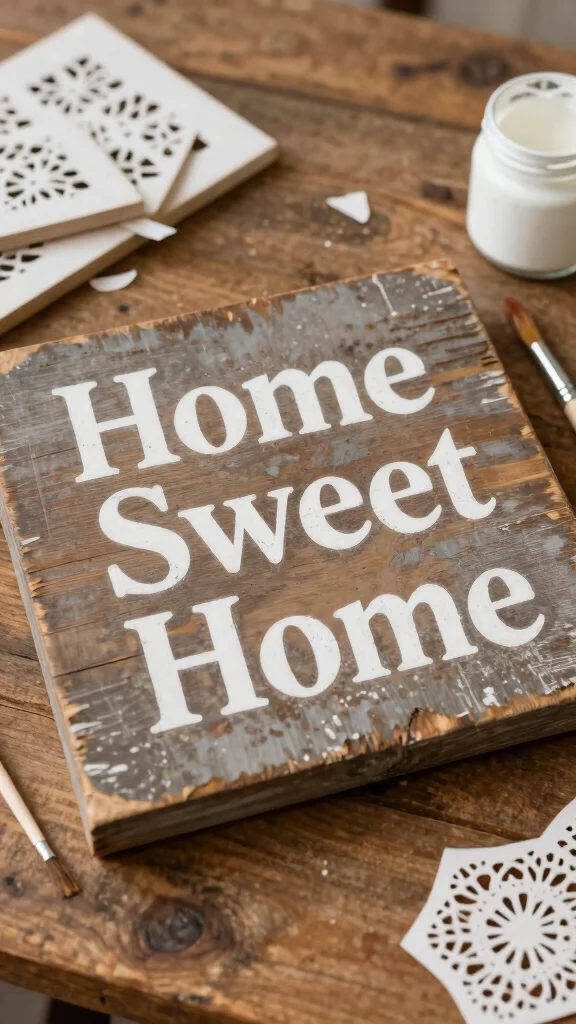
Embrace the charm of rustic decor with a beautifully distressed wooden sign. This artwork captures the essence of farmhouse design, combining warmth with creativity. Using reclaimed wood, sand down the edges to create a worn look that feels inviting. Choose a heartfelt phrase like ‘Home Sweet Home’ or ‘Gather Here’, and paint it in a soft white or pastel shade to ensure it stands out against the wood grain.
To protect your creation, finish with a clear varnish that adds durability. Hang your sign in a prominent place, like the kitchen or living room, where it can greet guests warmly. This simple project personalizes your space and can be completed in just a few hours!
Consider these tips to enhance your wooden sign:
– Pair different sizes of wood for added dimension
– Incorporate stencils for a professional touch
– Use a mix of colors for a playful look
This approach transforms any wall into a welcoming canvas, showcasing both creativity and charm through natural textures.
Recommended Products
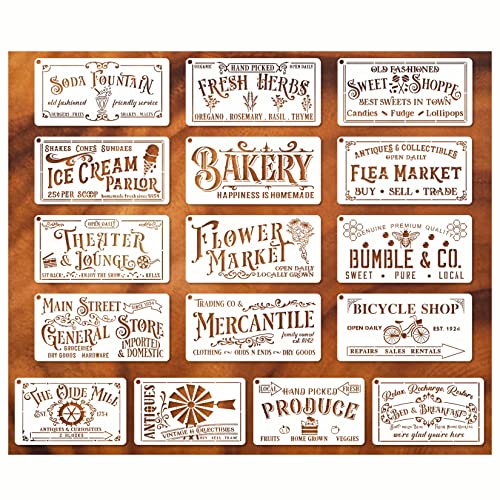
Farm theme design: You will receive 12pcs 11.8 x 5.9 inch large pyrography stencils and 4pcs 9.8x5.9 inch small wood stencils, include bakery, fresh herbs, theater jounge, flower market, bicycle shop ect, unique designs for decorating to make your home and shop more attractive.

Sufficient Quantity to Use: this package contains 20 pieces of stencils for painting on wood, abundant enough for you to craft multiple wood decorations or share with relatives and friends; You won’t run short of supplies mid-project or buy extra wood stencils separately

VINTAGE SIGN STENCILS - Farmhouse kitchen and bakery themed stencils are designed for DIY rustic wood sign, create wall art decor for home kitchen and dining room
📝 Personalize Your Space Today!
Transform your home with creative ideas from The Renter’s Decorating Journal and make it uniquely yours.
Distressed Wooden Sign Artwork
Editor’s Choice

Reallnaive 45 Pcs Wooden Coaster Painting Kit, Includes 10 Paint Your Ow…


CrafTreat Reusable Woman Stencils for Painting on Wood, Canvas, Paper, F…

Sofier 542pcs Bangle Bracelet Making Kit DIY Jewelry Making Kit and Supp…
2. Farmhouse Style Mason Jar Planters
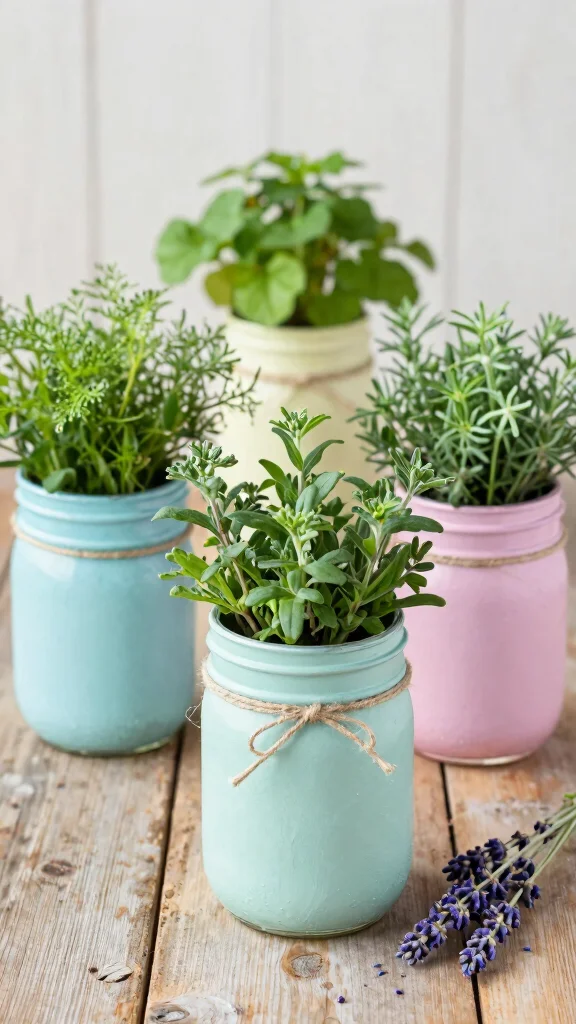
Mason jars are a fantastic way to infuse farmhouse charm into your home! They offer versatility and a vintage aesthetic that can brighten any space. Start by selecting a variety of jars and painting them in soft hues like pale blue or mint green. After the paint dries, fill them with soil and your favorite herbs or plants for a fresh touch.
These charming planters can serve as eye-catching centerpieces on your dining table or add life to your kitchen windowsill. For an extra rustic vibe, decorate the jars with twine or jute.
Enhance your planters with these ideas:
– Incorporate chalkboard paint for plant labels
– Use different jar sizes for visual interest
– Add pebbles at the bottom for drainage
This delightful project not only beautifies your home but also connects you with nature by bringing greenery indoors.
Recommended Products

Top Width: 170mm/6.69"; Bottom Width: 130mm/5.12"; Height: 240mm/9.45"; Inner Depth: 210mm/8.27".

Hiceeden artificial driftwood flower planters, overall measures 14.6"Lx4.3"Wx5.1"H, allow you to plant a cluster of plants effortlessly. Plants Are NOT Included
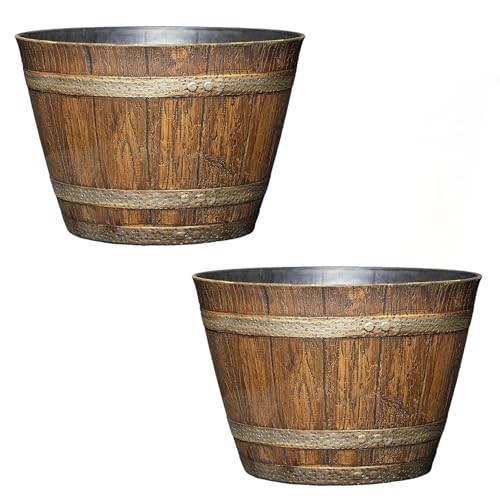
You will receive 2 planters per order. Authentic Whiskey Barrel Appearance: Features a rustic wood-look oak finish that adds charming farmhouse appeal to any porch, patio, deck, or indoor space.
Difficulty Rating & Requirements
Overall Difficulty Rating: Medium
Creating farmhouse DIY decor crafts can be a fun yet challenging experience. Most projects require a mix of basic crafting skills and creativity. This rating is suitable for those with some crafting experience, but even beginners can dive in with a little patience and guidance.
Time Estimate:
⏱ Estimated time: 4-6 hours
Each project may take about 1-2 hours. For example, simple items like twine-wrapped vases can be completed quickly, while more complex crafts like a vintage frame gallery wall might take longer due to planning and arrangement.
Skill Requirements:
– Required skills: Basic measuring, cutting, painting, and gluing abilities
– Beginner-friendly: Yes
– Most skills required can be learned during the crafting process. Familiarity with painting and basic woodworking will help, but they are not necessary for every project.
Tools & Materials Needed:
🧰 Essential items checklist:
– Scissors (required)
– Hot glue gun and glue sticks (required)
– Paint and brushes (required)
– Wood pieces or canvas (required)
– Twine or rope (optional)
– Framed pictures (optional)
– Mason jars (optional)
– Ruler or measuring tape (required)
These items cover the basics for most of the DIY projects listed, though some may require additional materials based on your design choices.
Step-by-Step Overview:
1. Planning the Project (1 hour) – Decide which crafts to tackle and gather inspiration. Sketch ideas if necessary.
2. Gathering Materials (1 hour) – Collect all required tools and materials from your list. Make sure you have everything ready to go.
3. Crafting (2-4 hours) – Start with simpler projects first. Follow instructions for each craft, taking breaks as needed.
4. Finishing Touches (1 hour) – Add final details, like painting or arranging items, to personalize your decor.
Cost Comparison:
Professional vs DIY: A professional decorator may charge you between $300 and $1,000 for similar handmade decor. DIYing your crafts can cost around $50 to $200, depending on materials. If you’re on a budget and enjoy hands-on projects, tackling these DIY crafts can save you money while adding personal flair to your home. If you prefer a polished look without the effort, hiring a professional is a good option.
Overall, these weekend farmhouse DIY crafts offer a rewarding experience that combines creativity and practicality. Whether you’re an experienced crafter or just starting out, you can create beautiful home accents that reflect your personal style!
Recommended Products

Decorative Lanterns: Ideal for wedding centerpieces, porch lantern decor, fall holiday displays, or Christmas events. These decorative lanterns suit both indoor and outdoor spaces — from fireplace mantels to patio tables

Boho Farmhouse Home Decor: Instantly Elevate Your Space:Transform your living room into a cozy, stylish haven. This set of 2 decorative lantern candle holders serves as a stunning centerpiece for your coffee table, entryway console, or dining table. An effortless way to add that trending modern farmhouse and boho room decor flair to any home decoration setup
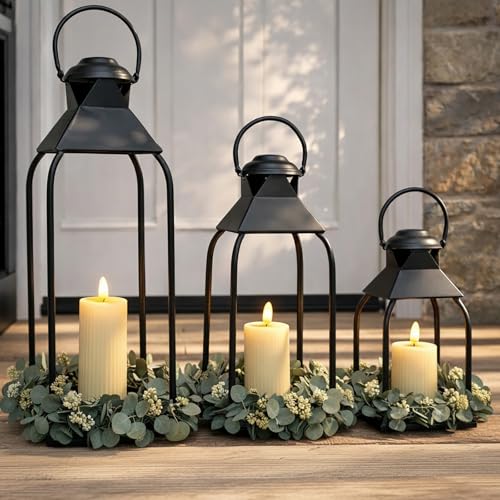
Decorative Lanterns: Ideal for wedding centerpieces, porch lantern decor, fall holiday displays, or Christmas events. These decorative lanterns suit both indoor and outdoor spaces — from fireplace mantels to patio tables
Farmhouse Style Mason Jar Planters
Editor’s Choice

PerkHomy Natural Jute Twine 600 Feet Long Twine String for Crafts Gift W…

C’eitura Flower Mason Jar Paint by Numbers Kit for Adults 15.75 x 15.75 …

Gift for Women, Mom, Her – 9 Herb Indoor Window Garden Kit | Complete …
3. Hand-Painted Canvas Art
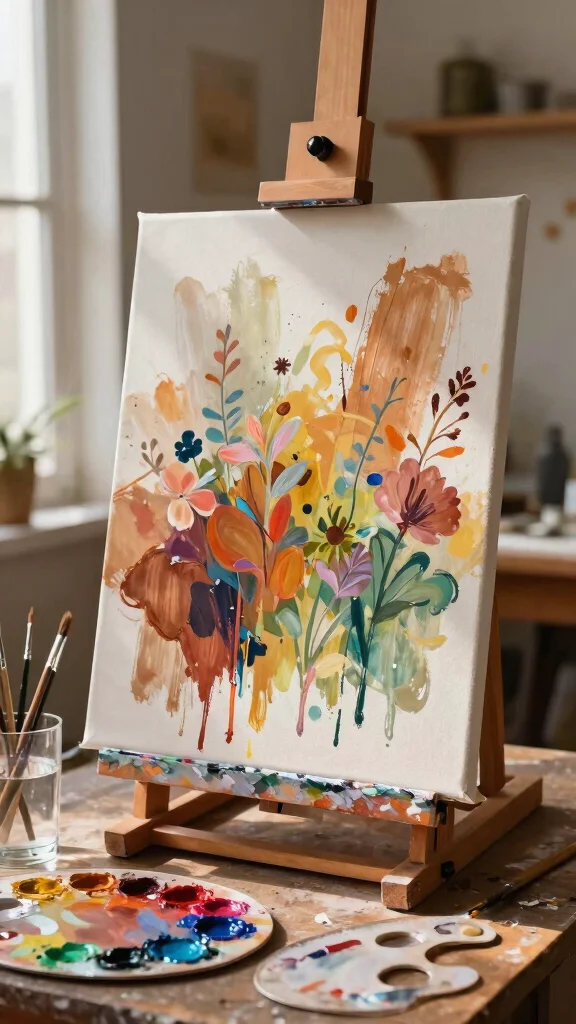
Unleash your creativity with hand-painted canvas art that reflects your unique style! Grab a blank canvas and some acrylic paints in earthy tones inspired by nature. You can create anything from a simple landscape to a vibrant floral pattern, making this a truly personal project.
Once your masterpiece is complete, hang it in your living room or bedroom to add a pop of color and character. This craft not only allows for self-expression but also enhances your home decor with a one-of-a-kind piece.
Consider these tips for your canvas art:
– Use a palette knife for texture
– Experiment with layering colors for depth
– Display in groups for a gallery effect
The finished artwork becomes a focal point, showcasing your personality and adding warmth to your living space.
Recommended Products

[PREMIUM MATERIAL & SIZE]: This eucalyptus wall hanging is made of environmentally friendly plastic, natural hardwood and jute twine. The width of the high quality wooden stick is 17 inches and the total height of the artificial eucalyptus plant is 21 inches. Each item has 7 number of big hanging branches, 4 numbers boho decorations consists of beads,natural chip cutting and tassels.Please feel free to customize according to your need.

Quantity and Size: Each wood wall plaque is about 10*7.9 inches / 26*20cm. High-quality materials, good printing and beautiful design make this wooden sign perfect for gifting and indoor use

PREMIUM MATERIAL & SIZE: This eucalyptus wall hanging is made of environmentally friendly plastic, natural hardwood and jute twine. The width of the high quality wooden stick is 17 inches and the total height of the artificial eucalyptus plant is 21 inches. Each item has 7 number of big hanging branches, 4 numbers boho decorations consists of beads,wooden balls,natural chip cutting and tassels.Please feel free to customize according to your need.
Hand-Painted Canvas Art
Editor’s Choice

Nicpro 30pcs Paint Brush Set, Aesthetic Pastel Paintbrushes with Paint S…

Grabie 72 Colors Acrylic Paint Markers, 36 Pack Dual Tip Soft Brush Acry…

ESRICH Canvas Boards for Painting, 5 Pack Canvases for Painting 8×10 Cot…
4. Rustic Wood Slice Wall Art
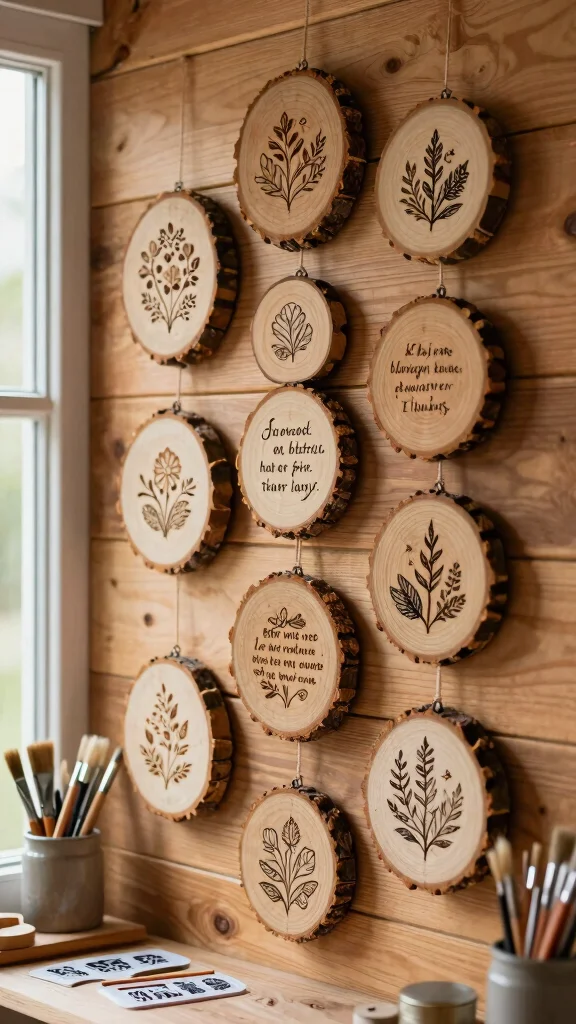
For a natural and stylish decor element, try creating rustic wood slice wall art. Gather slices of wood, either from your yard or a craft store, and decorate them with paint or wood-burning techniques. You can choose to depict a nature scene or write a favorite quote that inspires you.
Once decorated, arrange the slices on your wall in a playful pattern or display them on a shelf to enhance your home decor. These pieces not only serve as conversation starters but also bring a warm, organic feel to your space.
Use these ideas to craft your wall art:
– Mix different wood types for contrast
– Incorporate stencils for precision
– Hang in clusters for a dynamic display
This project adds a rustic touch that celebrates nature and personal creativity, enhancing the cozy vibe of your home.
Recommended Products

Keep Positive Everyday: our life our story our home wooden sign is designed with elegant fonts in white against rustic weathered board, which looks artistic and warm, will remind everyone in the family that how important family is and how much you are being loved

The home wall sign decor comes with high quality MDF wood letters "H", "M", "E" and artificial eucalyptus greenery wreath for "O". The special design makes the home signs more beautiful and attractive.

RUSTIC WALL DECOR - The combination of distressed metal and natural wood gives this decor a rustic farmhouse feel, making it a perfect addition to your kitchen, living room, or bedroom decor. The distressed finish adds an antique touch to your space.
Rustic Wood Slice Wall Art
Editor’s Choice

Apple Barrel Acrylic Paint, Peachy Pink 2 fl oz Classic Matte Acrylic Pa…

ArtSkills Wood Burning Tool, Wood Burning Kit with Pen, 14 Tool Tips & 2…

Beaupretty Natural Wooden Slices Craft Kit for Adults and Women, Unfinis…
5. Twine-Wrapped Vases
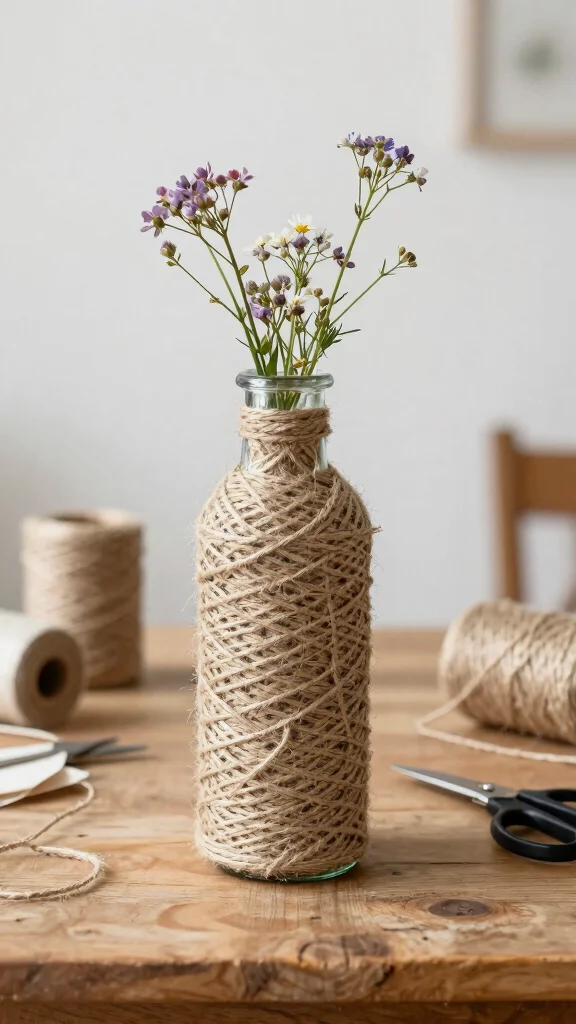
Elevate your decor with chic twine-wrapped vases made from old glass bottles. This simple DIY project fits beautifully into any farmhouse aesthetic. Start by gathering a few empty glass bottles and a roll of twine. Wrap the twine around the bottle, securing it with a bit of hot glue to keep it in place.
You can enhance the vases by incorporating burlap or lace for added texture and charm. These vases are perfect for displaying fresh flowers or dried arrangements, making them versatile for any occasion.
Try these ideas to personalize your vases:
– Paint the bottles before wrapping for unique colors
– Add decorative beads along the twine
– Use different twine types for variation
This project not only transforms everyday items into lovely decor but also highlights your creativity and resourcefulness.
Recommended Products

Rustic Farm Style Aesthetic – This set includes 16 uniquely styled stencils featuring timeless farmhouse themes such as “Theater Lounge”, “Fresh Herbs”, and “Flower Market” to elevate your home décor and handmade crafts

【Create Fall Crafts】Painting stencils designed in fall Thanksgiving Halloween themed patterns include farm fresh pumpkin, pumpkin spice, gather give thanks, turkey, scarecrow, etc. These farmhouse style painting stencils help you create various wood signs and art crafts for fall season, Thanksgiving and Halloween much easier

【Washable and reusable】These farm theme painting stencils are made of PET material, which are durable and reliable material, not easy to break and washable And it can be used for a long time.
You might also like
Twine-Wrapped Vases
Editor’s Choice

Ioffersuper 36 Sets Mustard Seed Faith Necklace Christian Gifts Includes…

Cotton Twine String, 328 Feet Pink & White – Christmas Twine for Gift Wr…

Burlap Earring Stands/Jewelry Displays 3 Inches Tall (3)
6. Repurposed Crate Shelves
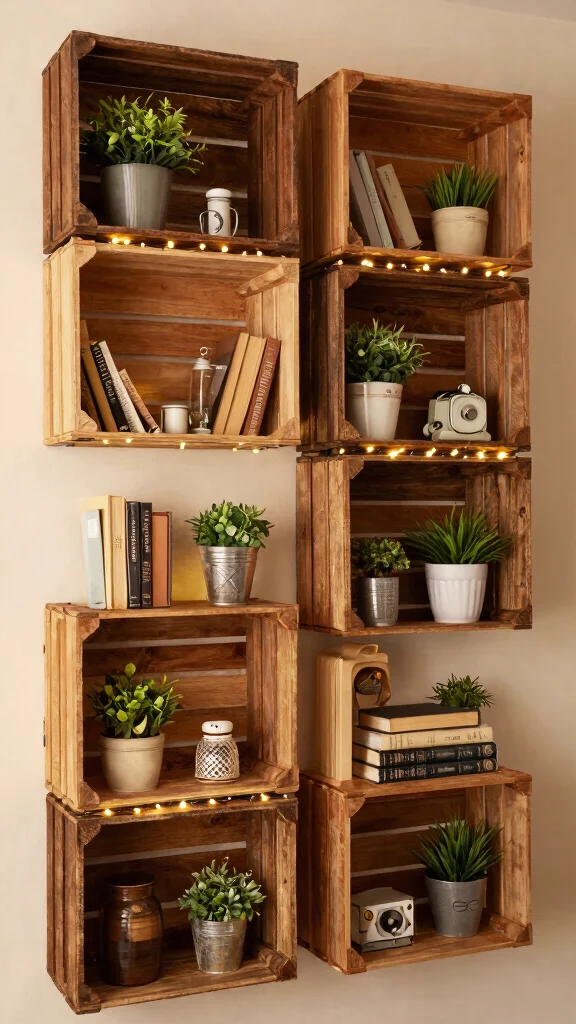
Transform your space with stylish repurposed crate shelves! Old wooden crates can become charming shelving units that add a rustic flair. Start by cleaning and staining or painting the crates to match your decor. Secure them to the wall or stack them for a fun display that showcases your favorite items.
These shelves are perfect for displaying books, plants, or decorative objects, allowing you to express your personality while enhancing functionality. Plus, they provide extra storage space that is both practical and stylish.
Consider these ideas for your crate shelves:
– Line the shelves with fairy lights for ambiance
– Mix and match crate sizes for visual interest
– Use crates as nightstands for a unique touch
This project not only maximizes your space but also adds a charming rustic element to your home.
Recommended Products

Top Width: 132mm/5.2"; Bottom Width: 105mm/4.13"; Height: 210mm/8.27"; Inner Depth: 180mm/7.09".

US Seller - Made in Vietnam: Proudly crafted with precision and care in Vietnam, offering top-tier products directly from a trusted US-based seller; You can expect fast, reliable service and great customer support, backed by global craftsmanship

Dimensions - Height: 5.75" | Diameter: 6.25" | Opening: 4.75" | Interior Height: 4.5" | Thickness: 0.75" | Packing: 1pc | Color: Burnt Finish
Repurposed Crate Shelves
Editor’s Choice

Corner Brace 8 Pcs Shelf Bracket Heavy Duty Black Steel L Corner Brace, …

4 Pack Pastel Crates for Storage, Plastic Folding Basket, Colorful Small…

Wood Stain Powdered Solvent – Wood Dye – Indoor and Outdoor Furniture an…
7. Whimsical Wooden Spoon Art
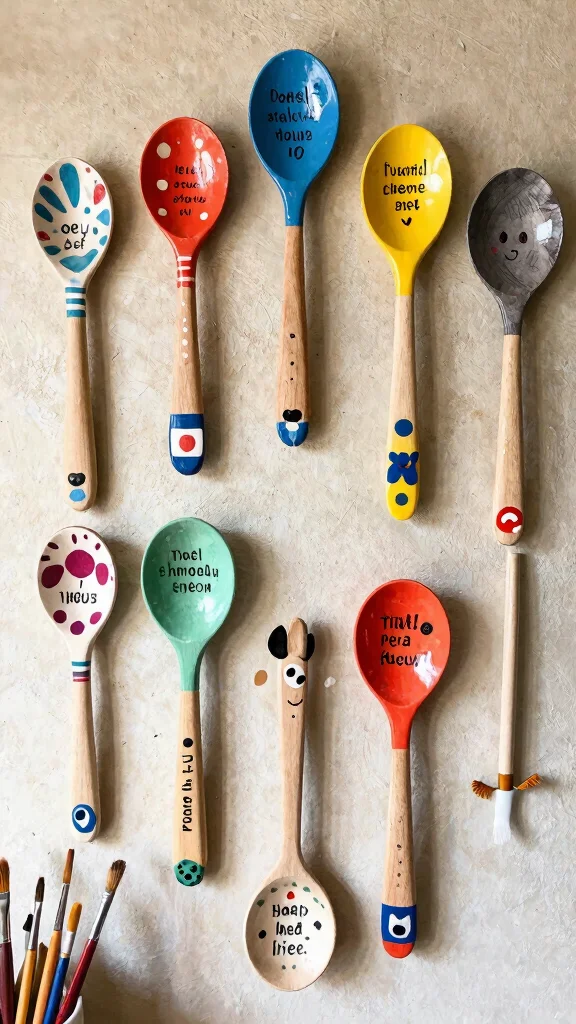
Transform ordinary wooden spoons into playful wall art that adds character to your kitchen! Begin by collecting several wooden spoons and paint them in vibrant colors or soft pastels. You can decorate them with fun patterns or meaningful phrases that resonate with you.
After they dry, arrange the spoons on your wall in a creative layout to form a unique art piece. This project is a delightful way to involve your kids in decorating and creating memories together.
Enhance your wooden spoon art with these tips:
– Use a hot glue gun for secure mounting
– Incorporate different sizes for visual variety
– Add hooks for functional art
This whimsical decor not only brightens your space but also serves as a loving reminder of family and togetherness.
Did you know that 70% of weekend farmhouse diy crafts with wooden spoons become lasting wall art that families proudly display? Turn ordinary spoons into bright, playful decor, and involve the kids—creating memories that outlast the project.
Recommended Products

【RUSTIC FARMHOUSE ACCENT】Crafted from 100% natural wood and sturdy metal, the farmhouse lanterns decorative set has a rustic and vintage look that creates the perfect piece for any style. The decorative candle lantern set of 2 is an enchanting way to add a comfortable, inviting touch to your space.

INDOOR VINTAGE LANTERN DECOR: Black Lantern - Vintage and minimalist design style is perfect for Valentine, Ramadan decoration, weddings, dining tables, shelves, staircases, passages, walls, patios, porches and more. Rustic and minimalist design is a perfect choice for indoor decoration that can't be missed

Beautiful Modern Farmhouse Decor: Enhance your home decor in a unique way with the cute lanterns by KIBAGA! The rustic finish with the classy metal wire and wooden stands in a stylish brown look make them the perfect addition to your farmhouse decor in your living room, hallway & co.
Whimsical Wooden Spoon Art
Editor’s Choice

AOOSY Wood Bento Box, Lunch boxes, Japanese Traditional Natural Square W…
Nicpro 30pcs Paint Brush Set, Aesthetic Pastel Paintbrushes with Paint S…

Shuttle Art 100 Colors Acrylic Paint, 2oz/60ml Bottles, Include 2 Sets o…
8. DIY Fabric Wall Hanging
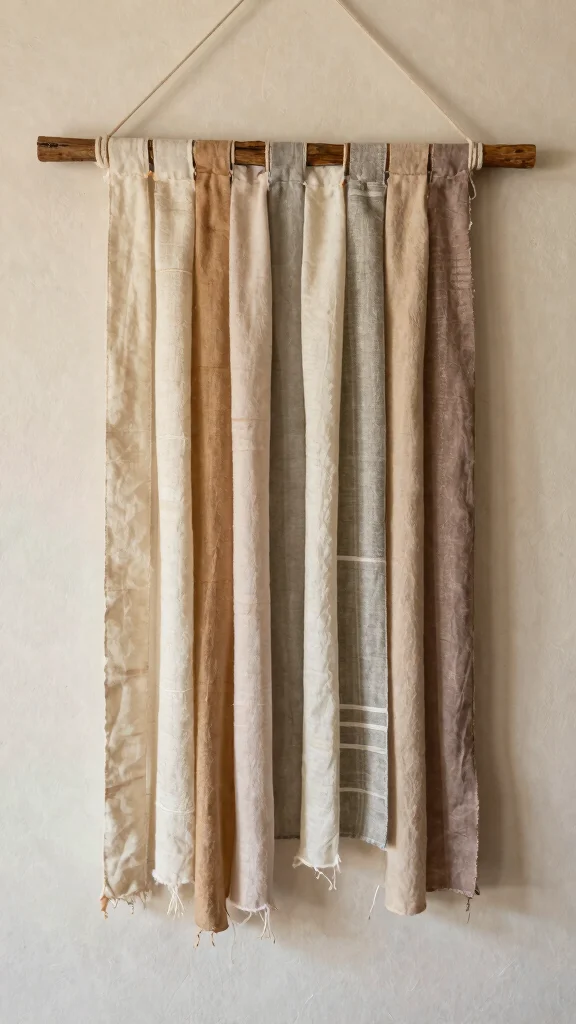
Create a stunning fabric wall hanging that adds warmth and texture to your home! Gather various fabrics in colors and patterns—think soft neutrals and pastels for that cozy farmhouse vibe. Cut the fabric into strips and tie them onto a wooden dowel or branch, layering them for a beautiful visual effect.
This wall hanging can become a focal point in your living room or bedroom, and customizing it with your color palette makes it uniquely yours. Plus, it’s a perfect way to use up leftover fabric scraps!
Consider these ideas for your wall hanging:
– Combine different textures for depth
– Add fringe or lace for a boho touch
– Use a variety of lengths for visual interest
This project infuses your space with personality and showcases your creative flair.
Fun fact: a fabric wall hanging can change a room in under 30 minutes. Use 5 scrap fabrics, tie them to a dowel, and adjust layers for depth—no sewing required. For weekend farmhouse diy crafts, this cozy focal point makes rental spaces feel like home.
Recommended Products

Bee Gnomes Decor Plaque-- Gnome, also known as a Tomte or Nisse.In folklore, Gnome guards home and protect people from misfortune. The elf gnome will bring us good luck,happiness, warmth.

Authentic Tibetan-Inspired Craftsmanship – These handcrafted bells feature traditional rustic detailing with a weathered antique finish, perfect for adding cultural charm to your décor.

【BULK VALUE ADVANTAGE】This set perfect for long-term use, family needs, or business bulk orders. Maximize your budget with our cost-effective bundle pricing.The more you buy, the more you can maximize your budget with our affordable package prices.
You Might Also Like
DIY Fabric Wall Hanging
Editor’s Choice

Adjustable 16–44″ Wooden Tapestry Hanging Rod – Wall Hanging Rod f…

Fabric Scissors Professional, 8″ Heavy Duty Sewing Scissor for Fabric Cu…

2 Pcs Occlusion Bands BFR Bundle for Women Adjustable Best Fabric Blood …
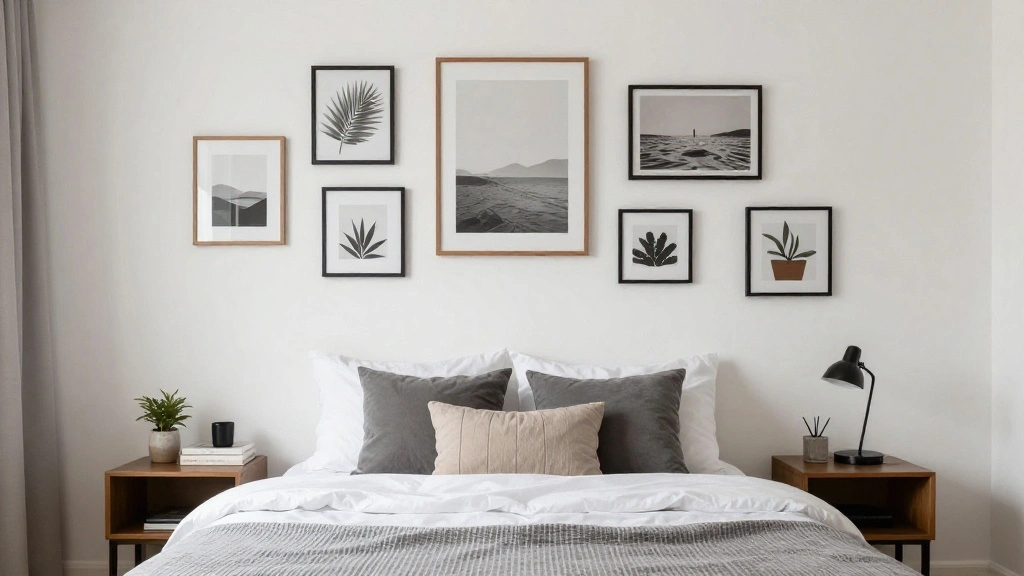
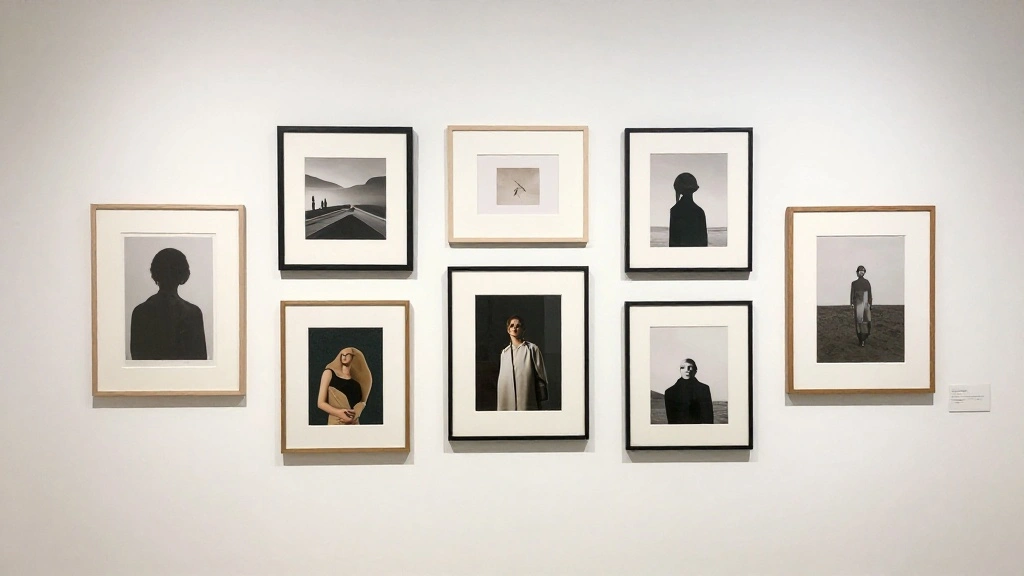
9. Vintage Frame Gallery Wall

Collect an array of vintage frames from thrift stores or your attic to create a gallery wall that tells your story. You can keep the frames in their original colors or refresh them with a new coat of paint to match your decor.
Arrange the frames in a visually pleasing layout on your wall, filling them with favorite photos, art prints, or even fabric swatches. This unique display adds character and charm to any room, making it a rewarding weekend project.
Use these tips to enhance your gallery wall:
– Mix sizes and shapes for an eclectic look
– Incorporate mirrors for added light
– Use a template to plan your layout
This project transforms your memories into beautiful decor, ensuring your walls reflect your personality and style.
Fun fact: A vintage frame gallery wall with 6–9 thrifted frames instantly adds character and warmth to a room during weekend farmhouse diy crafts. Refresh the frames’ patina or repaint in your chosen palette, then arrange them thoughtfully to tell your family’s story.
Vintage Frame Gallery Wall
Editor’s Choice
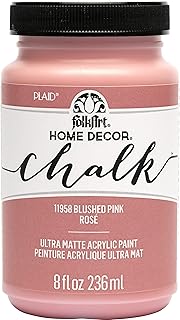
FolkArt, Blushed Pink Assorted Home Décor 8 fl oz / 236 ml Acrylic Chal…

Canvas Wall Art for Bathroom Bedroom Decor Abstract Sexy Nude Woman Blac…

Vintage Woman Reading Small Round Picture Frame 4in, Read Reader Mini Go…
Conclusion
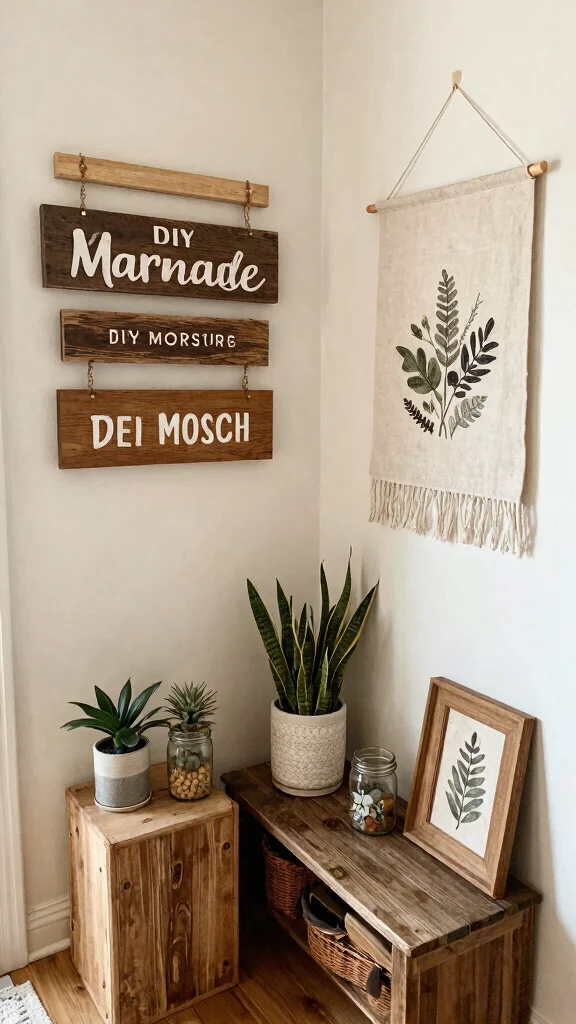
These quick farmhouse DIY decor crafts are perfect for transforming your home into a cozy retreat that shows off your personal style. With just a few materials and a touch of creativity, you can create handmade accents that add warmth and character to your space. Why not start this weekend? Dive into one or a few of these projects and let your home reflect the love and effort you put into it!
Happy crafting!
Note: We aim to provide accurate product links, but some may occasionally expire or become unavailable. If this happens, please search directly on Amazon for the product or a suitable alternative.
This post contains Amazon affiliate links, meaning we may earn a small commission if you purchase through our links, at no extra cost to you.
Frequently Asked Questions
What are the essential supplies I need for weekend farmhouse diy crafts?
Starting weekend farmhouse diy crafts is easier with a solid starter kit. Here’s a practical shopping list to get your rustic wall art and handmade home accents moving fast.
Tools: cordless drill, stud finder, sanding block (and 220 grit sandpaper), staple gun, miter box or saw, painter’s tape, level, measuring tape, clamps. Materials: reclaimed wood or plywood scraps, whitewash or chalk paint, stain in weathered tones, wood glue, clear sealer or polycrylic, craft brushes, painter’s rags. Extras for texture: burlap, jute, twine, stencil material, and a simple frame or canvases for quick wall art. Pro tip: choose a cohesive color palette (creamy whites, greys, and natural wood) to keep your farmhouse home decor cohesive right from the weekend start.
Which DIY decor projects are best for beginners looking to add rustic wall art this weekend?
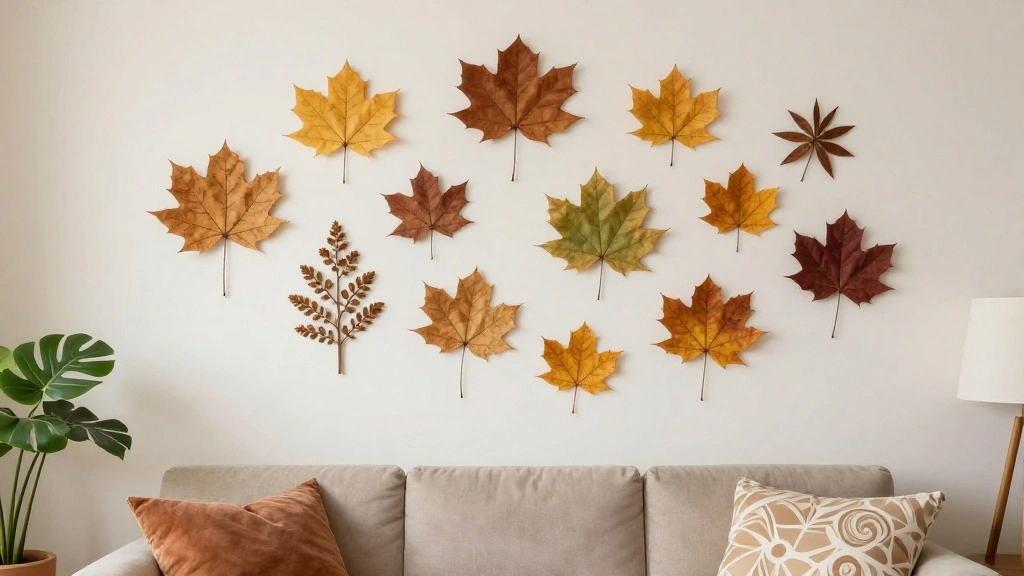
If you’re a beginner chasing weekend projects, these rustic crafts are perfect entry points: 1) a pallet board sign with a simple quote, 2) framed pressed botanicals or dried leaves for natural wall art, 3) stenciled canvas art, 4) mason jar lid wall décor or a small wooden frame with fabric insert. Each can be done in a few hours and scales up into DIY decor projects you’ll be proud to show in your farmhouse home decor collection. Tips: keep to a 2-3 color palette, pre-sand wood, and seal after painting to ensure durability on handmade home accents.
How can I mix vintage thrift finds with handmade accents to achieve cohesive farmhouse decor?
Mixing thrifted pieces with handmade accents is a charm of rustic farmhouse wall art. Start with a common color family and finish—weathered whites, creams, or driftwood greys—then layer textures: aged wood, woven textiles, metal accents. Use similar framing for thrifted items, and tie disparate pieces together with a unifying handmade home accents finish—think a worn frame with a hand-stenciled print, or a thrifted mirror flanked by small wood signs. This approach keeps your farmhouse home decor authentic while still feeling fresh as weekend projects.
What common mistakes should I avoid when creating weekend projects for rustic wall art?
Common missteps are avoided with a quick plan: skip measuring twice and cutting once; don’t rush paint drying or sealing; neglect sanding between coats; ignore wall prep or mounting hardware; overload a piece with busy designs. Counter these by laying out a simple sketch, using painter’s tape for clean lines, letting each coat dry fully, sanding between coats, sealing with a matte finish, and choosing lightweight pieces for quick DIY decor projects you can finish in a weekend. Also match the weight and hardware to your wall type to avoid damage when hanging your rustic crafts.
How to finish and install farmhouse wall art safely and quickly for a weekend project?
Finish strong and install smartly so your weekend ends with a showpiece. Prep surfaces with light sanding and a dust wipe, apply a primer if needed, then paint or stain in your chosen palette. Seal with a protective topcoat for durability in farmhouse home decor settings. For installation, choose hardware suited to your wall (picture hooks for studs, anchors for drywall) and use a level for perfect alignment. For lighter pieces, heavy-duty mounting strips save time; for heavier signs, use screws and wall anchors. With these steps, you can transform a simple piece into a polished handmade wall art in a true weekend projects mood.
Related Topics
home decor
farmhouse style
DIY decor projects
rustic crafts
weekend projects
handmade accents
easy DIY
quick crafts
beginner friendly
wall art
seasonal decor
budget friendly