
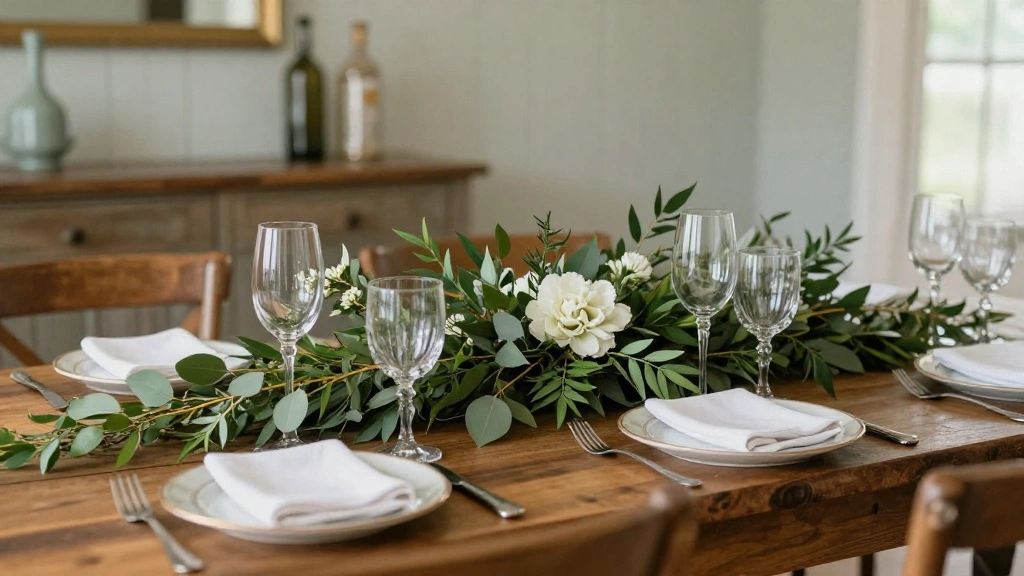
Are you looking to add a touch of rustic charm to your dining table? A farmhouse centerpiece with greenery can instantly elevate the aesthetic of your home, but many feel overwhelmed by the thought of creating one. Without the right guidance, it’s easy to feel stuck or unsure about where to begin.
In this guide, you will learn how to craft a beautiful centerpiece that incorporates natural elements, making your dining area feel warm and inviting. By the end, you’ll have a stunning centerpiece that reflects your style and enhances your space.
Throughout this guide, we’ll walk you through each step, from selecting the right materials to arranging the greenery perfectly. This project is suitable for beginners and can be completed in about 1-2 hours.
Get ready to impress your guests with your newfound skills!
TL;DR Summary
- Gather materials for your centerpiece, including a base, greenery, and decorative elements.
- Follow step-by-step instructions to assemble and arrange your centerpiece.
- Customize your design to suit your style and space.
- Enjoy your beautiful farmhouse centerpiece that enhances your dining experience!
Recommended Products

Artificial Flowers In Vase For Center Table Decor - Add a touch of elegance to your next dinner party with this beautiful floral arrangements artificial with vase. It's perfect for creating a focal point on your dining table and comes complete with a glass vase for easy assembly. The flower bouquet includes dried pampas grass fluffy natural brown and white bunny tails eucalyptus ruscus billy buttons artificial roses pampas reed apple leaves gypsophila baby breath flowers.

【Premium Vintage Glass Vase】 Handcrafted thick glass vase with reinforced rustic metal frame. Shatter-resistant design for long-term use as a farmhouse planter or standalone decor piece.

Farmhouse Boho Decoration: Romadedi wood tray with 4 cylinder tea light candle holders are attractive decorative pieces for your home decor and well crafted of natural paulownia wood. Strings of beads tied to each tealight holders, adding beauty to your home while exuding warmth
TL;DR Summary
Editor’s Choice

6pcs Eucalyptus Stems Greenery Stems Fake Leaves Artificial Silk Flowers…


Hello Gorgeous Metal Sign, Pink Modern Farmhouse Table Centerpiece with …
Prerequisites/Materials Needed
- Base: A wooden crate or rustic tray
- Greenery: Assorted faux or fresh greenery (e.g., eucalyptus, fern, ivy)
- Decorative elements: Candles, seasonal flowers, or small ornaments (optional)
- Floral foam or oasis: To help hold the greenery (if using fresh)
- Scissors or pruners: For trimming the greenery
- Wire or twine: For securing elements together
Recommended Products
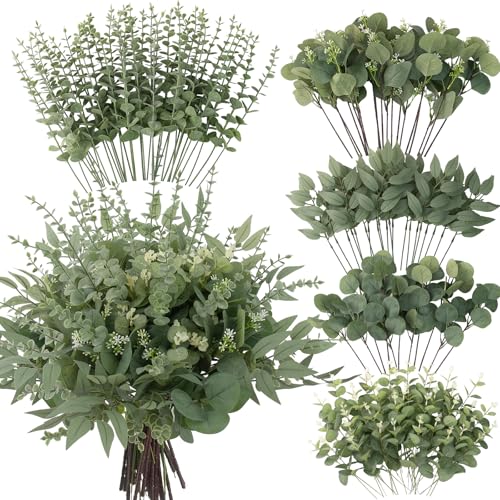
Value Pack: Come with 130 pack artificial eucalyptus leaves stems in 5 different styles, all of them in different shapes and sizes, as shown in the picture.
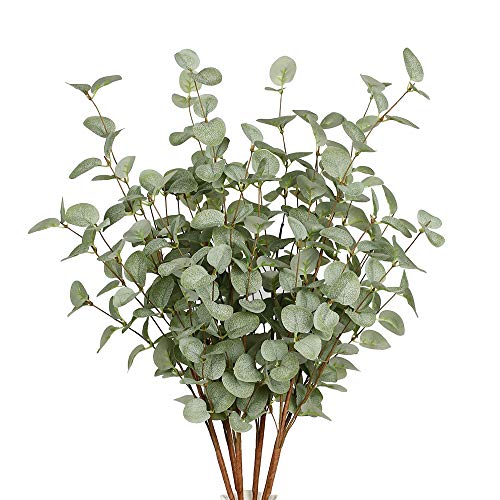
🌿 Size & Quantity 🌿 -- 27" x 9.5"; 6 Pcs on each package.

Package: 6pcs faux eucalyptus leaves stems. 24" x 9.5"
Prerequisites/Materials Needed
Editor’s Choice

Uiifan Wood Cloud Perfume Tray Irregular Jewelry Decorative Tray for Wom…

Oasis Floral Foam (Wet) Bricks Standard Maxlife Pack of 3
Der Rose 2 Pack Fake Plants Artificial Tropical Faux Plants Indoor for O…
Skill Level & Time Estimate
Skill Level: Beginner
Time Estimate: Approximately 1-2 hours.
Here’s how the time breaks down:
– Gathering materials: 15-20 minutes
– Assembling the base: 20-30 minutes
– Arranging the greenery: 30-40 minutes
– Final touches and adjustments: 15-20 minutes
Recommended Products

Stylish Home Essential: Add instant charm to any room with our beautifully crafted round wood candle tray. Perfect for your coffee table or dining room, it holds everything from flickering tea lights to pretty succulents and decorative vases. Create cozy moments with floral arrangements, tall candles, or cute napkin rings - turning ordinary spaces into welcoming retreats

Natural Acacia Wood: Our wood round tray blends elegance and functionality. Measuring 12 inches, it is versatile and come equipped with a pad to prevent slipping. Each tray features distinct wood grain patterns and a beautiful brown color. Acacia wood is renowned for its strength and resistance to warping, making it the ideal material for our candle tray.
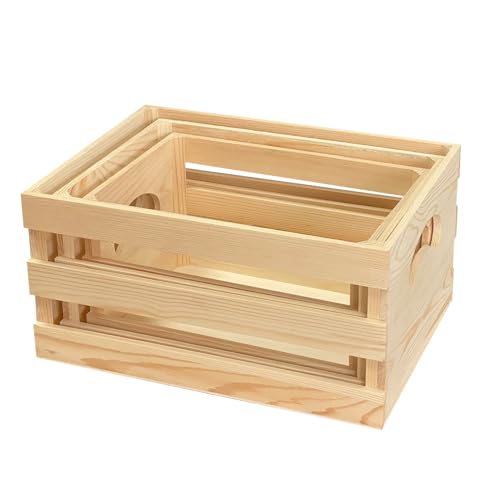
What's including: 3 pieces of rectangle shaped wooden crates in different size ,ready for painting DIY crafts
Skill Level & Time Estimate
Editor’s Choice
Oasis Floral Foam (Wet) Bricks Standard Maxlife Pack of 3
Der Rose 2 Pack Fake Plants Artificial Tropical Faux Plants Indoor for O…

Zormon White Vases for Decor, Heart Shaped Ceramic Vase Set of 2, Nordic…
Step 1: Gather Your Materials
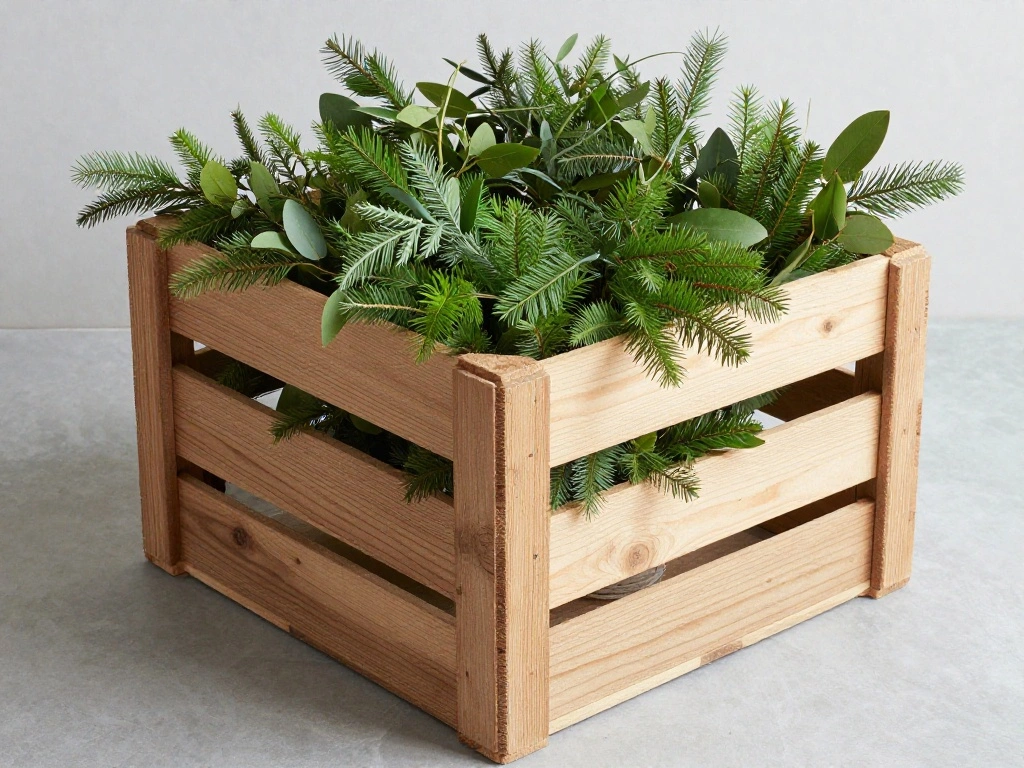
To start, gather all the necessary materials for your centerpiece. Follow these sub-steps:
1. Choose a base for your centerpiece, such as a wooden crate or a rustic tray.
2. Collect your greenery, ensuring you have a variety of textures and colors.
3. If using fresh greenery, also gather floral foam to help secure the plants in place.
Pro Tip: Opt for both faux and fresh greenery for a unique look.
This step matters because having everything ready will ensure a smooth assembly process.
Estimated time: 15-20 minutes.
Recommended Products

Floral Foam Blocks:These floral foam blocks are made of high-quality wet foam,which is environmentally friendly and non-toxic.They are perfect for fresh and artificial florist flower arrangements,wreaths, garlands,and other crafts.

【Wet & Dry】 These green foams are suitable for both wet and dry flower arrangements. Prior to using them with fresh flowers, immerse the foam bricks in water for adequate moisture absorption. It is unnecessary to soak the florist foam bricks for dried plants or artificial flowers

Excellent Material: Our package includes 4 green foam blocks (L 5.5 x W 3.1 x H 1.7inch) for flower arrangements, perfect for flower arrangements and crafts. Our floral foam is highly absorbent and is the frist choice for fresh flowers, silk flowers, artificial flowers and plant displays.
Step 1: Gather Your Materials
Editor’s Choice

Junkin 3 Sets DIY Summer Bikini Box Painting Kit Large Painted Pine Wood…
Step 2: Prepare Your Base
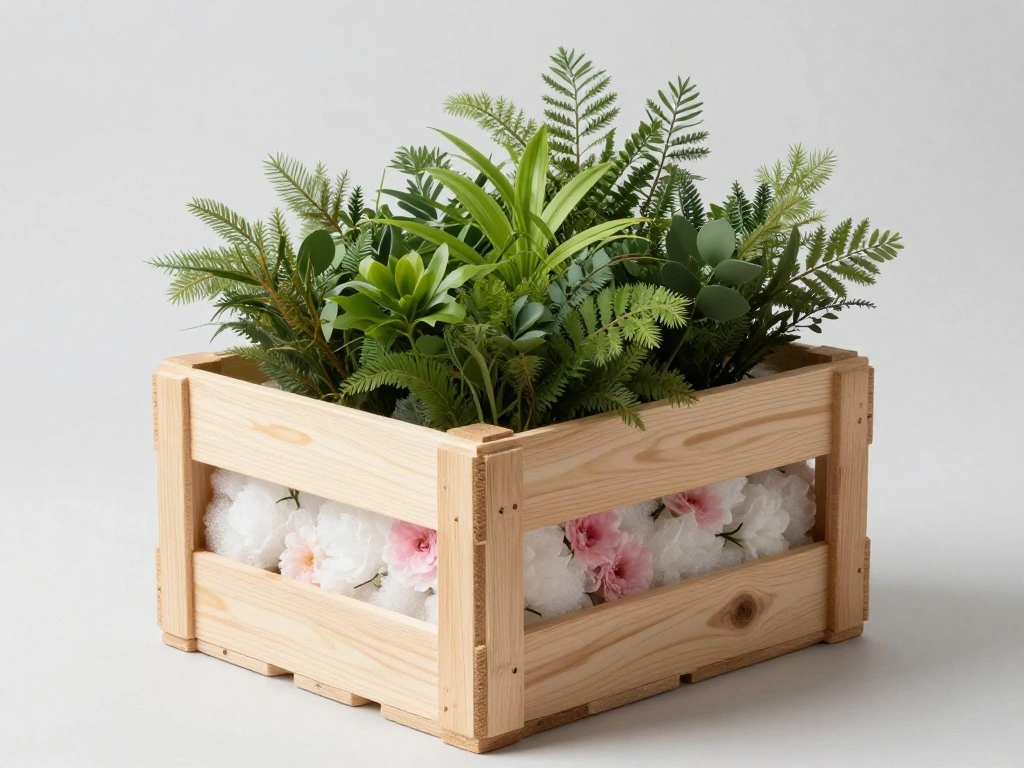
Now that you have your materials, it’s time to prepare the base. Follow these steps:
1. If using floral foam, cut it to fit snugly in your base.
2. Soak the foam in water for at least 30 minutes if using fresh greenery.
3. Place the foam in the center of your base.
Warning: Ensure the foam is secure, so it doesn’t shift when adding greenery.
This step is crucial because a stable base will hold your centerpiece together effectively.
Estimated time: 15-20 minutes.
Recommended Products
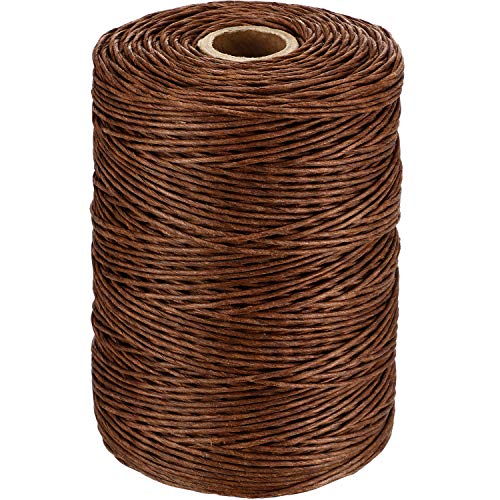
Material: flower binding twine is paper wire made from paper fibers, providing a serviceable yet easy to use bind wire for your floral and craft projects, the color can camouflage very well with natural stems

【Value Flower Binding Wire 】Package included one roll flower binding wire, each of contains 656 feet of 26 gauge paper coated bind wire, each roll individually packed and sealed.
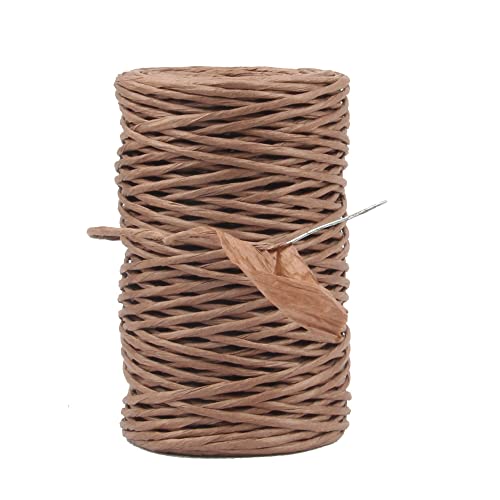
Quantity: 1 roll floral binding wire, each roll is 50m /164 feet in Length. The diameter is about 2 mm and the metal wire is about 0.8 mm in diameter
Step 2: Prepare Your Base
Editor’s Choice
Hello Gorgeous Metal Sign, Pink Modern Farmhouse Table Centerpiece with …

4PACK Pruning Shears, Stainless Steel Garden Shears, Sharp Handhled Gard…
Step 3: Start Arranging the Greenery
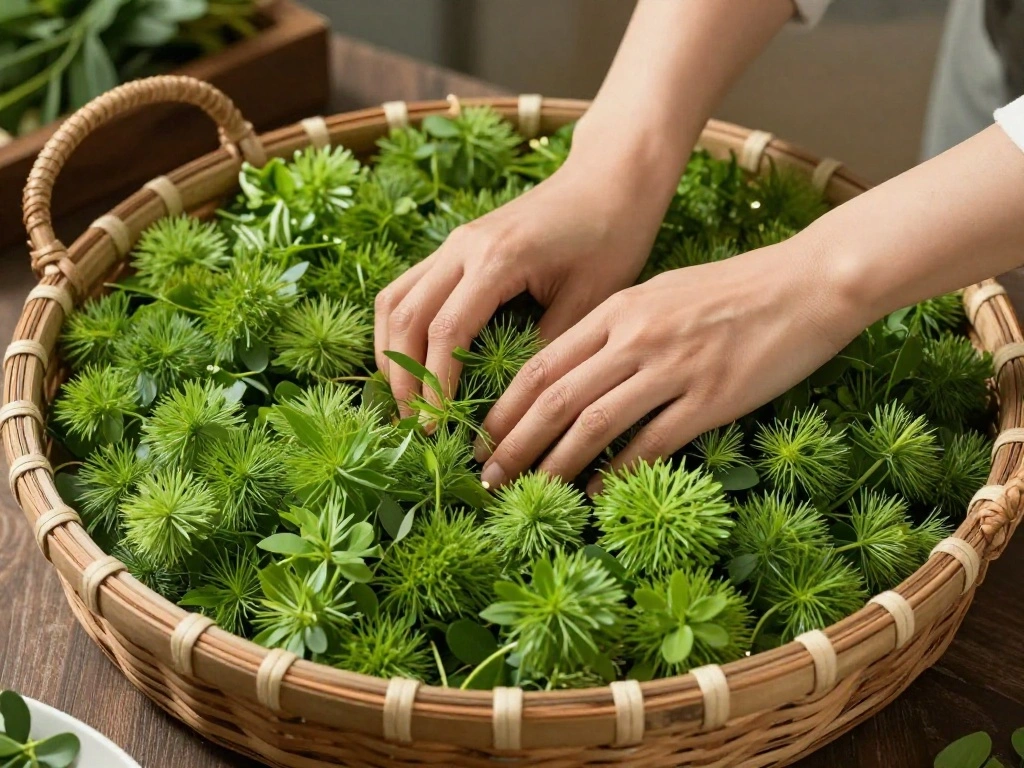
With your base ready, begin arranging the greenery. Follow these steps:
1. Take the largest pieces of greenery and insert them first, creating a framework.
2. Gradually add smaller pieces around the larger ones, filling in gaps.
3. Aim for a balanced look, with greenery extending outwards.
Pro Tip: Alternate textures and colors for visual interest.
This step is important as it sets the foundation for your centerpiece’s aesthetic.
Estimated time: 20-30 minutes.
Recommended Products

Create A Cozy Ambiance In Your Home: Transform your entire home with KIBAGAs’ eye-catching lanterns! Perfect to use as coffee table chic decor for brightening up your living room, for your dining table as centerpiece decor or to give your entryway a warm, welcoming glow

Summer Table Centerpieces for Dining Room: This distressed jars and transparent mason jar is paired with the a soft gorgeous color, lighted and artificial flowers for a unique decorative effect! So cute as a table centerpiece on the coffee table, bathroom countertop, kitchen utensil holder and so on. Fits perfectly in modern or rustic home decor
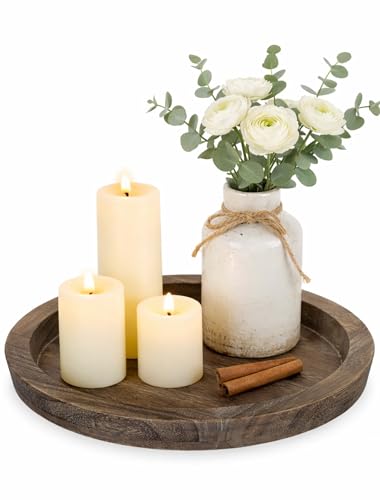
Decorative Table Centerpiece: Our small candle tray is a a lovely table centerpiece for any table, placed it on living room table or coffee table, perfect to display flameless candles, tea light, succulent, vase or other decorations. It can be used on kitchen or dining room table, decorate with flowers, pillar candle, napkin holder, salt or pepper shakers to create a warm atmosphere.
Step 3: Start Arranging the Greenery
Editor’s Choice
Der Rose 2 Pack Fake Plants Artificial Tropical Faux Plants Indoor for O…

Ceramic Flower Decorative Antique Vase Set of 3, Vintage Rustic Chinoise…
Step 4: Add Decorative Elements
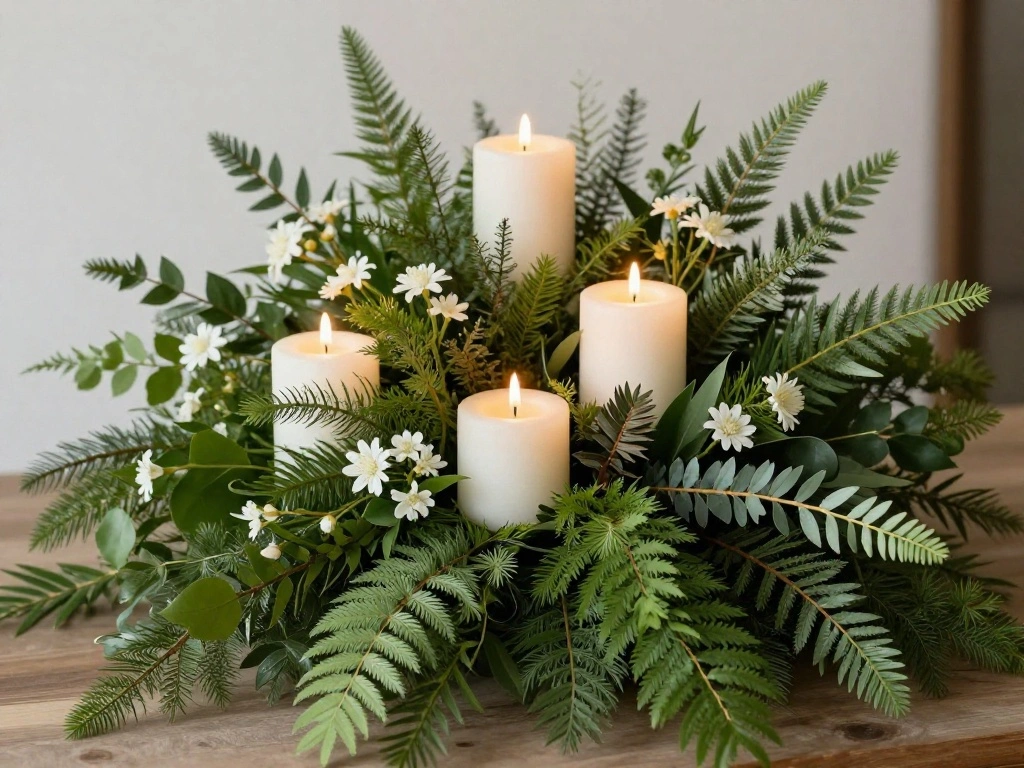
Once your greenery is positioned, it’s time to add decorative elements. Follow these steps:
1. Choose candles, flowers, or ornaments that complement your greenery.
2. Strategically place these elements to create focal points.
3. Ensure they are securely positioned so they don’t topple over.
Warning: Be mindful of candle placement to avoid fire hazards.
This step enhances the overall look of your centerpiece and adds personality.
Estimated time: 15-20 minutes.
Recommended Products

【Package Includes】24pcs gray green artificial eucalyptus stems. The greenery steams are great for spring decor.
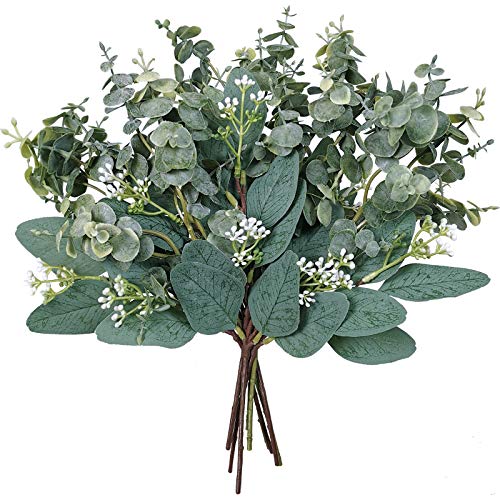
10 pcs mixed artificial eucalyptus leaves stems includes 5 pcs faux oval eucalyptus leaves with white seeds stems and 5 pcs artificial baby eucalyptus leaves sprays in frosted green .
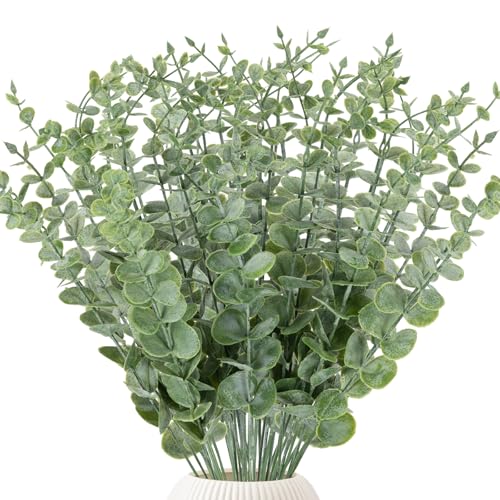
Package includes: There are total 38pcs artificial eucalyptus stems. Each eucalyptus stems is around 14.5in in length.There are 24 leaves ranging from large to small.
Step 4: Add Decorative Elements
Editor’s Choice

VIONAMI Luxury Scented Candle Gift – Queen of The Night Rare Flower Fr…
Step 5: Secure Everything in Place
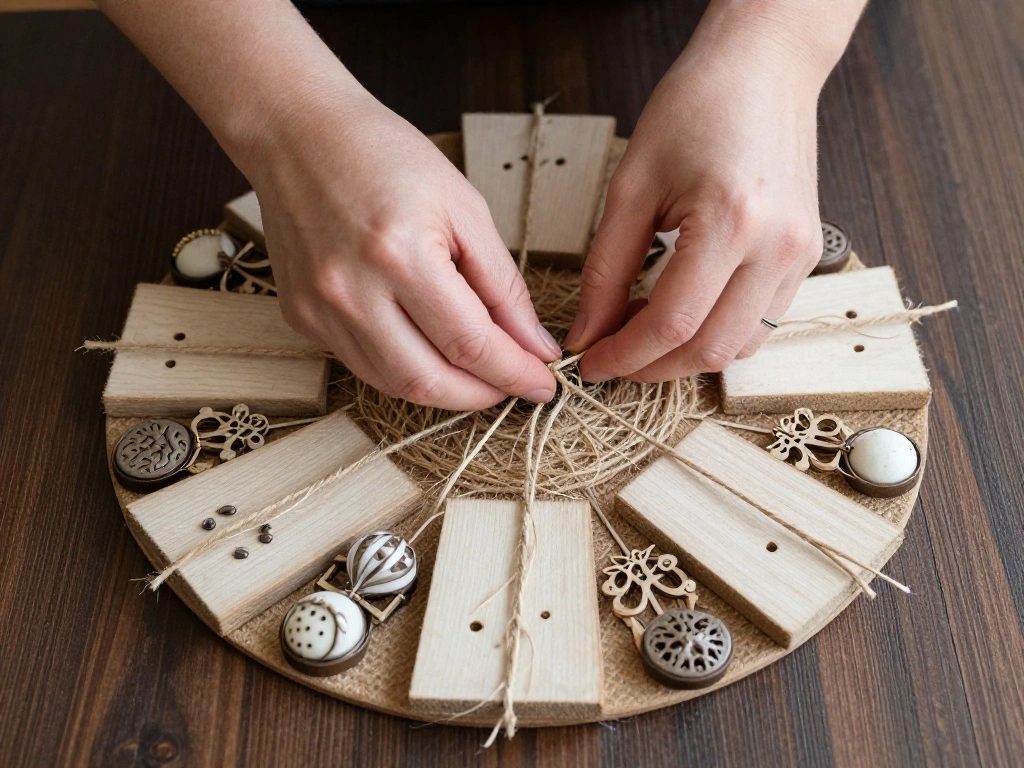
Now that your centerpiece is taking shape, it’s essential to secure everything. Follow these steps:
1. Use floral wire or twine to bind together loose pieces if needed.
2. Ensure all elements are stable and won’t shift easily.
3. Adjust any items that look out of place for a cohesive look.
Pro Tip: Step back often to assess your arrangement from different angles.
This step is key to ensuring your centerpiece remains intact throughout use.
Estimated time: 15-20 minutes.
Recommended Products
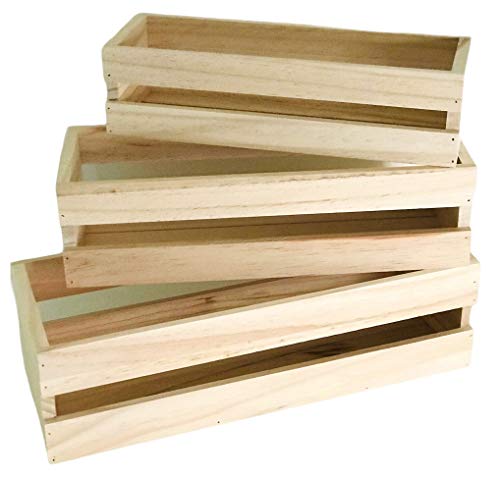
Versatile Nesting Design: Includes 3 wooden crates in varying sizes, perfect for organizing, displaying, or storing household essentials. The crates conveniently nest for easy storage when not in use. Pack of 3 DIY Project. Ready to be decorated with your creative test

Multifunctional Serving Trays: LotFancy wooden serving trays can be used to serve breakfast in bed, as a lap tray for indoor outdoor parties, for serving drinks, as a catch-all organizer for odds and ends, as a tabletop centerpiece with candles and decor, It’s up to you

Beautiful Gift Set: you will receive 6 wooden round trays for coffee table in a quantity to suit your application and sharing needs, which will add a comfortable and neutral look to your dining table or bathroom, especially if the cups are made of glass; You can add them to housewarming gift set for friends and family
Step 5: Secure Everything in Place
Editor’s Choice

20Gauge Silver Aluminum Crafts Wire 400FT, for Jewelry Crafting, Gemston…

PerkHomy Natural Jute Twine 600 Feet Long Twine String for Crafts Gift W…
Step 6: Final Touches and Adjustments
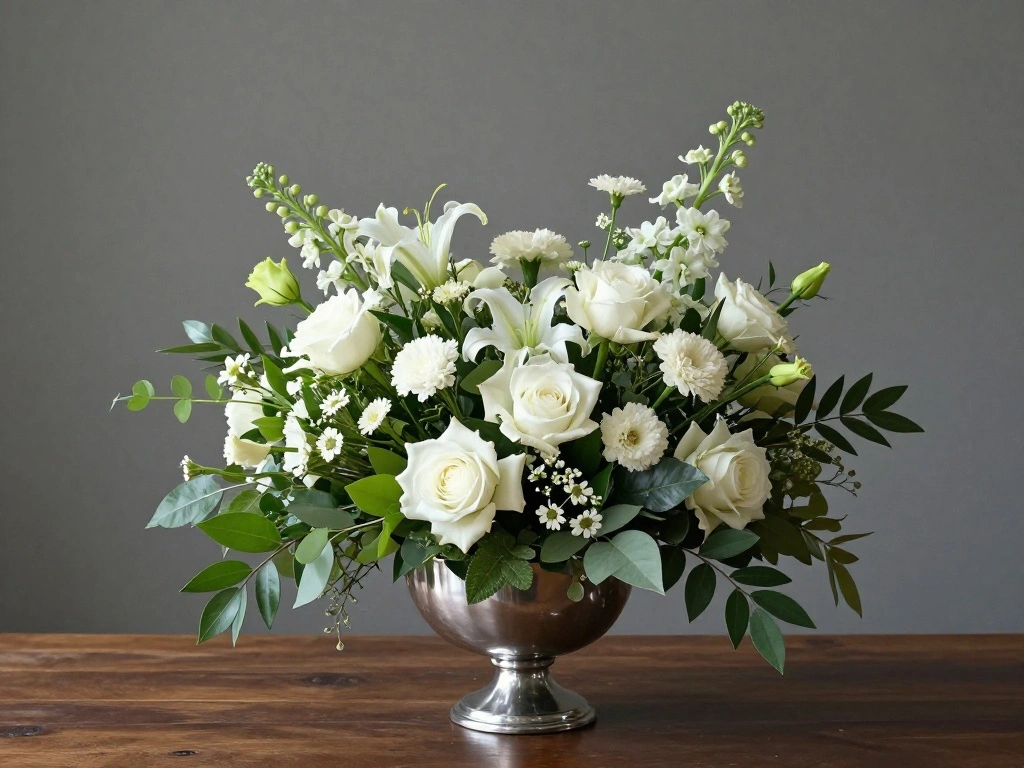
Before you call it finished, take a moment for final adjustments. Follow these steps:
1. Inspect the arrangement for balance and symmetry.
2. Trim any overly long greenery or reposition elements as needed.
3. Make sure your centerpiece fits well on the table without overwhelming the space.
Warning: Avoid overcrowding the arrangement; it should be visually appealing and functional.
This step ensures your centerpiece looks polished and professionally done.
Estimated time: 15-20 minutes.
Recommended Products

Floral Foam Blocks: A total of 6 soft, fine and odorless foam each about the size of a typical brick is included in the pack. They are ideal for retailer floral art, décor, DIY, ASMR, and gardening

1. Great Value: These are probably the most affordable floral foam blocks on the market! You can get a total of 6 blocks, each measuring 5.5"L x 3.1"W x 1.6"H. They are ideal for florists, DIY flower arrangement lovers, and gardening enthusiasts

Floral Foam Blocks: A total of 8 soft, fine and odorless blocks each about the size of a typical brick is included in the pack. They are ideal for retailer floral art, décor, DIY, ASMR, and gardening
Step 6: Final Touches and Adjustments
Editor’s Choice

NEXON Pruning Shears 2-Pack — 8″ Bypass Hand Pruner & 6.25″ Precision …

Thenshop 8 Inch Ceramic Unique Flower Vase Modern Loving Embrace Vase Ab…
Step 7: Place Your Centerpiece on the Table
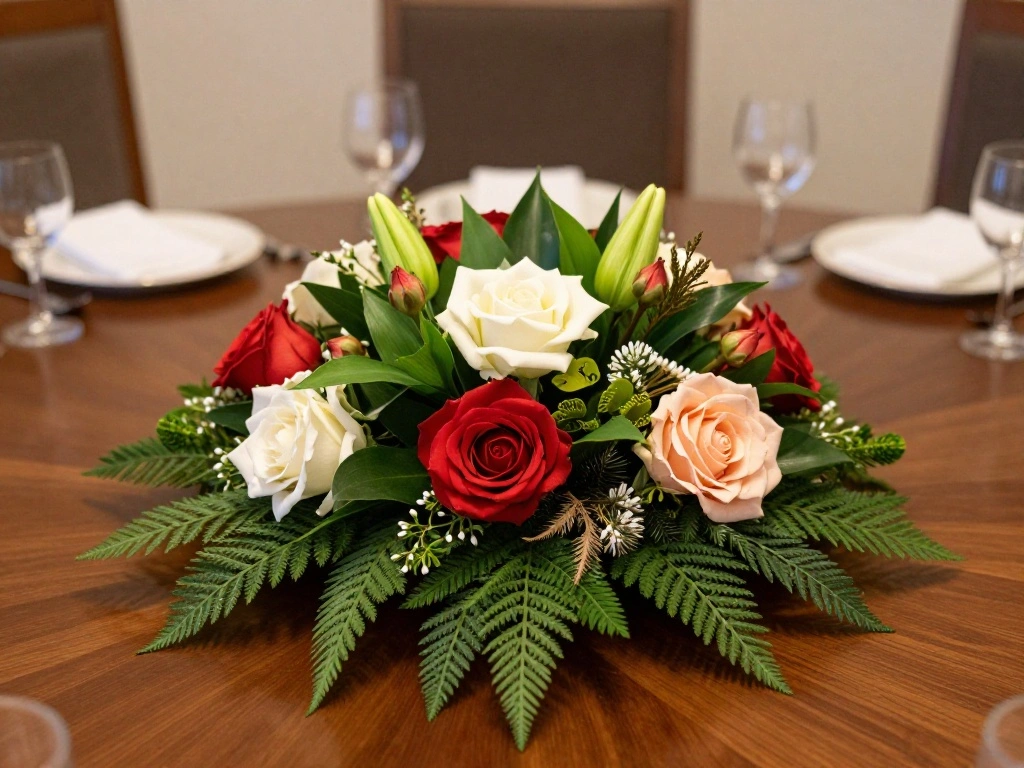
With your centerpiece complete, it’s time to showcase it. Follow these steps:
1. Choose a suitable location on your dining table that enhances visibility.
2. Ensure that it does not obstruct views across the table.
3. Consider lighting; place it where it can be illuminated naturally or with candles.
Pro Tip: Experiment with different placements to find the most appealing setup.
This step is vital as it brings your hard work into an everyday setting.
Estimated time: 10 minutes.
Recommended Products

QUALITY: Each roll of Royal Imports binding wire is made of high quality metal wire and wrapped in strong paper fiber to provide a durable yet easy to use bind wire for your floral and craft projects. The color is a natural beige which will camouflage very well with natural stems.

Material: flower binding twine is paper wire made from paper fibers, providing a serviceable yet easy to use bind wire for your floral and craft projects, the color can camouflage very well with natural stems

Material: flower binding twine is paper wire made from paper fibers, providing a serviceable yet easy to use bind wire for your floral and craft projects, the color can camouflage very well with natural stems
Step 7: Place Your Centerpiece on the Table
Editor’s Choice

Scented Candles Gift Set, Long Lasting 6 Pack Aromatherapy Candles for H…

CCINPPY Ceramic Jewelry Tray Trinket Dish, Decorative Cloud Vanity Key T…

Artoid Mode Pink Soft 3D Jacquard Leaves 100%Cotton Spring Table Runner,…
Step 8: Enjoy Your Creation!

Finally, take a moment to enjoy your beautiful centerpiece. Follow these steps:
1. Gather friends or family around the table to appreciate your work.
2. Take photos to document your creation and share it on social media.
3. Maintain the centerpiece by checking the greenery and refreshing it as needed.
Pro Tip: Change decorations seasonally to keep it fresh!
This step celebrates your achievement and encourages ongoing creativity.
Estimated time: Ongoing enjoyment!
Step 8: Enjoy Your Creation!
Editor’s Choice
Zormon White Vases for Decor, Heart Shaped Ceramic Vase Set of 2, Nordic…

42 Pcs Small Interchangeable Flower Basket Memorial Day Decor Holiday Se…
Pro Tips
- Seasonal Changes: Swap out greenery and decorations based on the season for a fresh look.
- Color Coordination: Choose colors that match your home decor for a cohesive feel.
- Layering: Use varying heights in your arrangement for added depth and interest.
- Natural Elements: Incorporate elements like pinecones or stones for a rustic touch.
- Maintenance: If using fresh greenery, mist it regularly to keep it looking vibrant.
Pro Tips
Editor’s Choice
42 Pcs Small Interchangeable Flower Basket Memorial Day Decor Holiday Se…

Rustic Pinecone Figurine Resin Woodland Decor Small Brown Ornament for T…
Common Mistakes to Avoid
Warning: Avoid overcrowding your centerpiece, as it can look messy and uninviting.
Instead, prioritize balance and symmetry for a professional appearance.
Warning: Using too many different types of greenery can create visual chaos. Stick to a few varieties for a harmonious look.
Warning: Neglecting the scale of your centerpiece can overwhelm the table. Ensure your centerpiece complements the table size.
Common Mistakes to Avoid
Editor’s Choice

Yoillione Rustic Farmhouse Flower Vase, Shabby Chic Clay Brown Metal Jug…
Troubleshooting Section
Problem: The greenery looks wilted.
Solution: Mist with water regularly or replace with fresh greenery.
Problem: The centerpiece feels unbalanced.
Solution: Rearrange elements to create a more stable appearance.
Problem: Items keep falling over.
Solution: Secure with wire or reposition heavier items at the base.
Troubleshooting Section
Editor’s Choice

Elizabeth Taylor White Diamonds Women’s Perfume, Long-Lasting Floral Fra…

Syhood 673 Feet Floral Vine Bind Wire Rustic Wrapping Wire for Flower Bo…
Variations/Alternative Methods
1. Seasonal Themes: 2. Minimalist Approach: Focus on a few large pieces instead of multiple small items for a cleaner look.
3. Color Themes: Choose a monochromatic palette for a sleek, modern centerpiece.
FAQs
What if I don’t have a wooden crate? You can use any decorative tray or even a large bowl as a base.
How long should I let fresh greenery soak? Allow at least 30 minutes for optimal hydration.
Is it safe to use candles with greenery? Yes, but ensure candles are secured and monitored to prevent fire hazards.
FAQs
Editor’s Choice

Planters’ Choice 9 Herb Indoor Window Garden Kit – Birthday Gifts – Hous…
SMIRLY Charcuterie Large Bamboo Cheese Board Set for Serving – House War…

Mother’s Day Glass Candle Holders Set of 4, Best Mom Ever Tealight Holde…
Conclusion

Congratulations on creating your beautiful farmhouse centerpiece! You’ve transformed simple materials into a stunning focal point for your table. Now that you’ve mastered this skill, consider experimenting with different styles and decorations for various occasions.
Keep practicing and exploring your creativity – there are endless possibilities when it comes to home décor. Enjoy your centerpiece and the warmth it brings to your home!