
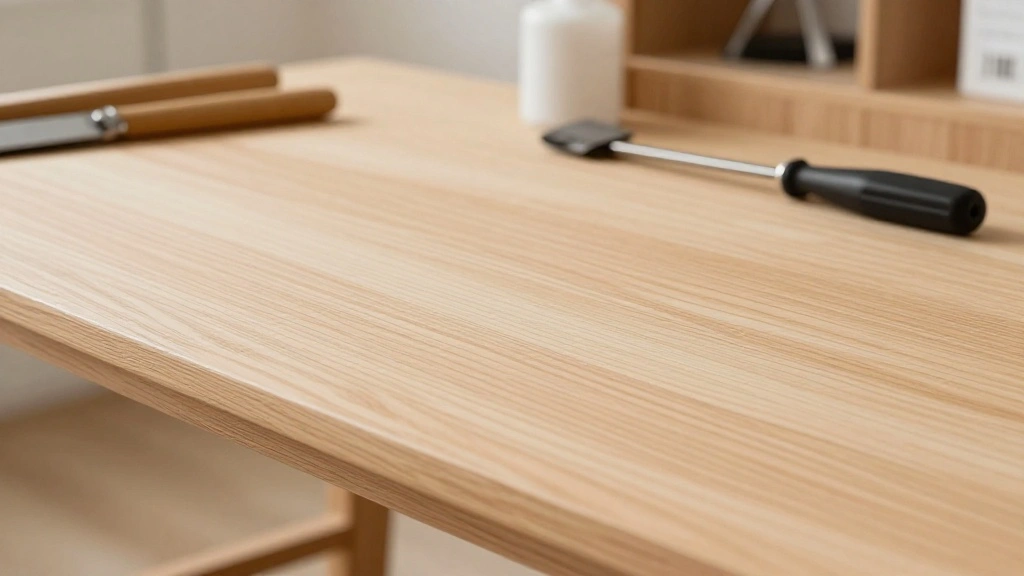
Are you looking to transform your old wood furniture into stunning farmhouse pieces that bring warmth and character to your home? If so, you’ve come to the right place! Whitewashing is a popular technique that allows you to achieve a rustic and chic appearance while preserving the natural beauty of the wood. This guide will take you through the step-by-step process of whitewashing your furniture. By the end of this article, you’ll have a beautifully transformed piece that adds charm to your decor.
In this guide, you will learn about the essential materials needed, the steps to prepare your furniture, and the techniques for applying the whitewash. Difficulty level: beginner and time estimate: 2-3 hours. Get ready to roll up your sleeves and create a piece of art that reflects your style!
Whether you want to revamp an old table, chairs, or a cabinet, whitewashing will give it a fresh look without losing its rustic appeal. Let’s dive into the world of whitewashing!
TL;DR Summary
- Gather all necessary materials and prepare your workspace.
- Sand and clean your furniture for a smooth finish.
- Mix your whitewash solution and apply it evenly.
- Seal your finished piece to protect it.
Recommended Products

STURDY WOOD SIDE TABLE - Enjoy lasting living room use with a solid 36-pound presence featuring a durable combination of pine wood, acacia veneer and engineered wood that is easy to clean by wiping with a damp cloth

COMPLETE BEDROOM CENTERPIECE - Transform your space with a rustic industrial design. This king size bedframe and headboard kit includes a 60.5-inch tall open-slat headboard, matching footboard, and side rails, featuring EASY ASSEMBLY

Track your travels on this beautiful National Geographic push pin travel map
TL;DR Summary
Editor’s Choice

Thompson’s WaterSeal Clear Wood Sealer, Clear, 1 Gallon


Varathane 385685 Less Mess Wood Stain and Applicator, 4 oz, Whitewash

Romeda 8-Pack Sanding Sponge, Four Grits Per Pack 60/80/120/220, Washabl…
Prerequisites/Materials Needed
- Wood Furniture (e.g., table, chair)
- Sandpaper (medium and fine grit)
- White paint (water-based is best)
- Water
- Paintbrush
- Lint-free cloths
- Sealant (polyurethane or wax)
- Drop cloth (to protect the floor)
Recommended Products
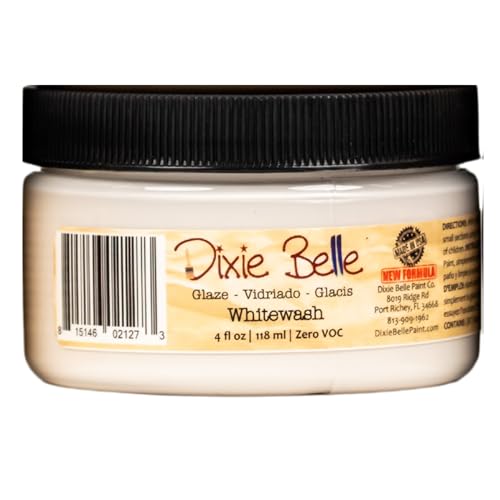
PAINT FINISH – Dixie Belle Glazes are luminous water-based color used to create gorgeous decorative finished such as stippling, burnishing, aging, and color-washing. You can create unique Faux finishes while adding depth and dimension to your project.

PAINT FINISH – Dixie Belle Glazes are luminous water-based color used to create gorgeous decorative finished such as stippling, burnishing, aging, and color-washing. You can create unique Faux finishes while adding depth and dimension to your project.
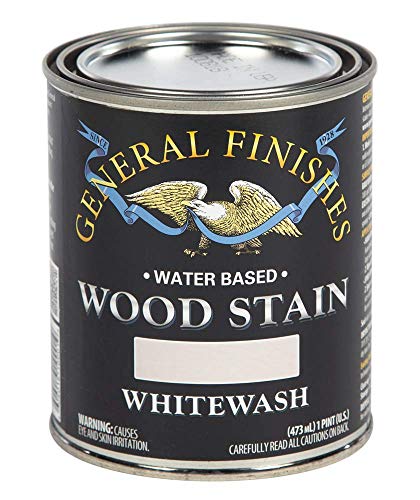
High-quality pigments produce rich, dark colors; Can be hand-applied or sprayed.
Prerequisites/Materials Needed
Editor’s Choice

Varathane Water-Based Crystal-Clear Ultimate Polyurethane | Interior Woo…

3M Aluminum Oxide Sandpaper, 5 Sheets, Assorted Grit 100-150-220, 9-in x…

Apple Barrel Acrylic Paint in Assorted Colors (8 Ounce), 20403 White
Skill Level & Time Estimate
Skill Level: beginner
Total time estimate: 2-3 hours. Here’s a breakdown:
- Preparation (30 minutes)
- Mixing whitewash (10 minutes)
- Application (1-2 hours)
- Sealing (30 minutes)
Skill Level & Time Estimate
Editor’s Choice

General Finishes Water Based Wood Stain, 1 Quart, Whitewash

Minwax 233334444 Polycrylic Protective Wood Finish, Clear Satin, ½ Pint

Trimaco 10102 SuperTuff Sponge, 2 Pack Staining Pad
Step 1: Prepare Your Workspace
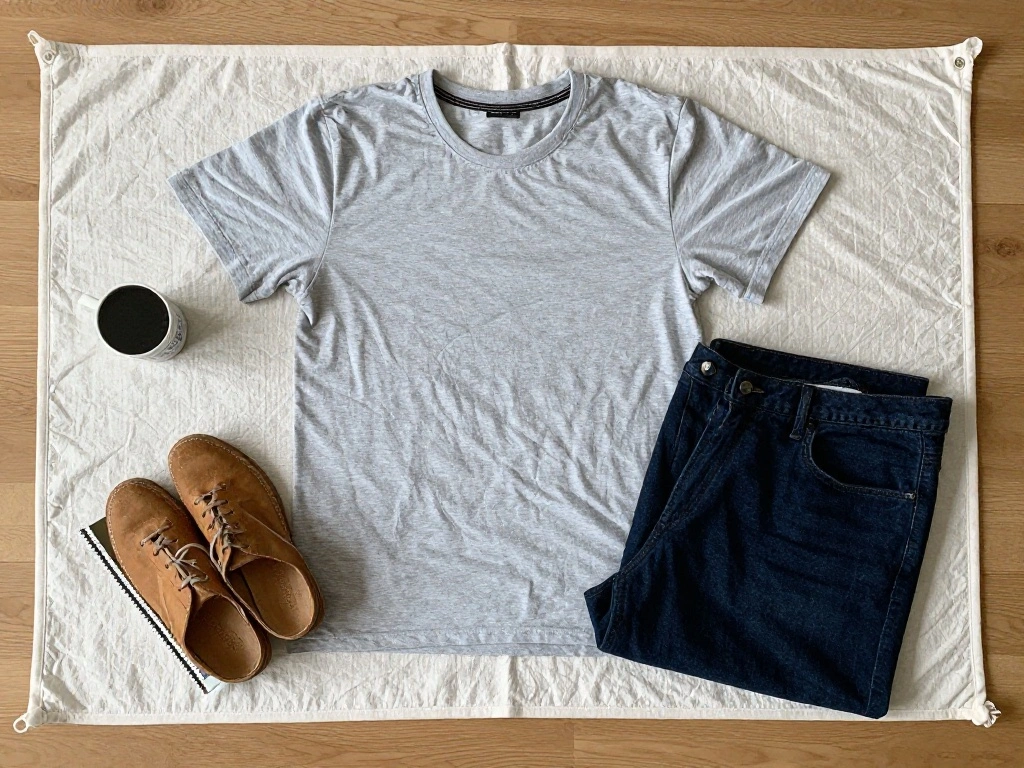
Begin by preparing your workspace to keep everything organized and mess-free. Follow these steps:
- Clear the area where you will be working.
- Lay down a drop cloth to protect your floor from paint spills.
- Gather all your materials within reach.
Pro Tip: Ensure good ventilation in your workspace to avoid inhaling fumes from the paint and sealant. Why this matters: A clean and organized space will make the process smoother and more enjoyable.
Time estimate for this step: 15 minutes.
Recommended Products

PROTECT WOOD SURFACES – Minwax Polyurethane Wood Finish Aerosol spray protects interior projects, including woodwork, furniture, floors and cabinets. Clear top coat is one of the most durable coatings for wood protection against scratches, spills & more.

WATER-BASED WOOD FINISH: Our sealant provides top-notch protection against wear and tear in high traffic areas. It's odorless and suitable for use on wood siding, log homes, swing sets, outdoor furniture, wooden deck and fence, and more

Ideal for use on all interior wood surfaces including furniture, doors, trim and more
Step 1: Prepare Your Workspace
Editor’s Choice

AUTOMET Women’s Oversized Short Sleeve T Shirts Casual Summer Everyday Tops

DWIL Water Based Wood Stain – Multiple Finishes, Fast Drying, Indoor and…

TICONN Reusable Respirator Mask with Filters, Gas Mask with Anti Fog Saf…
Step 2: Sand the Furniture
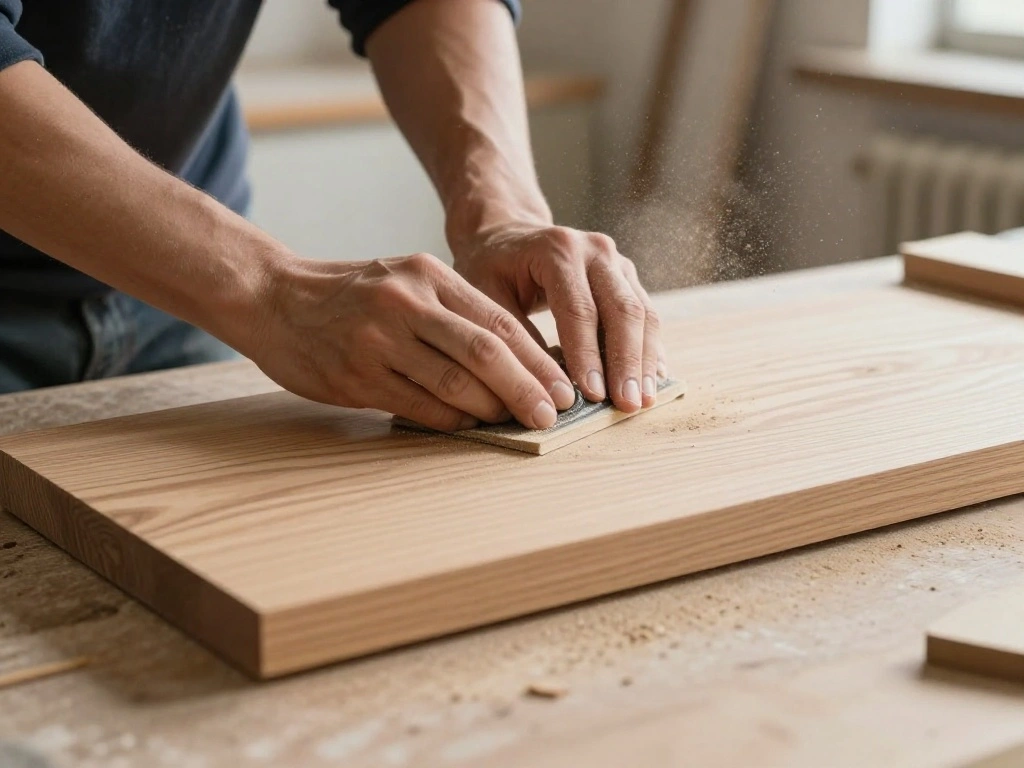
Sanding is crucial for a successful whitewash. It helps the paint adhere better and provides a smoother finish. Follow these steps:
- Use medium-grit sandpaper to sand the entire surface of your furniture.
- Switch to fine-grit sandpaper for a smooth finish.
- Wipe down the furniture with a lint-free cloth to remove dust.
Warning: Always sand in the direction of the wood grain to avoid damaging the surface. Why this matters: Proper sanding ensures that the whitewash adheres well and that the final finish looks professional.
Time estimate for this step: 30 minutes.
Recommended Products

【ASSORTED GRIT SANDING BLOCKS】 8 sand blocks, 4 sizes from coarse to ultra-fine sand, 60/80/120/220 grit, 2 blocks for each grit. There are four different colors, grey (corresponding to grit size - 220), blue (120), green (80), and orange (60), with different numbers of grains for different colors.

【ASSORTED GRIT SANDING BLOCKS】Includes 8 sanding blocks in 4 grits, from coarse to superfine specifications in 60/80/120/180/220 grit, 2 blocks for each grit. You can cut it into appropriate sizes for your needs

Assortment Pack: This sanding sponge set includes 24 pieces with grits 80/120/180/240/320/400/500-600/800-1000/1200-1500/2000/2500/3000,each of 2, covering coarse material removal (80 grit) to ultra-fine polishing (3000 grit). Perfect for wood furniture refinishing, auto bodywork, and delicate surface prep—all in one convenient kit, each measuring 3.93 x 2.75 x 0.19 inches
Step 3: Clean the Surface
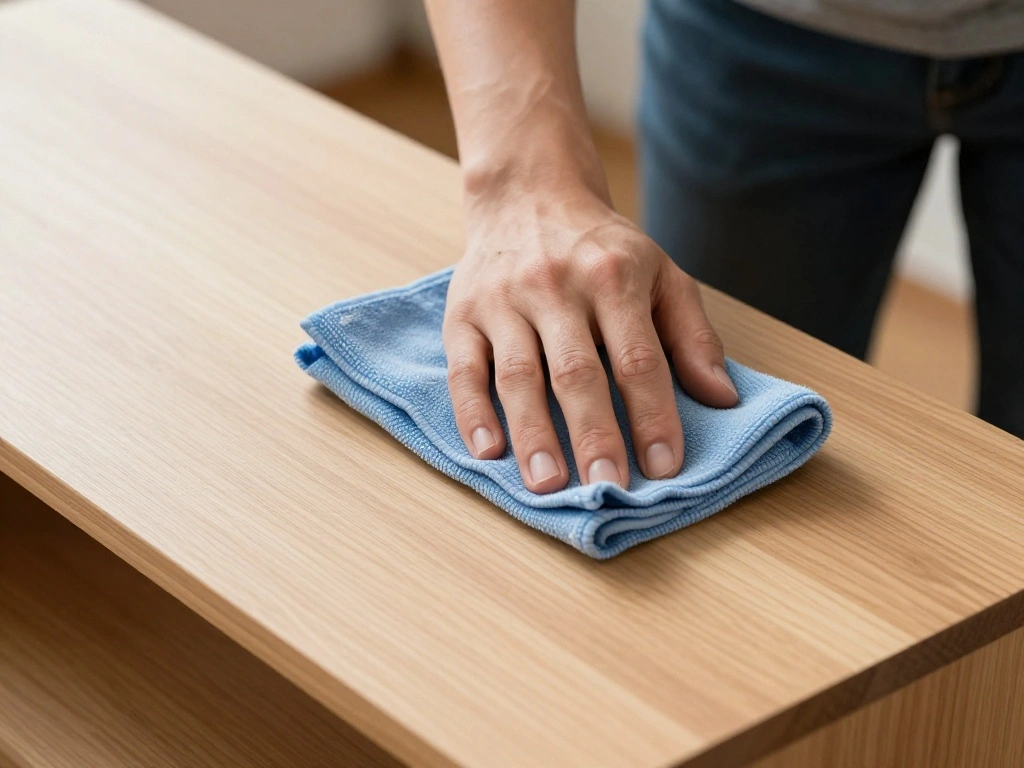
After sanding, it’s essential to clean the surface to ensure it is free of dust and debris. Do the following:
- Take a damp lint-free cloth and wipe down the entire furniture surface.
- Allow the furniture to dry completely before proceeding.
Pro Tip: Make sure there’s no dust left; otherwise, it will mix with the whitewash, creating an uneven finish. Why this matters: A clean surface provides better adhesion for the whitewash and results in a smoother finish.
Time estimate for this step: 15 minutes.
Recommended Products

MAXIMIZE BEDROOM STORAGE - Keep your apparel perfectly organized in master or guest bedrooms with this 5-drawer chest, an ideal choice when looking for tall dressers for bedroom spaces

PREMIUM SOLID WOOD END TABLE: Crafted from durable mango wood with a rich burnt finish, this farmhouse end table adds warmth and rustic charm to any living room, bedroom, office, or lounge space while offering long-lasting strength and stability for everyday use

MODERN FARMHOUSE DESIGN - Transform your space with this white full headboard featuring iconic crossbuck detailing and a casual cottage aesthetic
Step 3: Clean the Surface
Editor’s Choice

Microfiber Wipes 4″x4″(400 Pcs,Class 100, 180GSM) Superfine Lint Free Cl…

Method Daily Wood Cleaner, Almond, Cleans Shelves, Tables and Other Wood…
Step 4: Mix the Whitewash Solution
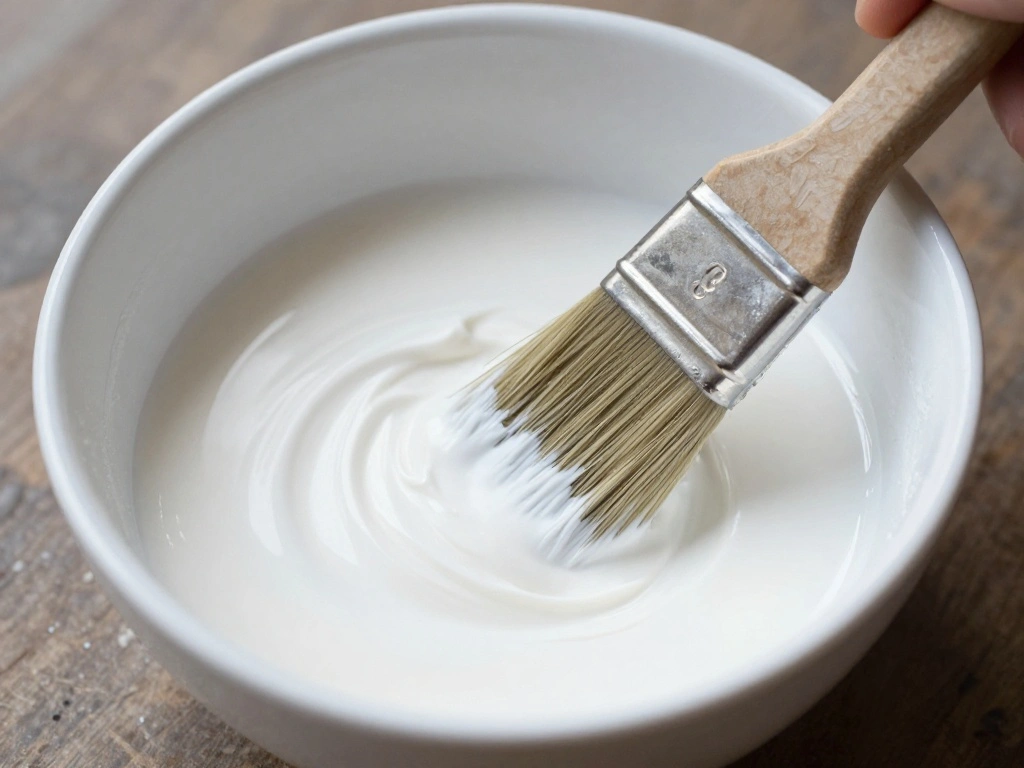
Mixing the right whitewash solution is critical for achieving the desired look. Follow these steps:
- In a bowl, mix 1 part white paint with 1 part water for a light wash.
- Adjust the ratio for a thicker or thinner mixture as desired.
Pro Tip: Test the mixture on a small area or scrap wood to see if you like the color before applying it to your furniture. Why this matters: The right mixture ensures that the wood grain shows through while still providing a whitewashed effect.
Time estimate for this step: 10 minutes.
Recommended Products
【Multi-Purpose Water-Based Paint】: Vigorder white touch up paint requires no sanding, primer, or multiple coats—achieve a perfect finish in just one step. Easily refresh furniture, door frames, and other painted surfaces
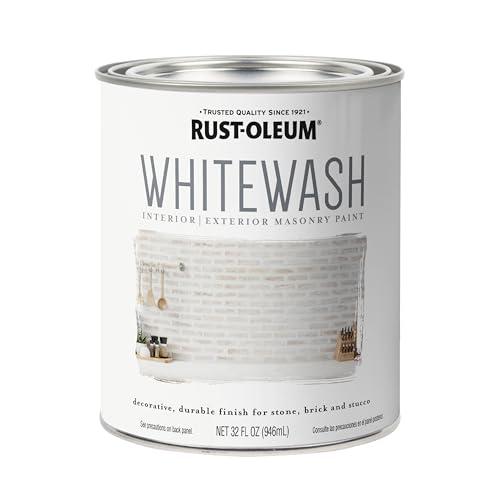
GREAT FOR HIGHLY POROUS SURFACES: Brightens the appearance of stucco, stone, brick and wood while letting natural surface texture shine through

High-quality pigments produce rich, dark colors; Can be hand-applied or sprayed.
Step 4: Mix the Whitewash Solution
Editor’s Choice

Pioneer Woman Floral Spring Bouquet Melamine Mixing Bowl Set, 10 Piece S…
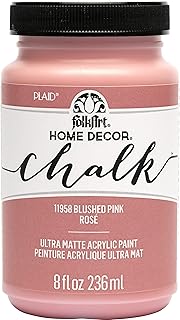
FolkArt, Blushed Pink Assorted Home Décor 8 fl oz / 236 ml Acrylic Chal…
Step 5: Apply the Whitewash
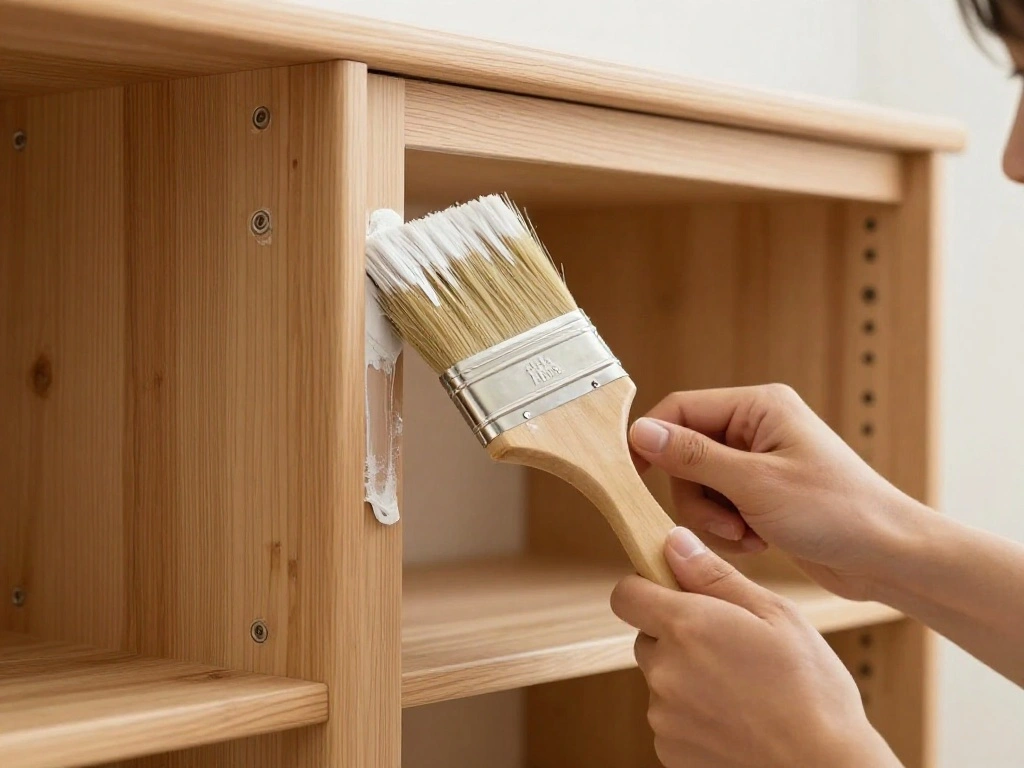
Now it’s time to transform your furniture with the whitewash. Here’s how:
- Using a paintbrush, apply the whitewash mixture to the furniture in even strokes.
- Work in sections to ensure even coverage, starting from one end and moving to the other.
- Wipe away excess whitewash with a clean lint-free cloth to achieve the desired look.
Warning: Be mindful of applying too much whitewash; it can obscure the wood grain. Why this matters: Proper application ensures that the natural beauty of the wood shines through while still achieving the farmhouse look.
Time estimate for this step: 1 hour.
Recommended Products
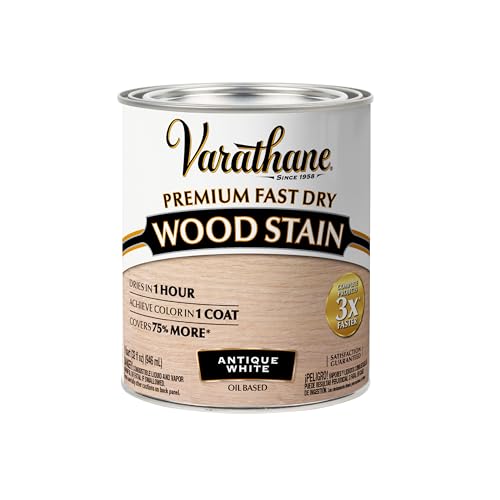
Ideal for use on all interior wood projects: furniture, cabinets, doors, trim and paneling
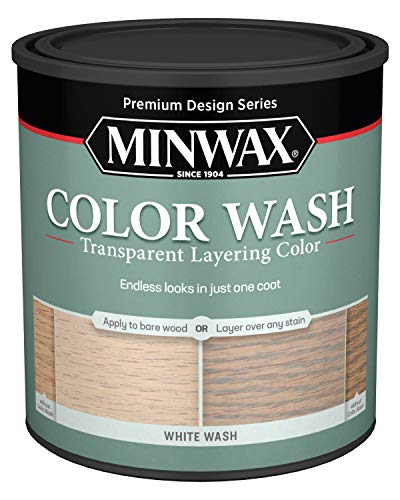
Adds a touch or age & character to bare or already stained wood
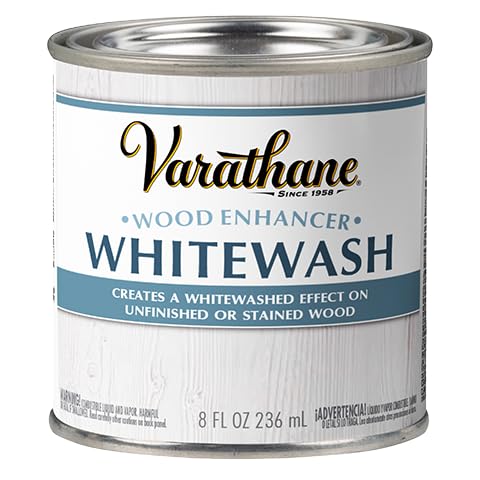
MULTI-SURFACE COMPATIBILITY: Can be applied to bare wood or over stain
Step 5: Apply the Whitewash
Editor’s Choice
Varathane 385685 Less Mess Wood Stain and Applicator, 4 oz, Whitewash

Disposable Face Towels, Ultra Soft Cleansing Cloths, Lint- free Face Clo…
Step 6: Let it Dry
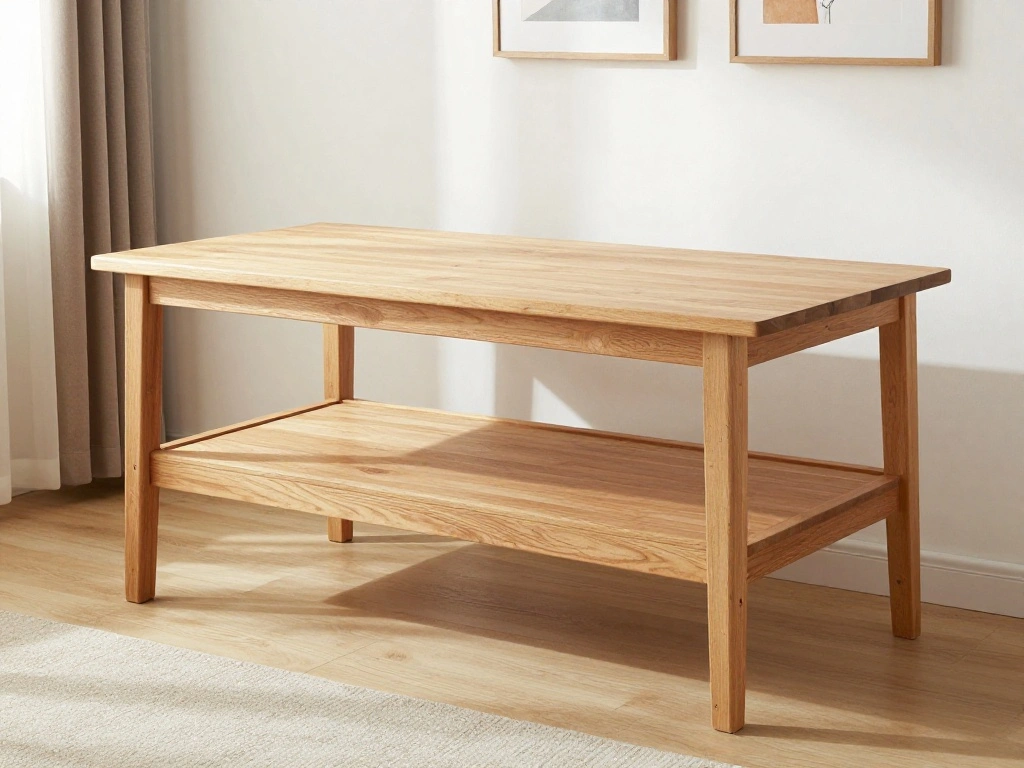
After applying the whitewash, it’s crucial to allow the furniture to dry completely. Follow these steps:
- Leave the furniture in a well-ventilated area to dry.
- Check the drying time on the paint can; it typically ranges from 1-2 hours.
Pro Tip: Avoid placing anything on the furniture until it’s fully dry to prevent smudging. Why this matters: Proper drying allows the whitewash to set correctly, ensuring a long-lasting finish.
Time estimate for this step: 1-2 hours.
Recommended Products
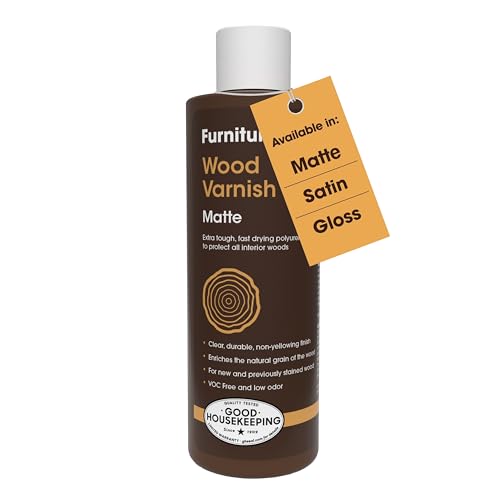
IDEAL USES: Versatility at its best, our Wood Varnish is perfect for doors, baseboards, furniture, and all indoor woods. Whether you're working on a board or a grand entrance door, this varnish ensures a flawless, long-lasting result.

PROTECT WOOD SURFACES – Minwax Polyurethane Wood Finish protects interior projects like woodwork, furniture, floors and cabinets. The oil-based, clear top coat is one of the most durable coatings for wood protection against scratches, spills and more.

PROTECT WOOD SURFACES – Minwax Polyurethane Wood Finish protects interior projects like woodwork, furniture, floors and cabinets. The oil-based, clear top coat is one of the most durable coatings for wood protection against scratches, spills and more.
Step 6: Let it Dry
Editor’s Choice

Andes Safety Hazmat Suit, Heavy Duty Full Body Disposable Paint Suit, Co…
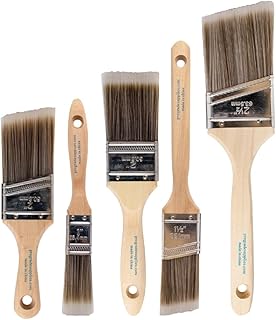
Pro Grade Paint Brushes, 5-Piece Paint Brush Set, Flat & Angle Brushes f…

Howard Products Beeswax Wood Polish & Conditioner, Feed-N-Wax, Beeswax F…
Step 7: Apply a Second Coat (Optional)
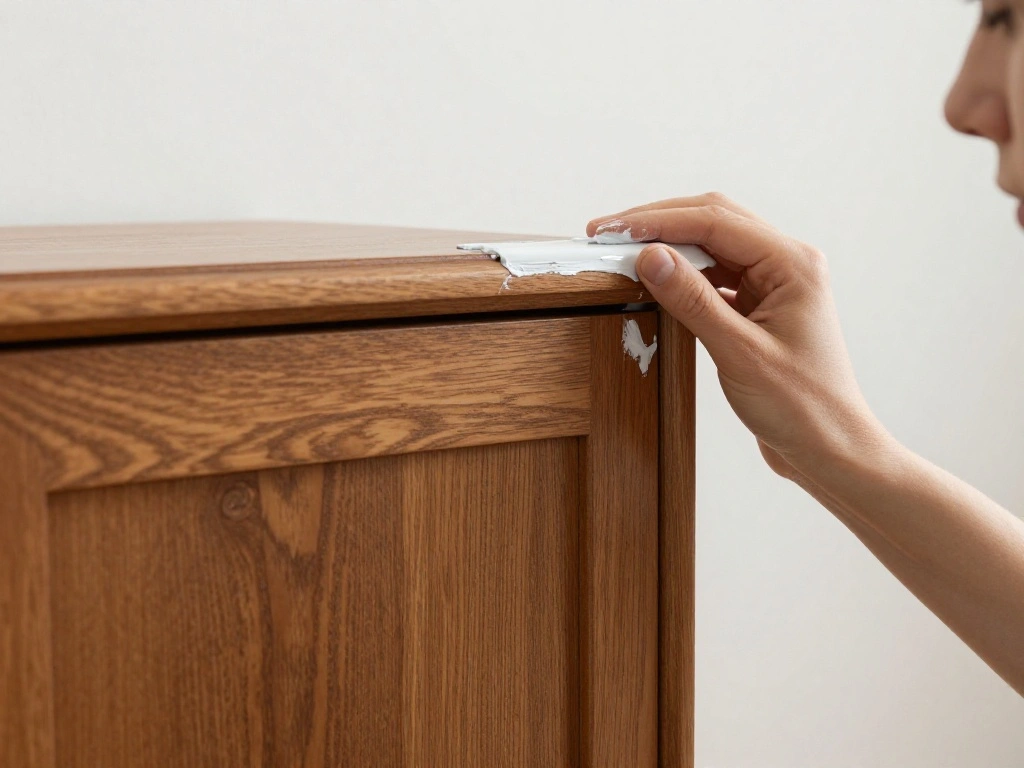
Depending on your desired look, you may want to apply a second coat of whitewash. Here’s how:
- Once the first coat is dry, examine the coverage.
- If needed, repeat the application process as done in Step 5.
Pro Tip: A second coat can enhance the whitewashed effect but may also obscure more of the wood grain. Why this matters: Applying a second coat allows for more depth and richness in the finish if desired.
Time estimate for this step: 30 minutes.
Recommended Products

220 Grit: Includes 8 sanding blocks, 220 grit (fine); our sanding sponge is reusable, washable, and suitable for all your sanding needs

Assorted Grit Sanding Blocks – This set includes 4 sponge sanding blocks (4 x 2.6 x 0.7 inches) in 120, 220, 320, and 400 grits, covering coarse to ultra-fine sanding needs. Color-coded for easy identification.

【ASSORTED GRIT FOR FLEXIBLE USE】 8PCS set with 4 grits (60/80/120/220), 2 per grit. Easily trimmed for various sanding tasks
Step 8: Seal the Finish
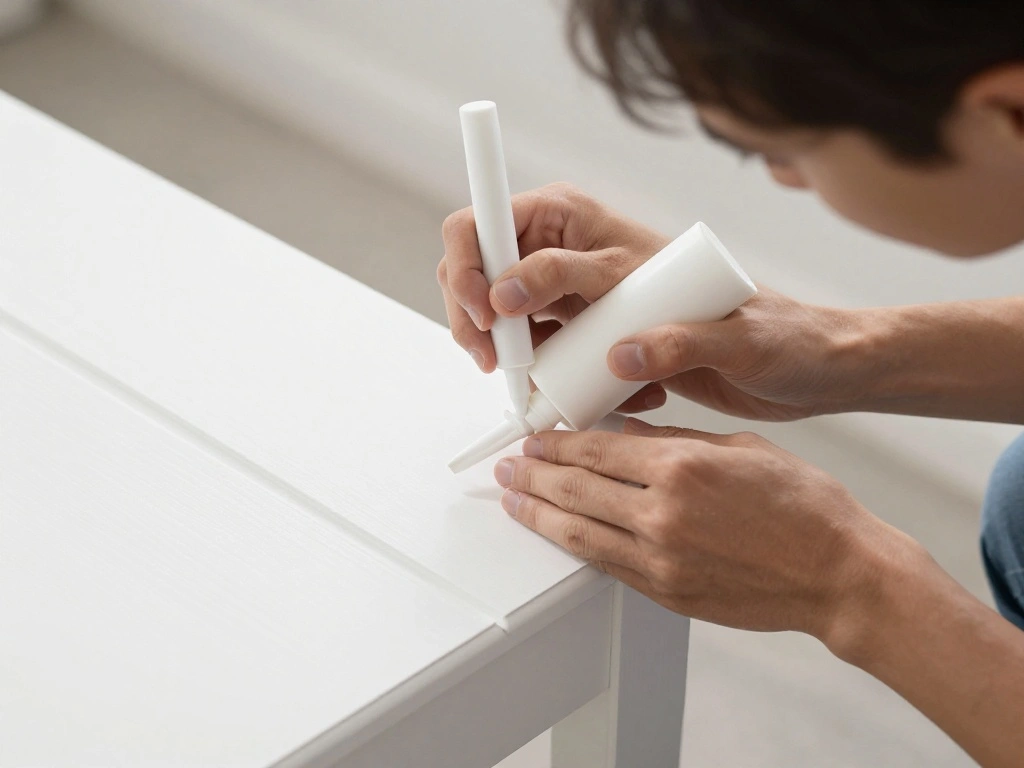
To protect your newly whitewashed furniture, sealing is essential. Follow these steps:
- Choose a sealant like polyurethane or wax.
- Using a clean brush, apply the sealant evenly across the surface.
- Allow the sealant to dry completely as per the product instructions.
Warning: Make sure to use a sealant that is compatible with your paint type. Why this matters: Sealing protects the finish and makes your furniture durable and easy to clean.
Time estimate for this step: 30 minutes.
Step 8: Seal the Finish
Editor’s Choice

Earth Safe FInishes Preserver Sealer for All Surfaces (Wood, Concrete, B…
Minwax 233334444 Polycrylic Protective Wood Finish, Clear Satin, ½ Pint
Garden Box Sealer | FDA Food Contact Safe Plant-Based Wood Sealant for R…
Step 9: Final Touches
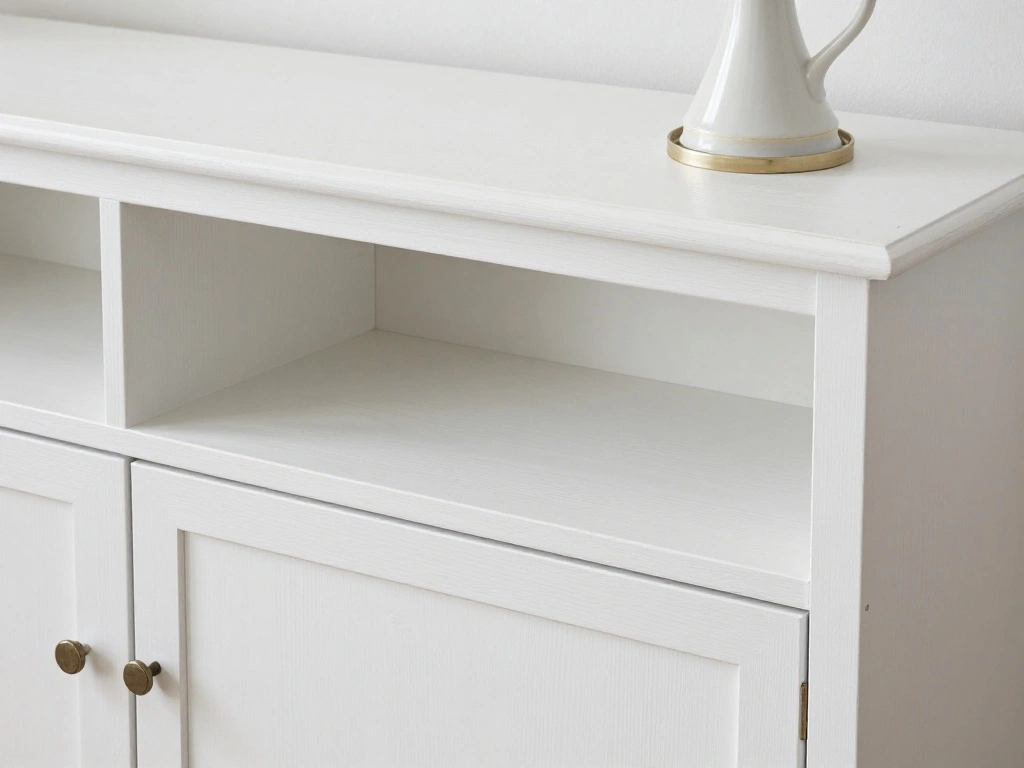
After sealing, add the final touches to complete your furniture transformation. Here’s what to do:
- Inspect the furniture for any missed spots or areas that need more paint.
- Touch up as necessary and allow any touch-ups to dry.
Pro Tip: Consider adding hardware like handles or knobs that complement the farmhouse style. Why this matters: Final touches elevate the look of your furniture, making it uniquely yours.
Time estimate for this step: 15 minutes.
Step 9: Final Touches
Editor’s Choice
Varathane 385685 Less Mess Wood Stain and Applicator, 4 oz, Whitewash

10 Pack 3 Inch (76mm) Hole Center Black Iron Cabinet Pulls,Antique Black…
Minwax 233334444 Polycrylic Protective Wood Finish, Clear Satin, ½ Pint
Step 10: Enjoy Your New Furniture
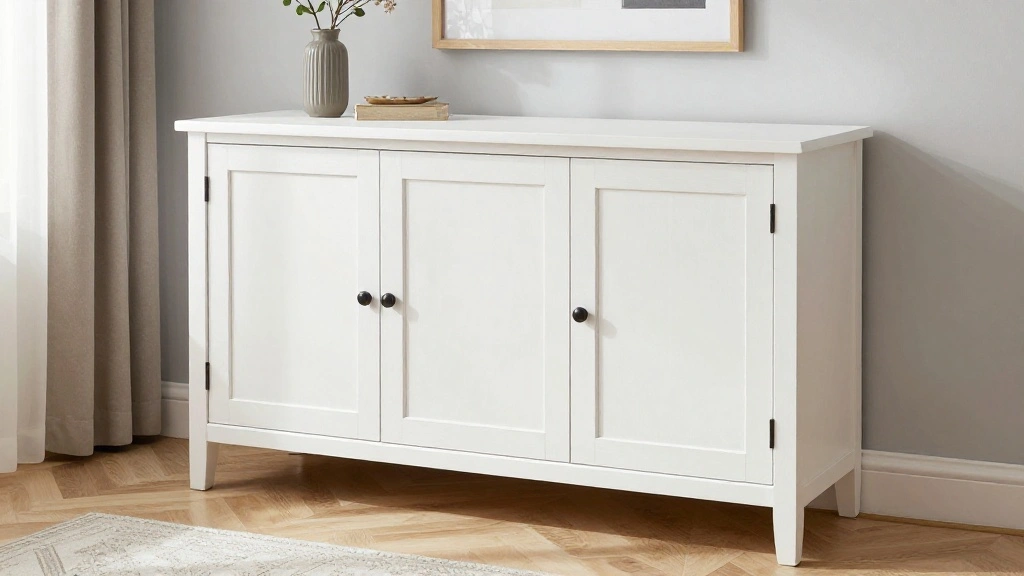
Your whitewashed furniture is now ready to be enjoyed! Here’s how to make the most of it:
- Place the furniture in your desired location.
- Style it with farmhouse decor like plants, books, or vintage items.
Pro Tip: Share your transformation on social media to inspire others! Why this matters: Enjoying your creation brings a sense of accomplishment and enhances your living space.
Time estimate for this step: Varies based on placement and styling.
Step 10: Enjoy Your New Furniture
Editor’s Choice

Face Planter Pot with Heart Hands, Resin Head Planter for Indoor Plants,…
Varathane 385685 Less Mess Wood Stain and Applicator, 4 oz, Whitewash

Purple Flower Jewelry Dish Glass Ring Holder Dish Jewelry Tray Cute Vani…
Pro Tips
- Test Before You Apply: Always test your whitewash on a small, inconspicuous area first.
- Choose the Right Paint: Use a water-based paint for easier cleanup and better blending.
- Layering Colors: Mix different shades of white to add depth to your finish.
- Storage: Store leftover whitewash in a sealed container for future touch-ups.
- Maintenance: Clean your furniture with a damp cloth instead of harsh chemicals to preserve the finish.
Pro Tips
Editor’s Choice

2Pcs Empty Paint Cans with Lids Metal Paint Storage Containers Touch Up …

Acrylic Paint Brush Set, 1 Packs / 10 pcs Watercolor Brushes Painting Br…

Jubilee Furniture Paint – Upcycle & Transform Wood, Metal & Glass – …
Common Mistakes to Avoid
Warning: Skipping sanding can result in poor adhesion and a rough finish. Always sand before applying whitewash.
Warning: Using too much water in your mixture can dilute the color. Stick to a 1:1 ratio for best results.
Warning: Not sealing the finish can lead to wear and tear. Always seal for durability.
Warning: Rushing the drying process can cause smudging. Be patient and allow adequate drying time.
Warning: Forgetting to clean the surface after sanding can trap dust under the whitewash. Always wipe down thoroughly.
Common Mistakes to Avoid
Editor’s Choice
Minwax 233334444 Polycrylic Protective Wood Finish, Clear Satin, ½ Pint
Romeda 8-Pack Sanding Sponge, Four Grits Per Pack 60/80/120/220, Washabl…
General Finishes Water Based Wood Stain, 1 Quart, Whitewash
Troubleshooting Section
Problem: The whitewash is too thick.
Solution: Add more water to the mixture and apply a lighter coat.
Problem: The wood grain is not visible.
Solution: Use less whitewash or wipe off excess while it’s still wet.
Problem: The finish is uneven.
Solution: Sand down the uneven areas and reapply the whitewash as needed.
Problem: The furniture feels sticky after drying.
Solution: Make sure to use a compatible sealant and apply it evenly.
Problem: The color is not what I expected.
Solution: Test out different paint mixtures in small areas before committing.
Troubleshooting Section
Editor’s Choice

THINKLEARN Cordless Detail Sander – 20V Electric Hand Sander with 22Pcs …
Pro Grade Paint Brushes, 5-Piece Paint Brush Set, Flat & Angle Brushes f…
Varathane 385685 Less Mess Wood Stain and Applicator, 4 oz, Whitewash
Variations/Alternative Methods
If you’re looking for different approaches to whitewashing, consider these alternatives:
- Pickling: A technique that uses a colored stain diluted with water. It provides a more vibrant finish while still allowing the wood grain to show through.
- Dry Brushing: Apply a minimal amount of paint using a dry brush technique for a distressed look.
- Chalk Paint: Use chalk paint for a thicker, more matte finish that can be distressed easily for a rustic look.
Choose the method that best fits your style and desired outcome.
Variations/Alternative Methods
Editor’s Choice
Jubilee Furniture Paint – Upcycle & Transform Wood, Metal & Glass – …
DWIL Water Based Wood Stain – Multiple Finishes, Fast Drying, Indoor and…

Zellina Diamond Art Painting Pen Kit for Adults, Vacuum Diamond Art Pain…
FAQs
What if I don’t have a paintbrush? You can use a foam roller or a cloth to apply the whitewash, but a brush provides better control.
How long should I let the whitewash dry? Allow the whitewash to dry for at least 1-2 hours before applying a second coat or sealant.
Is it safe to use water-based paint indoors? Yes, water-based paints have fewer fumes and are safer for indoor use compared to oil-based paints.
Can I whitewash stained wood? Yes, but it may alter the color. Test on a small area first.
How do I maintain my whitewashed furniture? Wipe with a damp cloth and avoid harsh chemicals to keep the finish looking fresh.
FAQs
Editor’s Choice

VALENGO New Lint Free Rags – 100% Cotton Cloth, Soft T-Shirt Rags, Lin…
Varathane 385685 Less Mess Wood Stain and Applicator, 4 oz, Whitewash

Mister Rui Foam Paint Roller, 4 inch Paint Roller 8 Pack, Small Paint Ro…
Conclusion
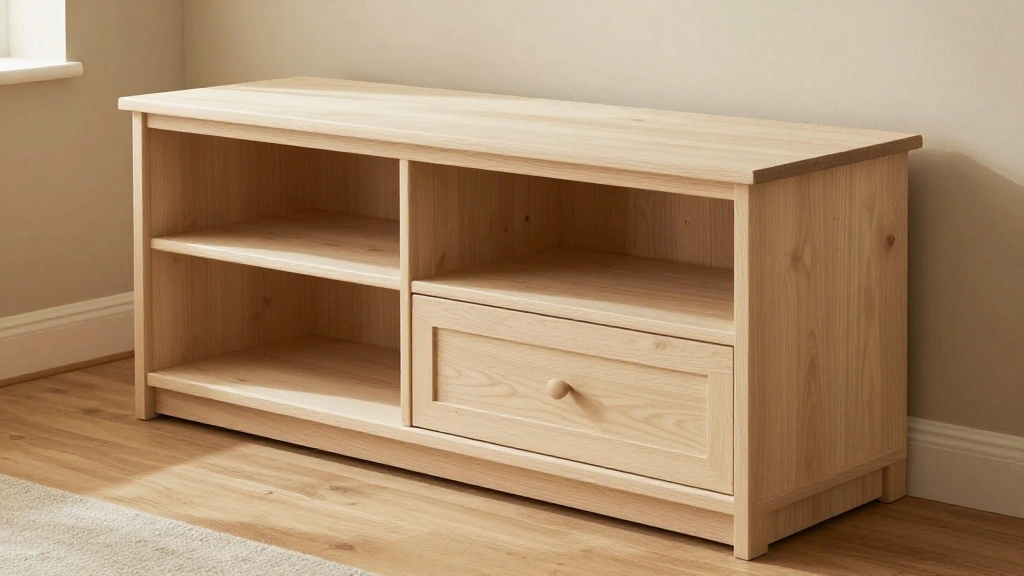
Congratulations! You’ve successfully transformed your wood furniture with a beautiful whitewash finish, bringing a farmhouse look into your home. Take a moment to admire your hard work and the character it adds to your space. In the future, consider experimenting with different colors or techniques for a fresh take on your decor.
Your newly whitewashed furniture is not just a statement piece; it also showcases your creativity and effort. For more DIY projects or home decor ideas, check out our other guides. Happy decorating!