
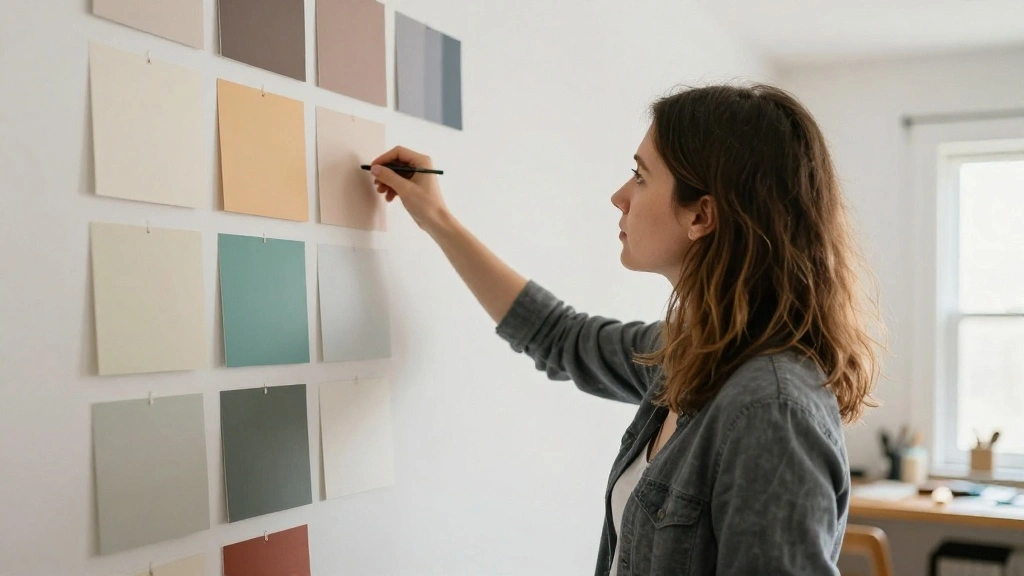
Choosing the right paint color can feel overwhelming, especially when you want your space to reflect your personality and style. With countless shades available, it’s easy to feel lost and anxious about making a decision that might not suit your home. This guide provides a solution to your color conundrum by showing you how to effectively test paint colors before you commit to a full application.
By following these steps, you’ll learn how to test paint colors in your space, ensuring that the final choice complements your environment and satisfies your aesthetic vision. You’ll gain insights on how to evaluate colors in different lighting conditions and how to create a color palette that works harmoniously.
This guide is designed for beginners and takes approximately 2-3 hours to complete. Prepare to feel confident in your color choice and enjoy the transformative power of paint in your home!
TL;DR Summary
- Test paint colors in your home to see how they look in different lighting.
- Create samples on poster boards for easy comparison.
- Consider the room’s decor and lighting when making your choice.
- Take your time to ensure the final color suits your style.
Recommended Products

PERFECT SAMPLES: These 12" x 9" white, styrene panels provide a smooth, warp-free surface for testing up to 5 color samples with paint, stain or other coatings.

PAINT COLOR SAMPLE BOARDS - Organize paint colors while exploring and comparing them effortlessly with this 24-pack paint board set. Each tester board features a blank space on the front for paint-out and a label on the back to identify all the details of the particular color you are testing

5 ASSORTED STANDARD COLORS - Sometimes all you need is the basics. Bring your signs and banners to life with this color poster board in bulk. Available in 5 standard assorted colors: Black, Blue, Red, Green, and Yellow to give your projects a clean, polished look.
TL;DR Summary
Editor’s Choice

TCP Global – 190 Micron Filter Tips Ultra-Fine Paint Strainer (50 Pack) …


Mighty Board Minis Polystyrene Paint Color Test Panels, 12″ x 9″, Set of…

Sherwin Williams Colors collection Deck Complete Paint Colors
Prerequisites/Materials Needed
- Paint Samples: 3-5 small jars of your selected colors
- Paintbrush: 1 standard brush
- Poster Boards: 3-5 boards (white or neutral color)
- Painter’s Tape: 1 roll
- Natural Light Source: Ensure the area has good lighting (windows)
- Notebook: For notes on each color
Recommended Products

Nail practice tips kit come with 150pc clear colors stiletto pointy pattern fan shape nail swatch sticks nail tech must haves, nail color swatches are made of quality acrylic material, acrylic practice nail tips are durable, sturdy, and easy to apply nail polish colors.

Stays Flat Under the Brush: Our nail swatch sticks with labels use durable plastic that holds a full coat instead of curling, so nail polish display tips stay readable when they hang on the ring

Nail Polish Swatch Set : This color analysis swatches set includes 10 clear and 10 natural acrylic swatch wheels, each featuring 20 nail tips. Perfect for practicing nail art techniques, displaying nail polish colors, and creating color analysis swatches.
Prerequisites/Materials Needed
Editor’s Choice
50 Pack White Poster Boards, 11″x14″ White Poster Paper Heavyweight Post…

Pro Grade Paint Brushes, 5-Piece Paint Brush Set, Flat & Angle Brushes f…
Sherwin Williams Colors collection Deck Complete Paint Colors
Skill Level & Time Estimate
Skill Level: beginner. Total time estimate: 2-3 hours. This includes gathering materials, preparing samples, and evaluating the colors in your space.
Recommended Products

Rich combination: What you receive the package comes with 6 pieces strips of empty paint cup pots in this package, 6 pots for each strip, totally 36 pots in 1 package for you, each pot is about 5 ml/ 0.17 ounces in capacity, sufficient quantity can satisfy your diversified needs

Value Package: You will get 100 strips empty paint pots, 6 pots for each strip, totally 600 pots in this package for you, each pot is about 5 ml/ 0.17 ounces in capacity, sufficient quantity can satisfy your diversified needs.

120-Piece Bulk Set: 120 paint pots(20 strips x 6 pots) provide art storage containersfor all needs. Each 3ml paint pots with lids holds 0.1oz pigments-sufficient for classrooms or professional studios
Skill Level & Time Estimate
Editor’s Choice

2 Pcs View Finder, Viewfinder for Artists, Sliding Viewfinder with Color…
Mighty Board Minis Polystyrene Paint Color Test Panels, 12″ x 9″, Set of…

120-Piece Empty Paint Pots, 20 Strips Mini Paint with Lid Acrylic Paints…
Step 1: Gather Your Paint Samples
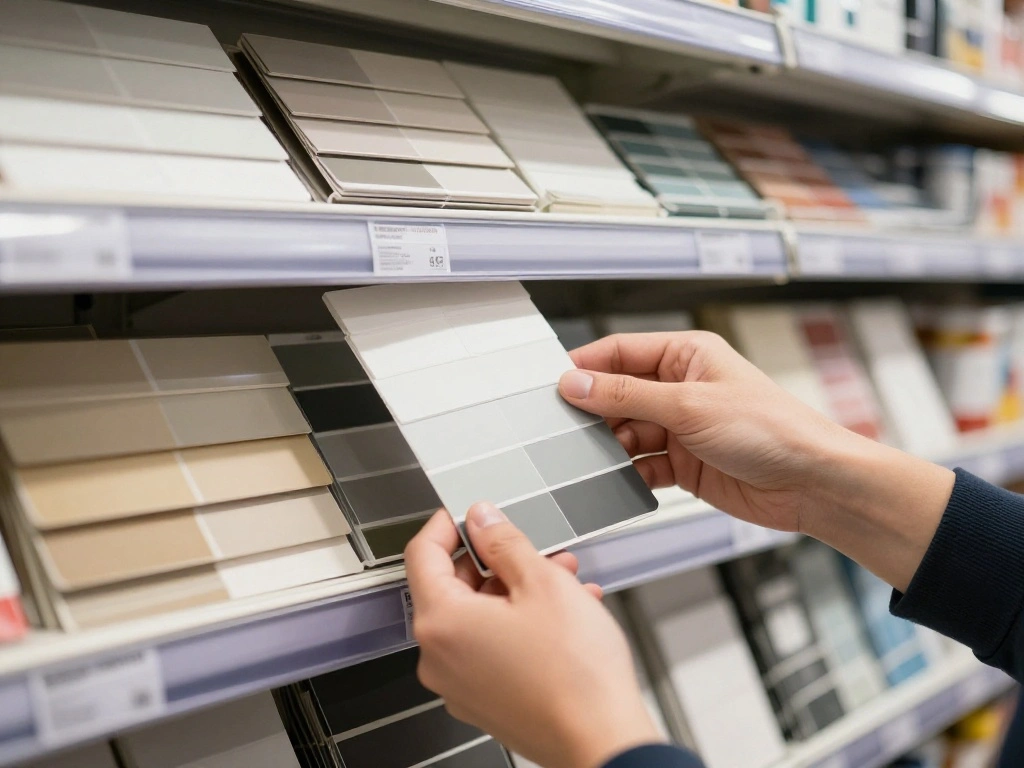
Start by selecting a few paint samples from your local hardware store. Aim for 3-5 different colors that you feel drawn to. This variety helps you compare and choose the best option for your space.
- Visit a paint or hardware store.
- Pick colors that match your vision for the room.
- Request small sample pots or swatches.
Pro Tip: Choose colors that have similar undertones to ensure they work well together.
Why this matters: Having a selection of samples allows you to see how different colors interact with your room’s lighting and decor. This step sets the foundation for your color decision.
Time estimate: 30 minutes.
Recommended Products
Bulk Quantity Strainer Filter Pack: 250 count of "Pure Blue" ultra-flow fine nylon mesh paint filter funnel, each cone strainer with extremely fine 190-micron filter tips.

Bulk Quantity Strainer Filter Pack: 50 count of "Pure Blue" ultra-flow fine nylon mesh paint filter funnel, each cone strainer with extremely fine 190-micron filter tips.

These filters will keep contaminants out of your spray gun, spray gun did not clog.
Step 1: Gather Your Paint Samples
Editor’s Choice

Pro Digital Pocket Colorimeter, Magnetic Design of Calibration Cover, Ea…


FAVOMOTO 1 Set Standard Paint Sample Cards, 365 Colors Walls Paint Chips…
Step 2: Prepare Your Sample Boards

Once you have your paint samples, prepare your sample boards for testing. This step allows you to visualize each color in your space.
- Take your poster boards and lay them flat on a clean surface.
- Using painter’s tape, section off areas for each color.
- Label each section with the name of the paint color.
Warning: Ensure the boards are completely dry before moving them to avoid smudging the paint.
Why this matters: Sample boards help you see how the colors will look in your space without committing to a full wall. This is especially important for making side-by-side comparisons.
Time estimate: 30 minutes.
Recommended Products
Paint on color and easily take test sheet or panel from room to room

MULTIPURPOSE SAMPLE BOARD: Ideal for testing paint colors, this foam core board is perfect for use as a paint color tester sample board or for displaying artwork and presentations.
Step 2: Prepare Your Sample Boards
Editor’s Choice

Staples Poster Board, 22″ x 28″, White, 20/Carton – Display Boards for S…

4 Rolls Premium Painters Tape, Blue Tape, Masking Tape, Paint Tape for M…

KILZ TRIBUTE Paint & Primer, Interior, Color Sample, Weeping Willow, 8 O…
Step 3: Paint the Sample Boards
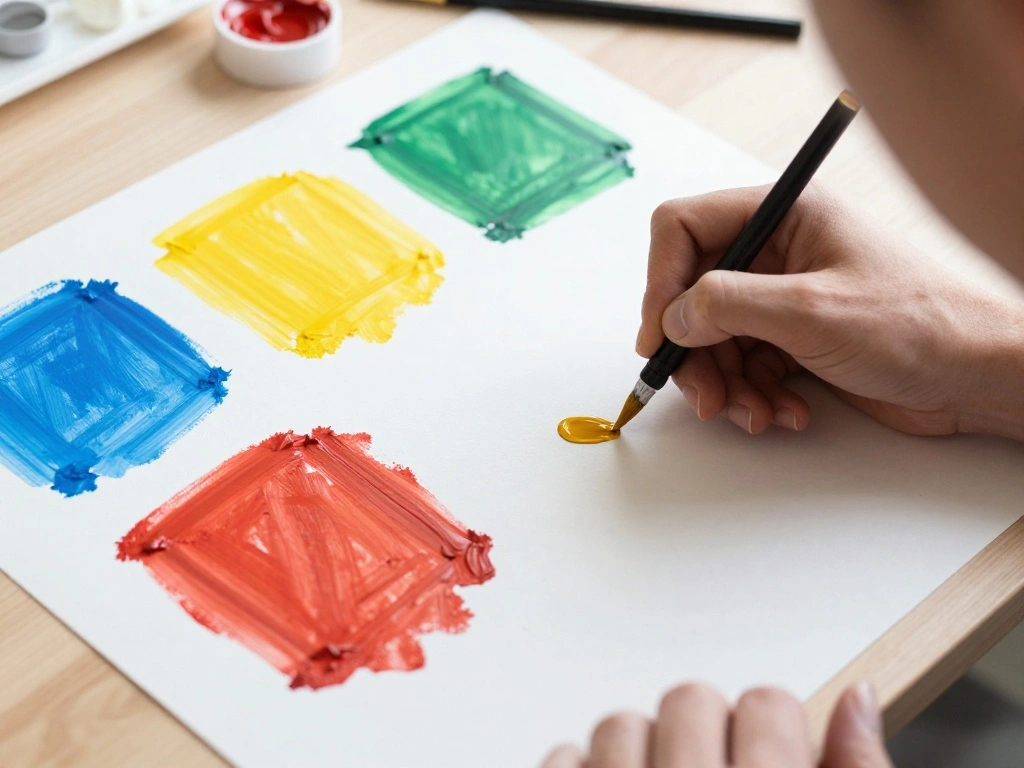
Now it’s time to apply the paint samples to the prepared boards. This step will give you a visual representation of each color.
- Open your paint samples.
- Use a clean brush to apply an even coat on each section of the board.
- Allow the paint to dry completely, typically 1-2 hours.
Pro Tip: Apply two coats of paint for better color accuracy.
Why this matters: Painting the samples allows you to see the true color and finish, as the initial wet paint often looks different when dry. This is crucial for making an informed decision.
Time estimate: 1 hour.
Recommended Products

Strong poster board: Our colorful poster board is 11 inches x 14 inches and is large enough. Made of sturdy double glued paper, it is lightweight, durable and smooth. So you can write or draw as much as you want on the poster board.

POSTER BOARD: A pack of 5 assorted color poster board sheets, 11 x 14 In, with a smooth surface for signs, school projects, displays, and crafts.

BRIGHT EYE-CATCHING NEON COLORS - Need bright colors that grab attention instantly? This neon poster board comes in 5 fluorescent shades: Red, Pink, Orange, Yellow, and Green. Choose from our single-color or assorted poster board bulk packs for vivid signs and designs that stand out.
Step 3: Paint the Sample Boards
Editor’s Choice

ARTIFY 25 Pieces Professional Paint Brush Set – Expert Series Syntheti…
Mighty Board Minis Polystyrene Paint Color Test Panels, 12″ x 9″, Set of…
Step 4: Place the Sample Boards in Your Space
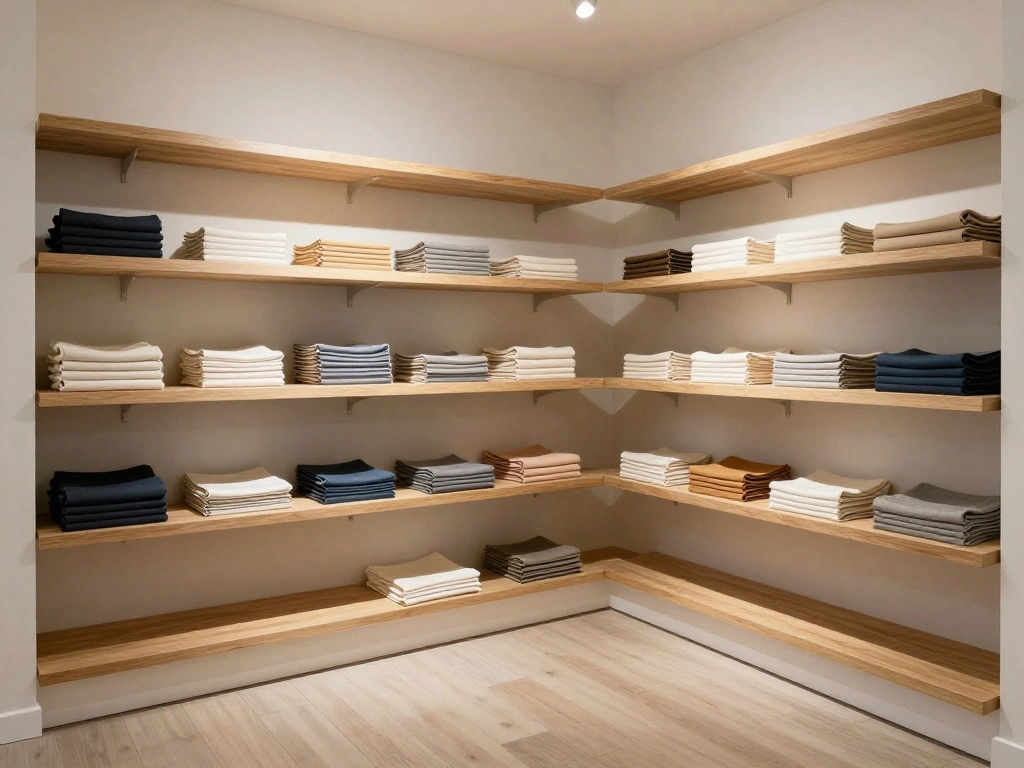
Once the paint on the sample boards is dry, it’s time to see how they look in the actual room where you’ll be painting.
- Find a location that receives ample natural light.
- Lean the sample boards against the wall where you plan to paint.
- Observe the colors at different times of the day (morning, afternoon, evening).
Warning: Avoid viewing the colors under artificial light, as this can distort the true color.
Why this matters: Lighting affects how colors appear. Testing them in your space under various lighting conditions ensures you choose a color that complements the room’s ambiance.
Time estimate: 30 minutes.
Recommended Products

Beetles 36 Color Gel Set: With the beetles gel nail polish Set, you get 36 classic and fashionable colors , 6 x No Wipe Base and Glossy & Matte & Holographic Glitter Top Coat, 1 x Nail Buffer , 1 x Nail File, 1 x Nail Clipper , 1 xDouble-ended Magnet, 1 x Cuticle Stick, to suit all occasions and seasons. Whether it's for casual wear or a special event, these beetles gel polish colors will make you stand out from the crowd.

True Color Display : Crafted from high quality acrylic, these 2 set (total 300 tips) nail swatches sticks feature a smooth, transparent design. They eliminate color distortion, letting you see the true pigment of nail polishes clearly, no guesswork on how shades look when applied.

PERFECT FOR COUNTLESS ART MEDIUMS Document each color in your art and crafting supplies collection with ease. High quality clear stamps for crafting include acrylic block, waterproof stamp pad and 16 adorable stamp designs.
Step 4: Place the Sample Boards in Your Space
Editor’s Choice
Mighty Board Minis Polystyrene Paint Color Test Panels, 12″ x 9″, Set of…
Step 5: Evaluate the Colors

With your sample boards in place, take time to evaluate each color. This step is essential to determine which shade resonates with you.
- Spend time observing each color at different times of day.
- Take notes on how each color makes you feel.
- Consider how the colors interact with your furniture and decor.
Pro Tip: Invite friends or family to gather their opinions, as fresh perspectives can help.
Why this matters: Evaluating the colors thoroughly ensures you pick one that fits your lifestyle and enhances your space rather than clashing with it.
Time estimate: 1 hour.
Recommended Products

120 MINI PAINT+20 BRUSHES-The MicoSim 140 PCS Acrylic paint set contains 10 Points brushes, 10 flat brushes and 10 pack 12 colors of paint. a very economical price with extremely high performance-to-price ratio,meet your multiple painting needs.

GREAT VALUE PACKAGE FOR KIDS:You will get 20 strips of empty paint cup pots in this package,6 pots for each strip,20 pieces paint brushes and 20 pieces detail paint brushes,totally 120 pots and 40 paint brushes at a very economical price with extremely high performance-to-price ratio.

🎨【Special Value Pack】 Our acrylic paint pot set comes with 40 strips of empty paint pots,6 pots for each strip. Totally 240 pieces of paint pots that will meet your daily painting, craft project use needs.
Step 5: Evaluate the Colors
Editor’s Choice

The Naturalist’s Notebook: An Observation Guide and 5-Year Calendar-Jour…
Mighty Board Minis Polystyrene Paint Color Test Panels, 12″ x 9″, Set of…
ILC RGB LED Light Bulb, Color Changing Light Bulb, 40W Equivalent, 450LM…
Step 6: Make Your Decision

After evaluating the colors, it’s time to make your decision. This step solidifies your choice and prepares you for the next phase.
- Review your notes and feelings about each color.
- Discuss with anyone else involved in the decision.
- Choose the color that best aligns with your vision and ambiance.
Warning: Don’t rush this step; take your time to ensure you’re satisfied with your choice.
Why this matters: Making a well-informed decision prevents regret later on and ensures that the final color enhances your space for years to come.
Time estimate: 30 minutes.
Recommended Products


Durable Material: the paint strainers are made of quality paper with nylon mesh tip at bottom, durable and not easy to break, sure to withstand repeated use; These materials not only bring durability, but also facilitate practicality in the paint job

Bulk Quantity Strainer Filter Pack: 1000 count of "Pure Blue" ultra-flow fine nylon mesh paint filter funnel, each cone strainer with extremely fine 190-micron filter tips.
Step 6: Make Your Decision
Editor’s Choice

OSALADI Professional Architecture Paint Color Cards Set Portable Paint C…

YGAOHF 36 Pcs Empty Paint Pots, Small Paint Containers with Lids, Easy O…

PULUZ Mini Photo Studio Light Box, Photo Shooting Tent kit, Portable Fol…
Step 7: Purchase the Paint

Once you’ve chosen your color, it’s time to purchase the paint. This step is straightforward but essential for your project.
- Head to your local paint store or order online.
- Purchase the amount needed based on the size of the area you’ll paint.
- Ensure you buy the same finish as your samples (e.g., matte, satin).
Pro Tip: Always buy a little extra paint to account for touch-ups later.
Why this matters: Having the right amount and type of paint ensures a smooth application process and helps you achieve the desired look.
Time estimate: 30 minutes.
Step 7: Purchase the Paint
Editor’s Choice
Mighty Board Minis Polystyrene Paint Color Test Panels, 12″ x 9″, Set of…

Sidasu 50 Can Spray Paint Can Holder, Rolling Spray Paint Organizer Cart…
Step 8: Prepare for Painting
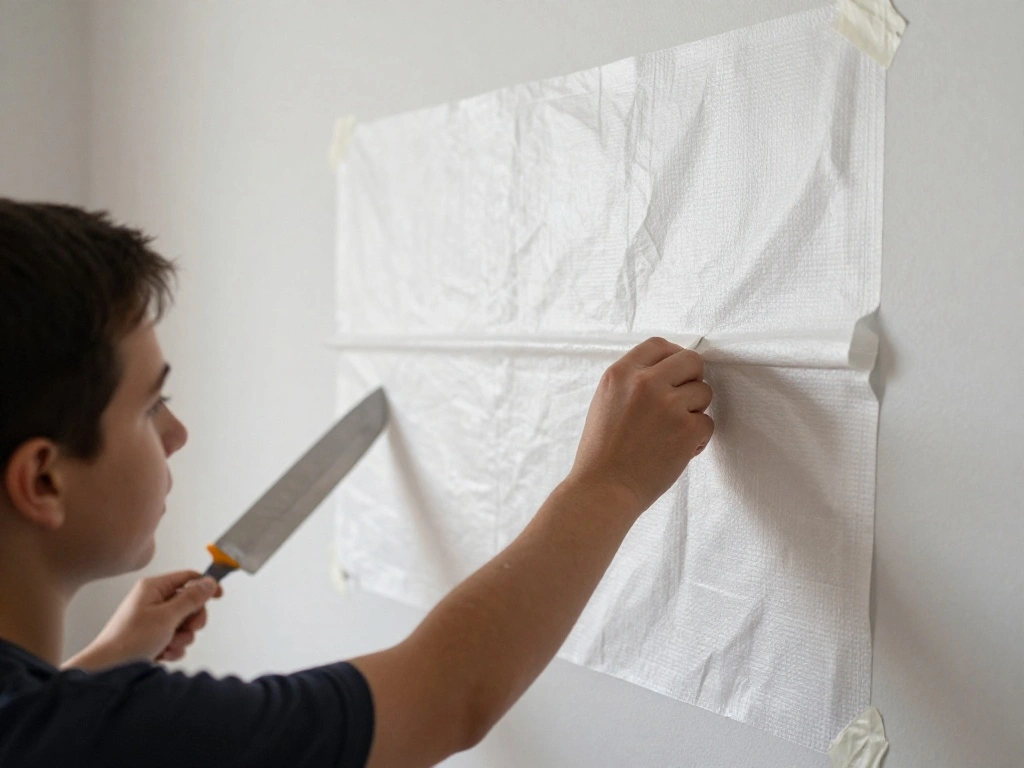
Preparation is key before painting your walls. This step ensures a clean and efficient painting process.
- Clear the room of furniture and cover the floor with drop cloths.
- Use painter’s tape to protect edges and trim.
- Ensure the walls are clean and primed if necessary.
Warning: Skipping preparation can lead to messy results, so take your time with this step.
Why this matters: Proper preparation ensures that the paint adheres well and that you achieve a professional-looking finish.
Time estimate: 1 hour.
Step 8: Prepare for Painting
Editor’s Choice

1 Quart Bulls Eye 1-2-3 Primer Sealer Stain Killer
4 Rolls Premium Painters Tape, Blue Tape, Masking Tape, Paint Tape for M…
Step 9: Start Painting!
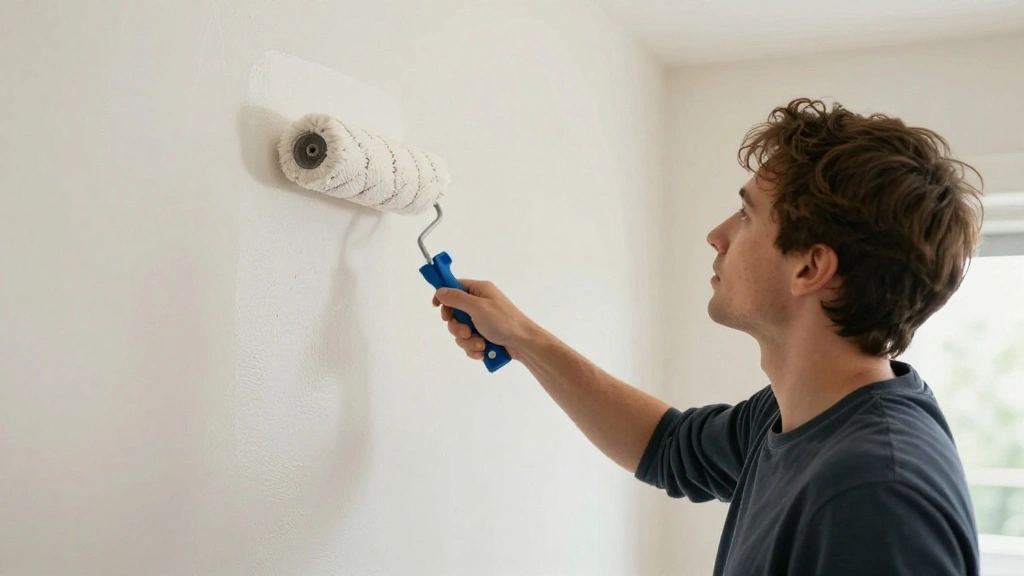
Now comes the exciting part—it’s time to paint! This step brings your vision to life.
- Stir the paint thoroughly before using it.
- Use a brush for corners and a roller for larger areas.
- Apply at least two coats for even coverage.
Pro Tip: Allow each coat to dry completely before applying the next.
Why this matters: Proper application techniques ensure the best finish and longevity of your paint job. This is the moment you’ve been preparing for!
Time estimate: 2-3 hours.
Step 9: Start Painting!
Editor’s Choice

Pro Grade – Paint Roller Covers – 1/2 X 9 Inch Microfiber 5 Pack
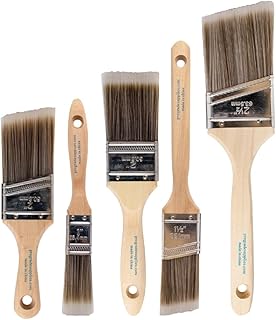
Pro Grade Paint Brushes, 5-Piece Paint Brush Set, Flat & Angle Brushes f…
Pro Tips
- Lighting Matters: Always view colors in natural light to get an accurate feel for how they will look in your space.
- Consider Flow: Choose colors that flow well from room to room, especially in open-concept spaces.
- Finish Types: Understand the difference between finishes (matte, satin, gloss) and choose one that fits your lifestyle.
- Sample Generously: Don’t hesitate to use large samples or test patches to see how the color looks on the wall.
- Document Your Choices: Keep a record of the colors you test and your thoughts on each for future reference.
Pro Tips
Editor’s Choice

NCS Colourpin II Color Reader – Bluetooth Color Matching Tool for Design…

Boldify Hair Fibers Color Sample Kit – Fill In Thinning and Fine Hair fo…

Youtime LED Light Bulb A19 3 Color Temperature 3000K-5000K-4000K,3CCT Co…
Common Mistakes to Avoid
Warning: Skipping the sample step can lead to costly mistakes. Always test before you buy.
Warning: Choosing a color based solely on a tiny swatch can mislead you. View larger samples in your space.
Warning: Ignoring lighting conditions can change how a color looks dramatically. Always test in various lights.
Common Mistakes to Avoid
Editor’s Choice

10000LM LED Work Light: Portable Work Light with 5FT Cord, IP66 Waterpro…

Mighty Board Minis Polystyrene Paint Color Test Panels, 12″ x 9″, Set of…

Seasonal Color Analysis Card – Acrylic Color Palette Guide for Shoppin…
Troubleshooting Section
Problem: The color looks different than expected.
Solution: Re-evaluate the lighting and try another sample.
Problem: Paint dries with streaks.
Solution: Ensure proper application techniques and use a high-quality roller.
Problem: The color feels too dark or too light.
Solution: Consider lighter or darker shades based on your feelings about the initial choice.
Troubleshooting Section
Editor’s Choice
Mighty Board Minis Polystyrene Paint Color Test Panels, 12″ x 9″, Set of…

E130 Light Meter – Accurate Lux & Color Temperature (CCT) for Any Ligh…

Amazon Basics Microfiber Paint Roller Covers for Painting Walls, Smooth …
Variations/Alternative Methods
If you’re looking for alternatives, consider these methods:
- Virtual Painting Apps: Use apps that let you visualize colors on your walls before painting.
- Color Consultation: Hire a color consultant for expert advice tailored to your space.
- Wallpaper or Decals: If unsure about paint, try temporary wallpaper or decals to test colors and patterns.
Each method has its own pros and cons, but they can provide additional avenues to explore your options.
Variations/Alternative Methods
Editor’s Choice


15.7″ X 118″ Black Silk Wallpaper Embossed Self Adhesive Peel and Stick …

ALL-IN-ONE Paint by Heirloom Traditions, 2 Quart Cabinet Paint Bundle an…
FAQs
What if I don’t have painter’s tape? You can use a steady hand and a brush for edges, but painter’s tape ensures clean lines.
How long should I wait between paint coats? Allow at least 2-4 hours for each coat to dry before applying the next.
Is it safe to paint indoors? Yes, but ensure good ventilation. Use a mask if sensitive to paint fumes.
FAQs
Editor’s Choice
12PCS Empty Paint Cans with Lids, 1 Quart Metal Unlined Paint Bucket, Sm…

4 Rolls Premium Painters Tape, Blue Tape, Masking Tape, Paint Tape for M…
Conclusion
Congratulations! You’ve successfully navigated the process of testing paint colors. With your chosen hue, you are now ready to transform your space into a beautiful reflection of your style.
Next, gather your supplies and prepare to paint. Enjoy the fresh look of your room and the satisfaction of having made an informed decision. For more inspiration and tips, explore our other home improvement resources!