
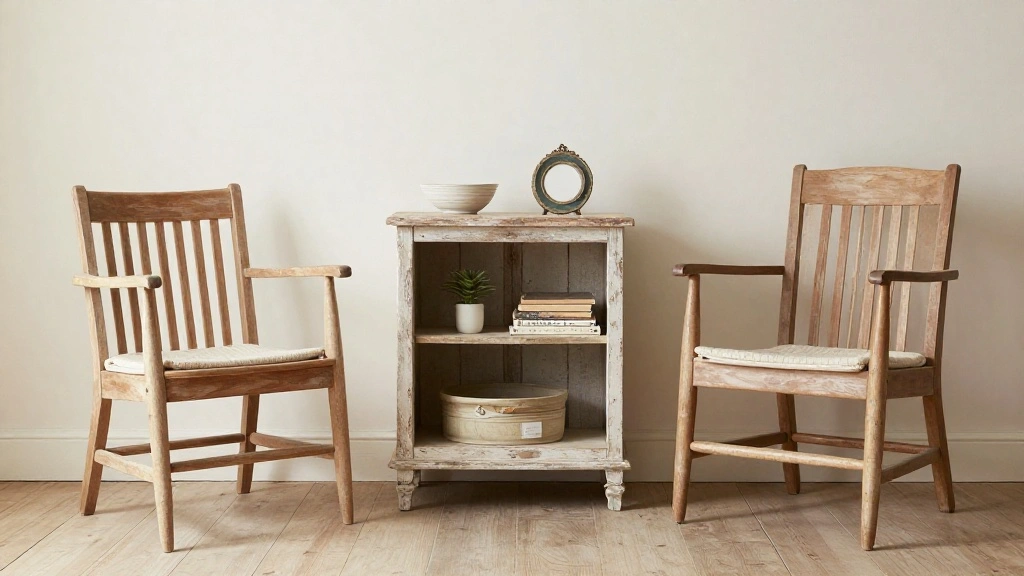
If you’re looking to achieve that charming farmhouse aesthetic in your home, distressed wood is a must-have. It’s not just about looks; distressed wood tells a story, evoking feelings of warmth, nostalgia, and comfort. Unfortunately, creating this rustic vibe can seem daunting if you don’t know where to start. But fear not! With the right techniques, you can transform any piece of wood into a stunning focal point.
In this guide, you’ll learn how to distress wood effectively, ensuring you achieve the perfect aged look. By the end, you’ll have a beautifully distressed wood piece that enhances your home decor while also reflecting your personal style. Expect to master various techniques like sanding, using paint, and applying stains.
This project is rated as beginner level and will take approximately 2-3 hours to complete, depending on your pace and the complexity of the piece you choose. Let’s get started!
TL;DR Summary
- Learn how to distress wood for a rustic farmhouse look.
- Follow 8 easy steps, from sanding to staining.
- Gather basic materials and tools for this beginner-friendly project.
- Transform your decor with a charming, aged wood piece in just 2-3 hours.
Recommended Products
Ideal for use on all interior wood projects: furniture, cabinets, doors, trim and paneling

Ideal for use on all interior wood projects: furniture, cabinets, doors, trim and paneling

Water-based wood stain creates rich, even color in 1 coat on most surfaces
TL;DR Summary
Editor’s Choice

BURMONG 25PCS Sanding Sponge Set 80–3000 Grit, Reusable 3×4 Inch Wet …


4 Pieces Wood Graining Tool Wood Grain Paint Tool Wood Grain Tool Kit De…

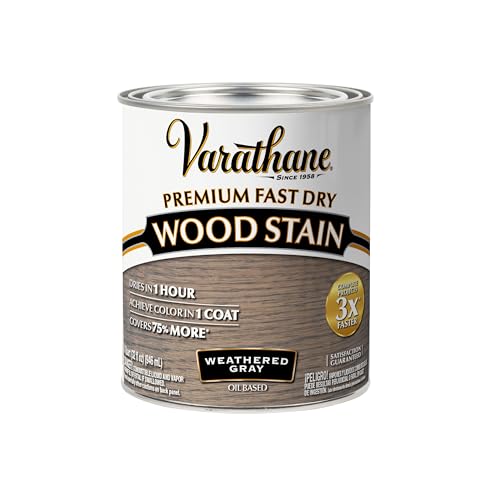
Varathane Premium Fast Dry Wood Stain | 1 Hour Dry Time | 1 Coat Color |…
Prerequisites/Materials Needed
- Wood piece: 1 (e.g., a table, chair, or shelf)
- Sanding block: 1 (medium-grit and fine-grit)
- Paint (optional): 1 can (choose a color for your base coat)
- Paintbrush: 1 (for applying paint)
- Wood stain: 1 can (select a color that complements the wood)
- Rag or cloth: 1 (for applying stain)
- Hammer: 1 (for creating dents)
- Chisel or screwdriver: 1 (for gouging effects)
- Protective gear: Gloves and mask
Recommended Products

Assorted Grit Sanding Blocks – This set includes 4 sponge sanding blocks (4 x 2.6 x 0.7 inches) in 120, 220, 320, and 400 grits, covering coarse to ultra-fine sanding needs. Color-coded for easy identification.

Product specifications: You will get 12 sanding blocks sized 10 x 6.5 x 2.5 cm (3.94 x 2.56 x 0.98 inches), including 60, 80, 100, 120, 180, and 220 grit sanding sponges, suitable for each stage of sanding

2 PCS Each of 80/100/120/180/220/320 Grit -Coarse Medium Fine Hand Sanding Block Sandpaper Sponge for Metal Wood-Working Home Cleaning Drywall.
Prerequisites/Materials Needed
Editor’s Choice

Romeda 8-Pack Sanding Sponge, Four Grits Per Pack 60/80/120/220, Washabl…

SamaN Interior Water Based Wood Stain – Natural Stain for Furniture, Mol…
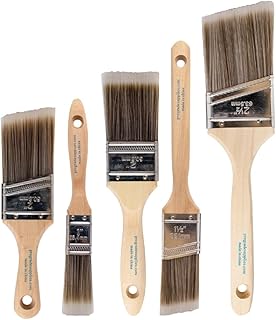
Pro Grade Paint Brushes, 5-Piece Paint Brush Set, Flat & Angle Brushes f…
Skill Level & Time Estimate
Skill Level: beginner
Total time estimate: 2-3 hours
This includes time for preparation, distressing, and drying, broken down as follows:
- Preparation: 30 minutes
- Distressing: 1-2 hours
- Drying time: 1 hour
Recommended Products

【Various Sets】This brush set includes 20 flat-tip brushes and 20 round-tip brushes, providing variety for different painting techniques. Flat-tip brushes are great for large areas and broad strokes, while round-tip brushes excel at detail and fine lines

🦋【Chip Paintbrush】This 5 pack Chip Brush Set contains 1pc of each size: 1"- 1½"- 2" x2- 2½" (25mm, 38mm, 50mm x2, 64mm). It is perfect for furniture or fence varnishing and staining; Different sizes allow for a wider stroke from small edges to large surface painting. It is specially used as a set of varnish brush, masonry brush, limewash brush or paste brush. This disposable paint brush is economical and practical, also great for both interior and exterior painting works.

Big Chip Brushes: 3 inch (75mm) wide Paint Brush allows for a wider stroke from small edges to large surface painting, and allows you to attain all of your decorating styles. It is specially used as a varnish brush, a masonry brush, a limewash brush or a paste brush. This disposable paint brush is economical and practical, also suitable for both interior and exterior painting works
Skill Level & Time Estimate
Editor’s Choice

Wood Graining Tool Set, 6pcs 7″ Fake Wood Grain Roller Painting Tool wit…

3M Aluminum Oxide Sandpaper, 5 Sheets, Assorted Grit 100-150-220, 9-in x…
Step 1: Prepare Your Workspace
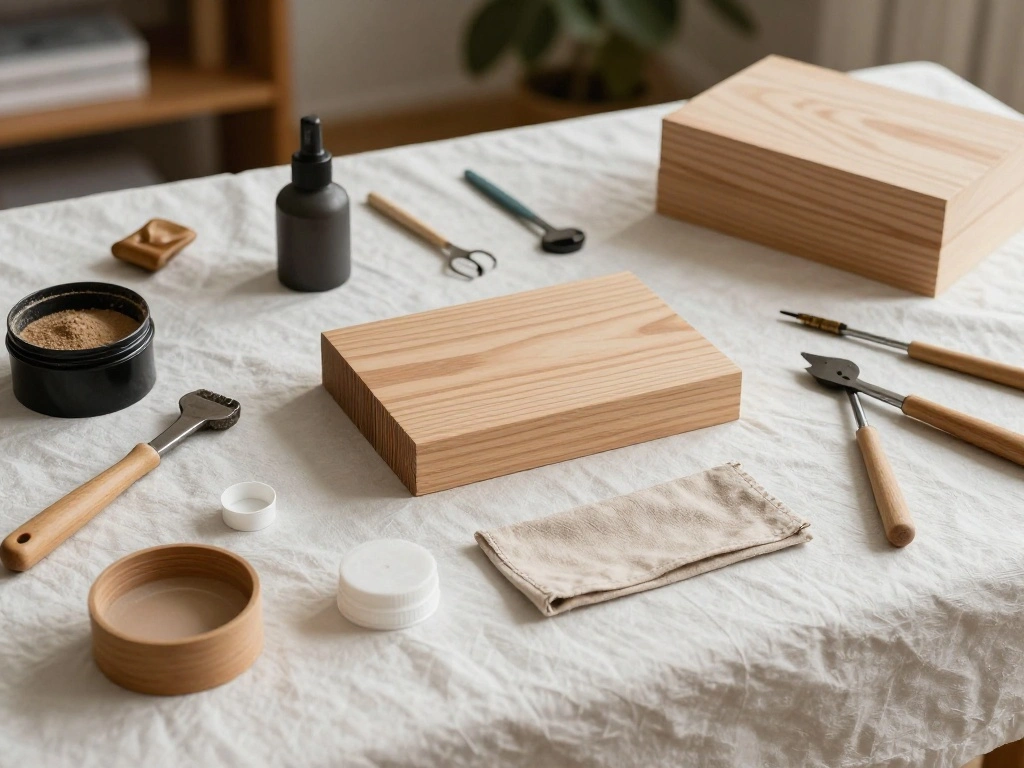
Before you start distressing your wood, it’s essential to prepare your workspace. This step ensures you have everything at hand and protects your surroundings.
- Choose a well-ventilated area, preferably outdoors or in a garage.
- Lay down a drop cloth or newspaper to catch any dust or spills.
- Gather all your materials and tools within reach.
Pro Tip: Make sure to wear protective gear, including gloves and a mask, to keep yourself safe from dust and chemicals.
This matters because a clean and organized workspace allows you to work efficiently and reduces the risk of accidents. Time estimate: 15-20 minutes.
Recommended Products

Premium Blades: Drop forged CR-V steel with heat-treated edges ensures sharp precision and long-lasting durability, can be used to make finish or paring cuts on wood surfaces, as well as cut mortises

√ Heat Treated - Made from heat-treated, chrome vanadium steel alloy with a ground finish and narrow side bevels.

8-piece wood carving chisel set includes 6x chisels 1/4 inch (6mm), 1/2 inch (13mm), 3/4 inch (19mm), 1 inch (25mm), 1-1/4 inch (32mm) and 1-1/2 inch (38mm), 1x honing guide and 1x sharpening stone (120/240 grit)
Step 1: Prepare Your Workspace
Editor’s Choice

6 Pcs Wood Grain Tool Set, DIY Wood Graining Tool for Wall; Furniture, S…
Step 2: Sand the Wood
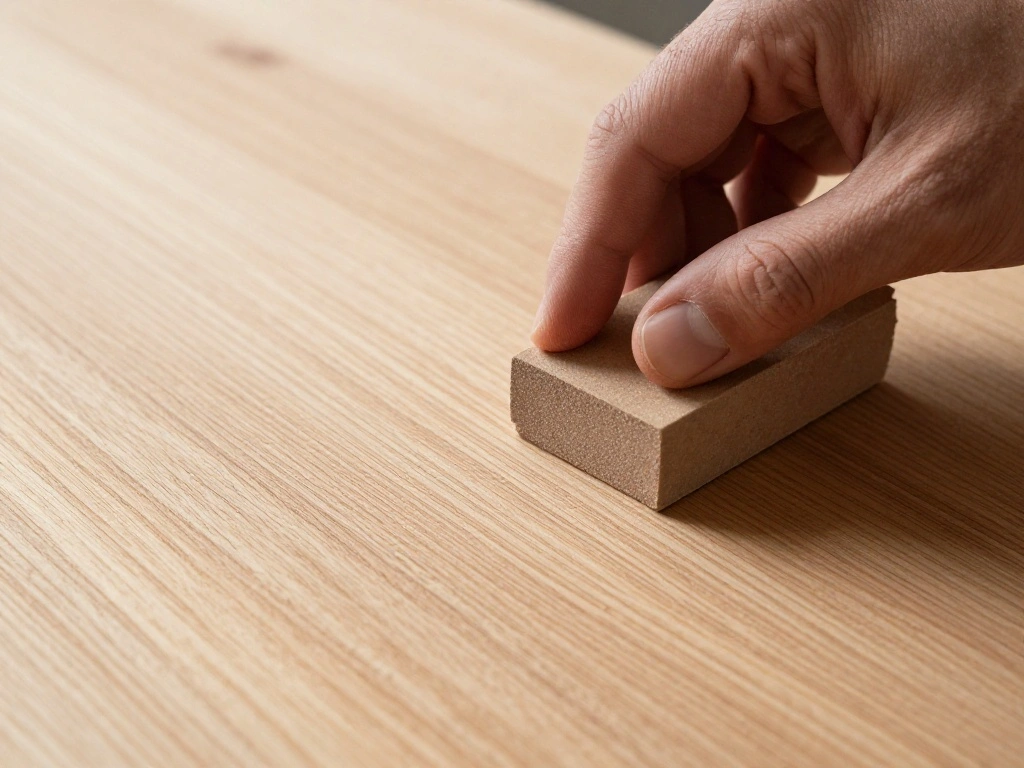
Next, you will sand the wood to create a smooth surface for distressing. This initial sanding helps the paint or stain adhere better.
- Start with a medium-grit sanding block. Sand along the grain of the wood.
- Pay extra attention to edges and corners, as they will show wear more naturally.
- Finish with a fine-grit sanding block for a smooth surface.
Pro Tip: Don’t skip this step—sanding is crucial for achieving a professional-looking finish.
Why this matters: Proper sanding ensures that the wood is ready for the distressing process, allowing for better paint and stain adhesion. Time estimate: 30-40 minutes.
Recommended Products

Various Patterns: Can be used to simulate a variety of different wood patterns, including cathedral oak, pine & cedar
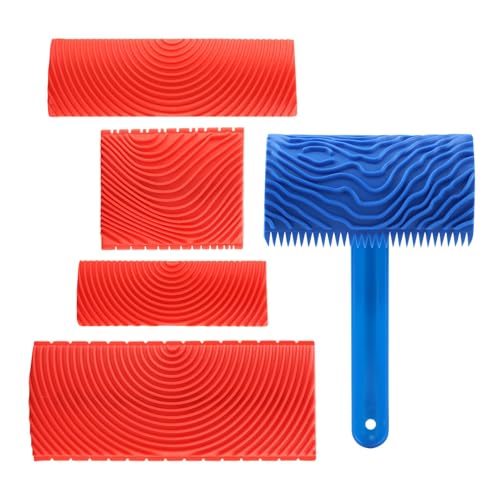
Assorted Sizes for Versatile Use: This wood graining tool kit includes 4 tools in distinct sizes, perfectly catering to your diverse creative demands and convenient replacement during DIY projects

Long-lasting performance: Enhance your DIY projects with the wood grain tool, a must-have for achieving authentic wood textures effortlessly. Made of premium rubber, this durable tool ensures long-lasting performance in wood graining applications
Step 2: Sand the Wood
Editor’s Choice
Romeda 8-Pack Sanding Sponge, Four Grits Per Pack 60/80/120/220, Washabl…

4 Pack Hand Sanding Sponge Set -120 220 320 400 Grit- Coarse Medium Fine…

Romeda 8-Pack Sanding Sponge, Four Grits Per Pack 60/80/120/220, Washabl…
Step 3: Apply Base Coat (Optional)
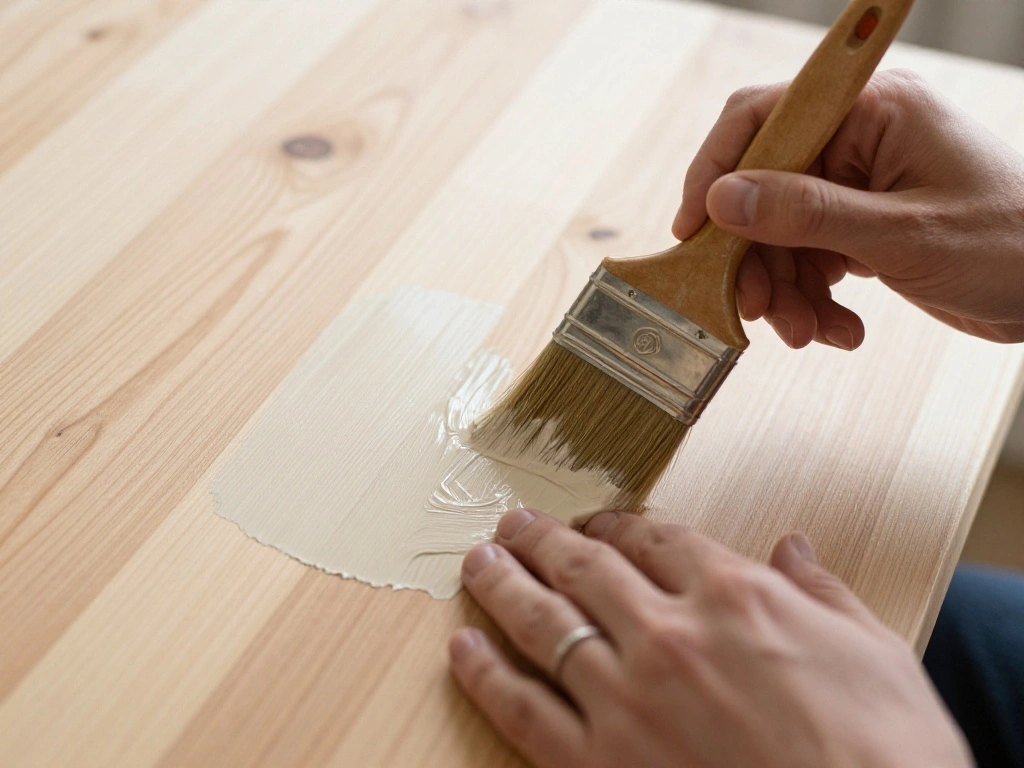
Applying a base coat of paint can add depth to your distressed wood. This step is optional but can enhance the overall effect.
- Choose a paint color that complements your desired final look.
- Using a paintbrush, apply a thin layer of paint to the entire surface.
- Let the paint dry completely before proceeding.
Pro Tip: If you want a more rustic look, consider using a color that contrasts with your wood.
This matters because the base coat provides a foundation for the distressing, allowing the wood’s natural beauty to shine through. Time estimate: 30-45 minutes (including drying time).
Recommended Products

THICK, NO-DRIP FORMULA: Less mess than traditional wood stains and applies smoothly on horizontal and vertical surfaces including wood, metal, fiberglass and more

Track your travels on this beautiful National Geographic push pin travel map

Great Value & Chic Style: This hallway runner rug adds a vibrant touch to your living room with its beautiful colors and subtle pattern that complements your furniture and decor. It's soft to the touch and looks as elegant as more expensive entryway rugs, offering excellent value for its quality.
Step 3: Apply Base Coat (Optional)
Editor’s Choice

Mister Rui Chalk Wax Paint Brush, 3pcs, Chalk Paint Brushes for Furnitur…
Varathane Premium Fast Dry Wood Stain | 1 Hour Dry Time | 1 Coat Color |…

FolkArt Home Decor Chalk Furniture & Craft Acrylic Paint in Assorted Col…
Step 4: Distress the Wood
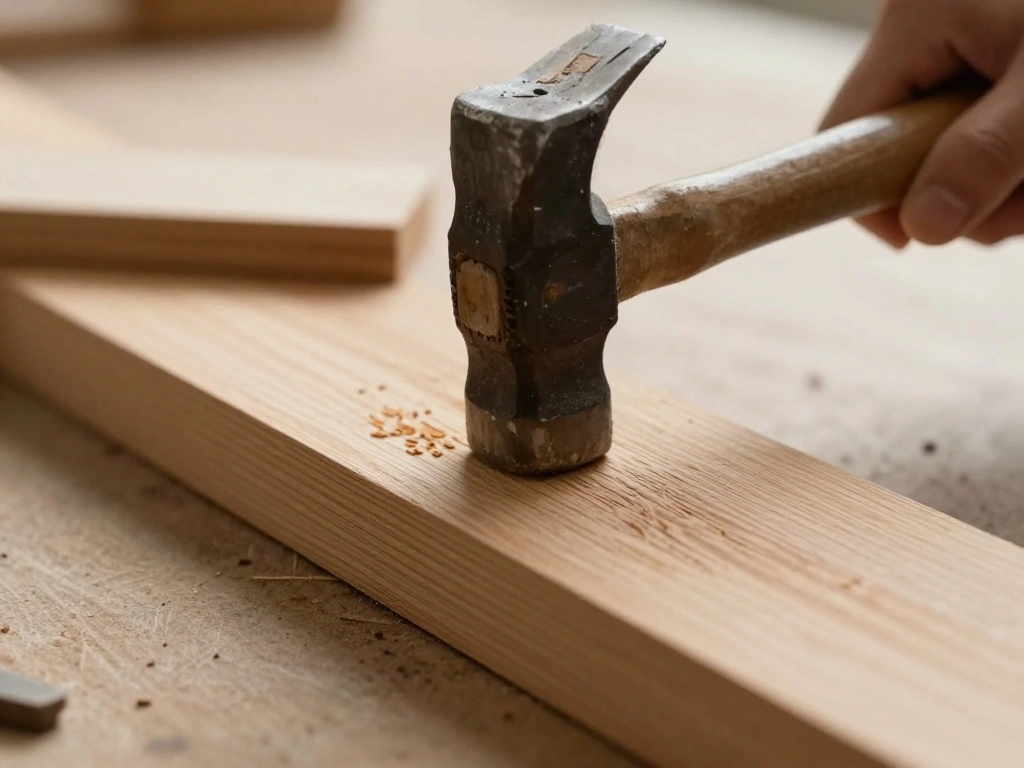
Now comes the fun part—distressing the wood! This step creates the worn, aged appearance characteristic of farmhouse decor.
- Use a hammer to create dents in various areas of the wood.
- Use a chisel or screwdriver to gouge small sections for added texture.
- Focus on edges and corners for a more authentic look.
Pro Tip: Don’t overdo it; subtle distressing often looks more natural than heavy wear.
This matters because the distressing process adds character and charm to your wood piece, making it feel more lived-in and authentic. Time estimate: 30-45 minutes.
Recommended Products

20 PCS Sanding Sponge Set included 4 each of 400 600 1000 2000 3000 Grits

【Assorted Grit Sanding Blocks】 - Includes 10 pcs across 5 grit grades: 60/80/100/120/180/220. 220 grit comes with 4 pcs, all other grits come with 2 pcs each. Covers coarse to superfine for progressive sanding. Sheets can be cut to size for custom applications.

【ASSORTED GRIT SANDING BLOCKS】 8 sand blocks, 4 sizes from coarse to ultra-fine sand, 60/80/120/220 grit, 2 blocks for each grit. There are four different colors, grey (corresponding to grit size - 220), blue (120), green (80), and orange (60), with different numbers of grains for different colors.
Step 4: Distress the Wood
Editor’s Choice

jojofuny Round Head Mini Foam Pads 20pcs Replacement Blending Pads for I…

GREBSTK 4-Piece Ultra-Sharp Wood Chisel Set, CR-V Steel Beveled Blades w…

QWORK Wooden Mallet, 9.5″ Manual Ice Hammer Mallet Beech Solid Carpenter…
Step 5: Apply Wood Stain
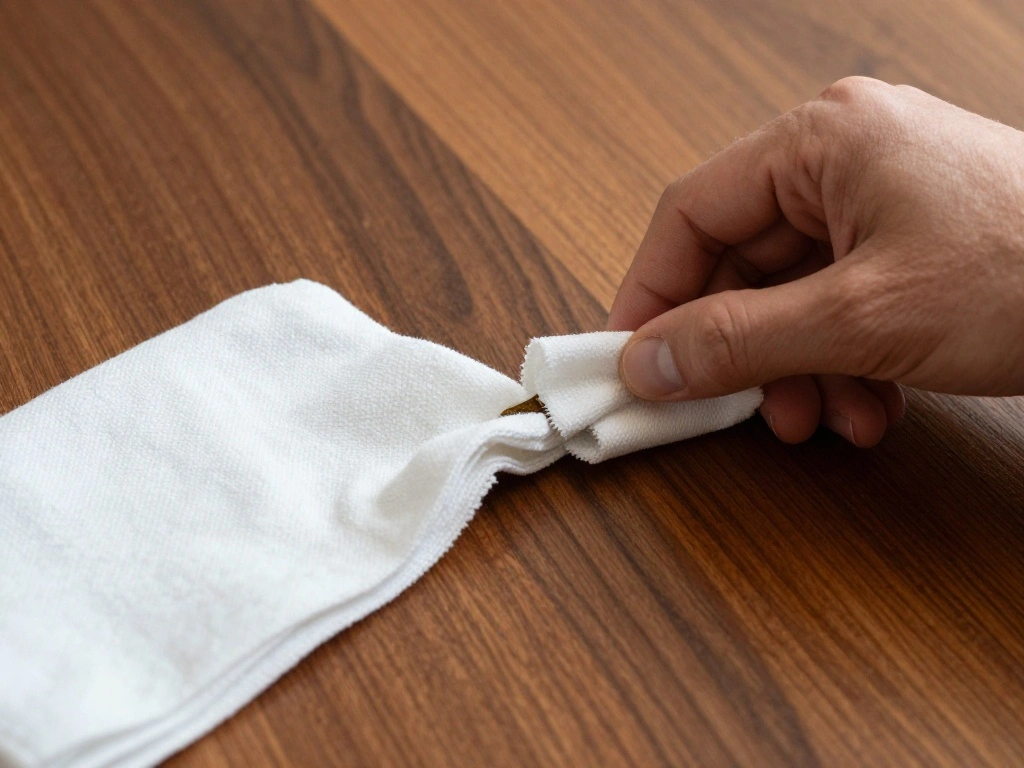
After you’ve distressed the wood, applying a wood stain enhances the color and adds to the rustic feel.
- Choose a stain color that works with your base coat.
- Using a rag or cloth, apply the stain, working it into the wood.
- Allow the stain to sit for a few minutes before wiping off the excess.
Pro Tip: Test the stain on a small area first to ensure it meets your expectations.
This matters because the stain brings out the wood’s natural grain and character, resulting in a beautifully aged appearance. Time estimate: 30 minutes.
Recommended Products

Professional Paint Brushes: 2 Pack 10 Different Sizes ( 5/8 8 6 4 5 3 2 2 1 2/0); Length: 17.5 cm to 19.5 cm (6.9 to 7.7 inches), High Quality Wood Handle and Variety of Shapes Tip Make Mixing Color More Easier. Whether you're a beginner, hobbyist or a professional, this artist paint brushes will help you make excellent work of art for your families who have fun in painting

GREAT WITH ACRYLIC AND OIL - Two Blender brushes that work great for background and creating beautiful scenes

Professional Paint Brushes Bulk: 10 different sizes ( 5/8 8 6 4 5 3 2 2 1 2/0); length: 17.5 cm to 19.5 cm (6.9 to 7.7 inches), High quality wood handle and variety of shapes tip perfect for art painting. Whether you're a beginner, hobbyist or a professional, this paint brush set will help you make excellent work of art.
Step 5: Apply Wood Stain
Editor’s Choice

7-Inch Deck Stain Brush Applicator for Applying Paints, Sealers on Wood,…
Varathane Premium Fast Dry Wood Stain | 1 Hour Dry Time | 1 Coat Color |…
Step 6: Let It Dry
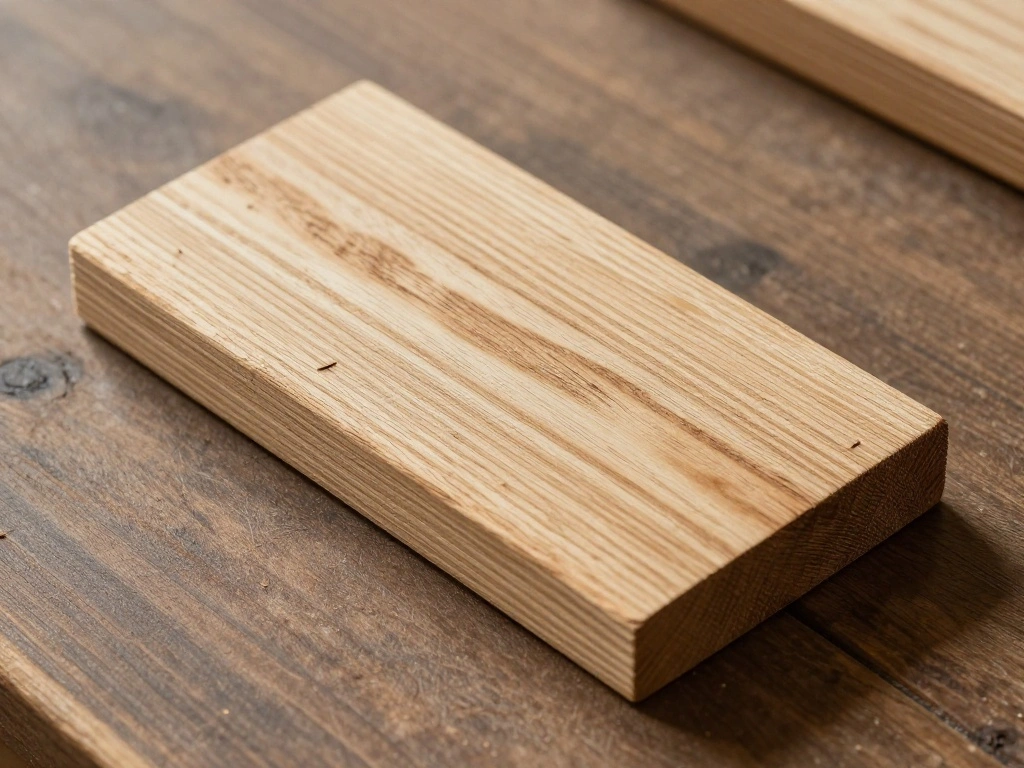
Giving your wood time to dry is crucial for achieving the best results. This step allows the stain to set and the piece to become ready for use.
- Place the distressed wood in a well-ventilated area.
- Allow it to dry for at least one hour.
- Check for any areas that may need additional touch-ups.
Pro Tip: Do not rush this step; proper drying is key to a durable finish.
This matters because insufficient drying can lead to smudging and uneven finishes, detracting from your hard work. Time estimate: 1 hour.
Recommended Products

10PCS WOOD CHISEL SET: Includes 6 common sized wood chisels(6mm/13mm/19mm/25mm/32mm/38mm), sharpening stone, honing guide, 2 carpenter pencils & a pencil sharpener, fit for the home owner, beginning caver or professional woodworker to do repairing around the house, furniture assembling, woodworking and DIY projects

Versatile Wood Chisel Set: This chisel set woodworking kit includes 4 pieces wood chisels in different sizes, including 6mm, 12mm, 18mm, 24mm. Can meet your different woodworking needs. The great choice for carpenter tools, craft supplies and tools, bushcraft tools, wood working tools and accessories

Thick metal strike cap with flat surface for effective strikes
Step 6: Let It Dry
Editor’s Choice
Pro Grade Paint Brushes, 5-Piece Paint Brush Set, Flat & Angle Brushes f…

Varathane Premium Fast Dry Wood Stain | 1 Hour Dry Time | 1 Coat Color |…

Sand Paper, 48 PCS Sandpaper, 120 to 5000 Assorted Grit Sandpaper Sheets…
Step 7: Seal the Finish (Optional)
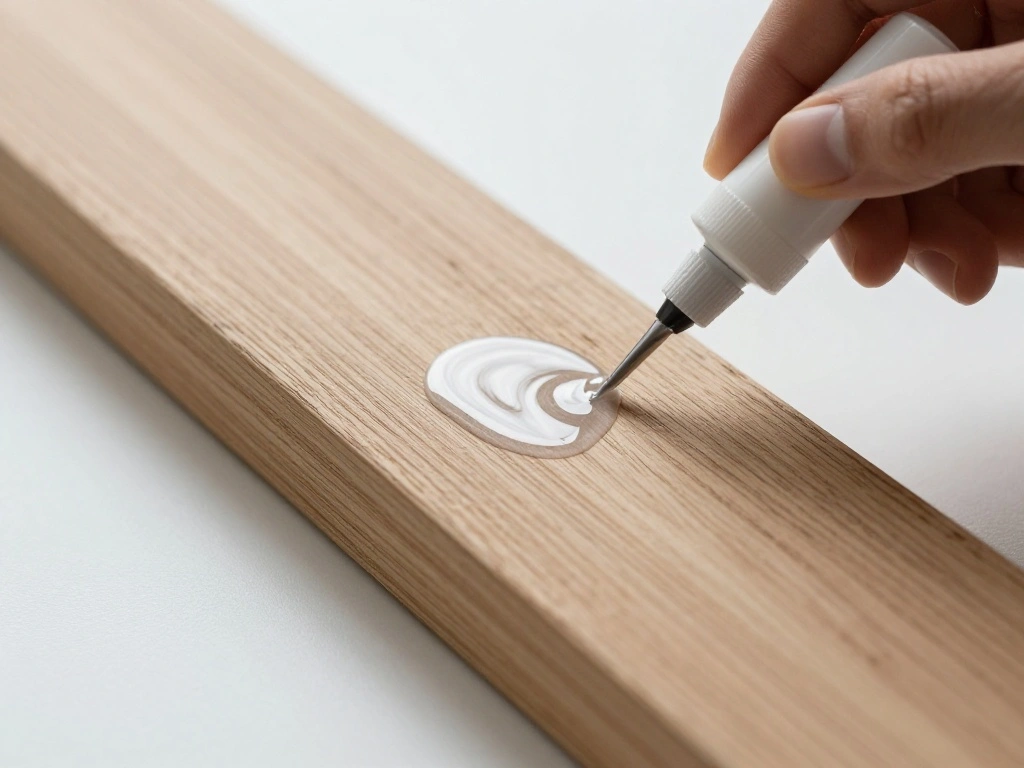
To protect your distressed wood and ensure longevity, sealing it is a good option. This step is especially important for pieces that will be used frequently.
- Choose a clear sealant suitable for wood.
- Using a clean brush, apply a thin layer over the entire surface.
- Let it dry according to the manufacturer’s instructions.
Warning: Make sure to apply the sealant in a well-ventilated area to avoid inhaling fumes.
This matters because sealing protects your wood from moisture, dirt, and damage, keeping it looking beautiful for years to come. Time estimate: 30 minutes (including drying time).
Recommended Products

DIY MUST HAVE: With our woodgrain tool kit, you can easily create a variety of beautiful woodgrain patterns, show realistic woodgrain effect, decorate your ideal home.

【SET OF 4 OR 5 WOOD GRAINING TOOL SET 】 Our wood graining painting tool set contains 4 different types of rollers. Specially designed for decorative wood grain applications. Transform plain surfaces into realistic wood-inspired masterpieces effortlessly and efficiently

【DURABLE MATERIAL】 Our wood grain tools are made of high quality soft rubber, good elasticity, non-toxic, tasteless, with high wear resistance and toughness, so you can reuse it with confidence
Step 7: Seal the Finish (Optional)
Editor’s Choice

Bates- Natural Bristle Brush Set – Assorted Sizes, 24 Pack, Chip Brushes…
ProCare Premium Masonry and Wood Floor Sealer – Outdoor Waterproof Prote…

3M P100/OV Odor/Particulate Multi-Purpose Reusable Respirator 65021, NIO…
Step 8: Enjoy Your Distressed Wood Piece
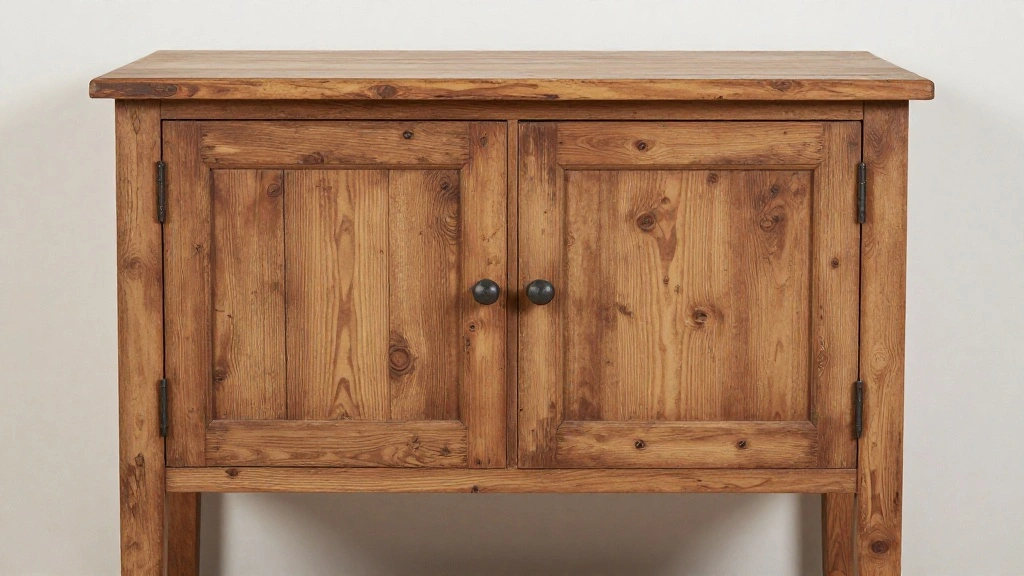
Congratulations! You’ve successfully distressed your wood piece. Now it’s time to showcase your hard work.
- Place your newly distressed wood item in your desired location.
- Consider styling it with farmhouse decor elements like vintage books, plants, or rustic accents.
- Share your creation with family and friends!
Pro Tip: Consider taking photos of your finished piece to inspire others.
Step 8: Enjoy Your Distressed Wood Piece
Editor’s Choice

Hanobe Candle Plate Holder Tray: Round Wood Decorative Candle Plate – Ru…
Pro Tips
- Layering Techniques: Experiment with different layers of paint and stain for a unique look.
- Use Natural Materials: Incorporate natural materials like burlap or twine as accents.
- Practice on Scrap Wood: Test your techniques on scrap wood before applying them to your main piece.
- Vary Distressing Techniques: Combine different distressing methods for a more dynamic appearance.
- Research Inspirations: Look for inspiration online or in magazines to spark your creativity.
Pro Tips
Editor’s Choice

PerkHomy Natural Jute Twine 600 Feet Long Twine String for Crafts Gift W…
Common Mistakes to Avoid
Warning: Don’t skip sanding. Failing to sand can lead to poor paint adhesion and uneven results.
Warning: Avoid over-distressing. Too much distressing can make the piece look forced or unnatural.
Warning: Don’t rush the drying process. Insufficient drying can ruin your finish.
Warning: Be careful with stain colors. Testing on a scrap piece first is crucial to avoid unwanted hues.
Warning: Protect your workspace. Ensure you have drop cloths to avoid making a mess.
Common Mistakes to Avoid
Editor’s Choice

Varathane 368035 Less Mess Wood Stain and Applicator, 4 oz, Golden Oak
Pro Grade Paint Brushes, 5-Piece Paint Brush Set, Flat & Angle Brushes f…

SKIL 5” Random Orbital Sander with Cyclonic Dust Box & 3pc Sanding She…
Troubleshooting Section
Problem: The paint is peeling.
Solution: Ensure proper sanding and drying before applying the paint.
Problem: The stain looks too dark.
Solution: Lightly sand the stained area to soften the color.
Problem: The wood looks too new.
Solution: Distress more areas with a hammer or chisel for a more aged appearance.
Problem: The finish is uneven.
Solution: Sand the uneven areas and reapply the paint or stain.
Problem: The wood is too rough.
Solution: Sand the surface more thoroughly for a smoother finish.
Troubleshooting Section
Editor’s Choice

Sandpaper Assortment 120/220/400/600/800/1000/2000 Grit, 21 Sheets, 9 x …

HURRICANE 4 Piece Wood Chisel Set for Woodworking. CR-V Steel Beveled Ed…
6 Pcs Wood Grain Tool Set, DIY Wood Graining Tool for Wall; Furniture, S…
Variations/Alternative Methods
Using a Paint Wash: Instead of solid paint, consider a paint wash for a more translucent look. This method allows the wood grain to show through while adding color.
Using Different Tools: For unique distressing effects, experiment with different tools such as chains or wire brushes.
Color Variations: Try different paint and stain colors to achieve various farmhouse looks—more muted tones for a vintage vibe or brighter shades for a modern twist.
Variations/Alternative Methods
Editor’s Choice

Wire Brush Set, 6 Pcs Professional Wire Brushes for Cleaning Rust, Stain…

UNIMEIX 6 Pack Blending Brush for Card Making Crafting Ink Blender Brush…

Shuttle Art Acrylic Paint, 36 Colors Acrylic Paint Set with Brushes & Pa…
FAQs
What if I don’t have a hammer? You can use any hard object to create dents, such as a heavy rock or a mallet.
How long should I let the stain dry? It’s best to allow at least one hour, but always check the manufacturer’s instructions.
Is it safe to distress wood indoors? Yes, but ensure proper ventilation and use protective gear to avoid inhaling dust or fumes.
What type of wood is best for distressing? Softwoods like pine are ideal, as they dent and gouge more easily than hardwoods.
Can I use a spray stain? Yes, spray stains can also work well, but remember to apply them in a well-ventilated area.
FAQs
Editor’s Choice
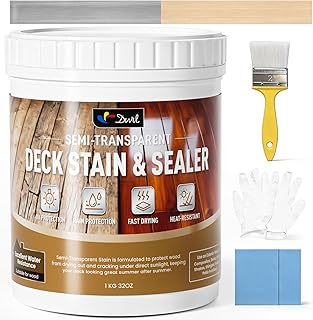
DWIL Water Based Wood Stain, Semi-Transparent Outdoor Wood Stain and Sea…

Fanttik F2 PRO Cordless Rotary Tool Kit Strong Magnetic Motor, Revostor …

DEWALT DPG110 Chisel Unisex Trim-Fit Half Frame Protective Eyewear, Blac…
Conclusion
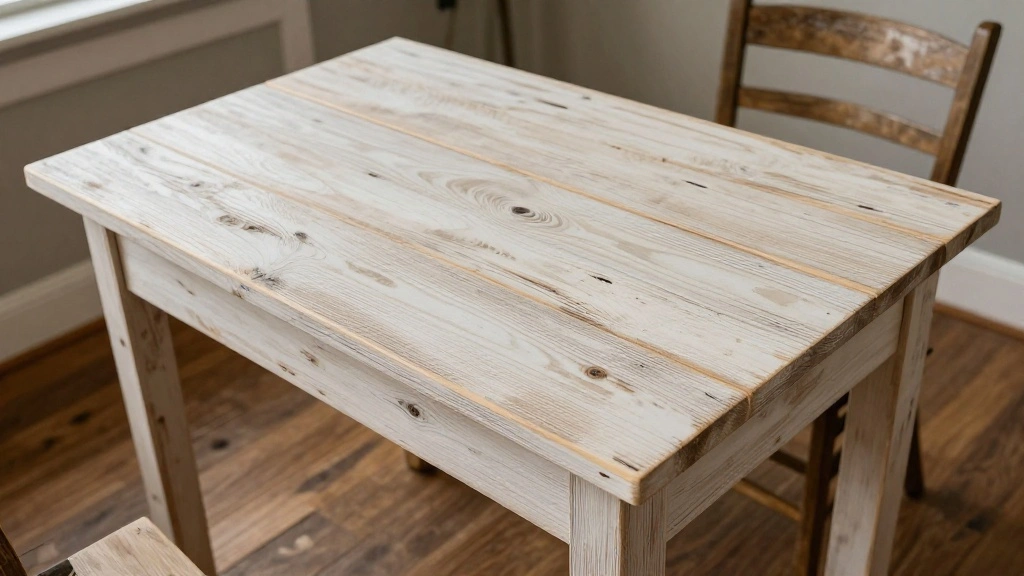
Congratulations on creating your very own distressed wood piece! Your hard work has paid off, and now you have a unique item that adds character to your home. This guide has equipped you with the skills to distress wood effectively, and you can now apply these techniques to other projects.
Consider exploring additional farmhouse decor ideas or experimenting with different wood pieces. The possibilities are endless! Keep creating and enjoy the beauty of your handcrafted items.