

If you’ve ever strolled through a charming farmhouse or flipped through a home decor magazine, you know the allure of rustic furniture. There’s something special about the warmth and character of farmhouse style. This appeal has many DIY enthusiasts itching to take on their own furniture painting projects. Maybe you’re craving that cozy, lived-in vibe for your home, or perhaps you want to breathe new life into an old piece. Whatever the reason, you’re in the right place!
This guide is crafted for anyone who loves home decor, especially those who want to dive into DIY furniture refinishing. If you’re ready to transform tired furniture into beautiful, farmhouse-style statements, this post is for you! You’ll discover the ten must-have supplies for painting farmhouse furniture. With the right tools and materials, you can create stunning pieces that reflect your style and brighten up your space. Get ready to roll up your sleeves and unleash your creativity!
In this post, I’ve compiled a list of essential supplies that are not just practical, but also fun and easy to use. By the end, you’ll feel equipped to tackle your next home decor project with all the confidence you need. Whether you’re a seasoned DIYer or just starting out, these tips will help you achieve that picturesque farmhouse look you’ve been dreaming of.
Key Takeaways
– Chalk Paint: This versatile paint is perfect for achieving a matte finish and is easy to work with for both beginners and experts. It’s also known for its ability to adhere well without extensive prep work.
– Quality Paint Brushes: Investing in high-quality brushes ensures a smooth application and helps you achieve a professional-looking finish on your furniture. Look for brushes designed specifically for use with chalk paints.
– Sanding Tools: Sandpaper and sanding sponges are essential for prepping your furniture and creating a smooth surface. This step is crucial for a flawless finish and can help your paint adhere better.
– Painter’s Tape: Use painter’s tape to mark off areas you don’t want to paint. It’s a simple tool that can make a big difference in achieving clean lines and sharp edges.
– Finishing Touches: Don’t forget about hardware and accessories! New knobs, handles, or decorative accents can elevate your piece and tie together your farmhouse style beautifully.
Recommended Products

VERSATILE SIZE - This unique chalk acrylic paint comes in a convenient 8 oz size and has a rich, highly pigmented formula - perfect for all your home décor projects!

Mister Rui Chalk Wax Paint Brush: Includes 3 different sizes wax paint brushes, with 1 pointed wax brush, 1 round wax brush, 1 flat wax brush. Flat brushes are ideal for waxing large areas, while point-tip brushes work perfectly for detailed edges and corners. Whether it's waxing and maintaining furniture, painting, or stenciling, this set of brushes works perfectly for all your needs

EASY TO USE, EVEN FOR BEGINNERS: Whether you’re new to DIY or a pro, Rust-Oleum Chalked makes painting easy and enjoyable. Minimal prep required means you can jump right into your project confidently and focus on creativity—not complicated steps
1. Chalk Paint
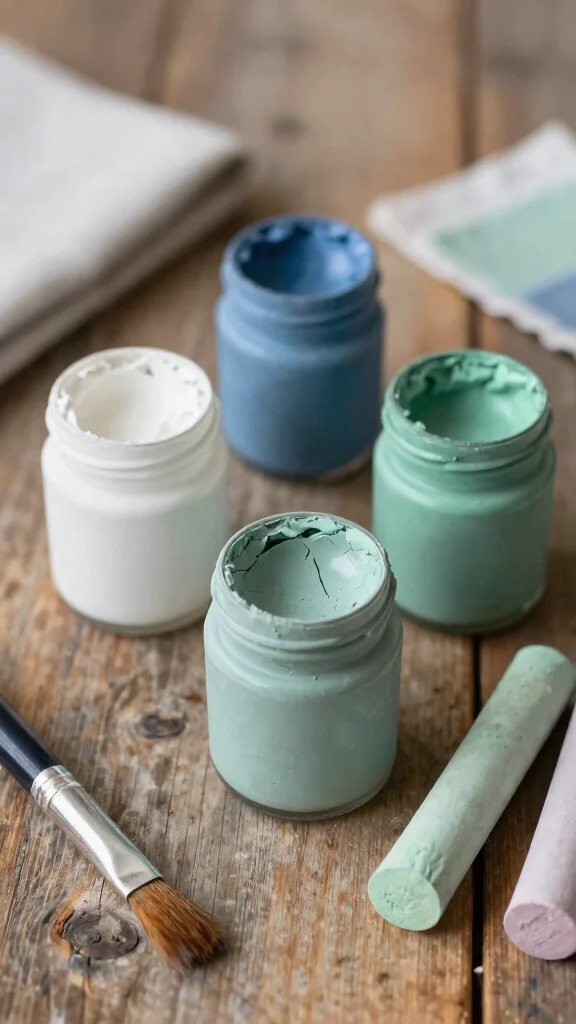
Chalk paint is a fantastic choice for farmhouse furniture, offering a beautiful matte finish that embodies rustic charm and timeless elegance. This versatile paint adheres to nearly any surface, allowing you to breathe new life into aged pieces without extensive prep work. Imagine soft whites, muted greens, or cozy blues transforming your furniture into stunning focal points in your home.
Using chalk paint is straightforward and efficient, especially since it’s generally non-toxic, making it safe for indoor projects. You can easily layer and distress it to achieve a unique character in your pieces. Here are some tips to get started:
– Choose colors that harmonize with your existing decor.
– Use a brush designed for chalk paint for a flawless application.
– Seal your project with a wax topcoat for added protection and enhanced beauty.
With chalk paint, you’re equipped to unleash your creativity and design stunning furniture that reflects your personal style.
Recommended Products
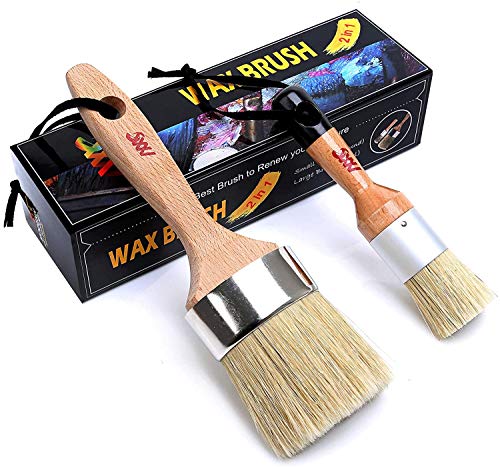
Unmatched Versatility for All Your Painting and Waxing Needs: Our Chalk Paint and Wax Brushes are designed to tackle any project, big or small. The pack of 2 includes a large 2.5-inch oval brush for covering extensive surfaces and a 1-inch round brush for detailed work and intricate corners. Whether you're painting furniture, stenciling, or waxing, these brushes are your ultimate tool
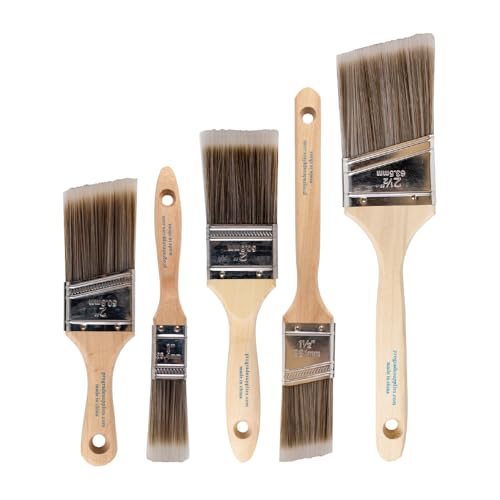
COMPLETE 5-PIECE BRUSH SET FOR EVERY PAINTING TASK — Includes 1 Inch Flat, 1.5 Inch Angle, 2 Inch Flat, 2 Inch Angle Stubby, and 2.5 Inch Angle brush giving you every size professional painters use daily. Get all 5 for less than the price of a single brush from hardware store brands — professional grade performance at a fraction of the cost. Perfect for walls, trim, cabinets, doors, furniture, and detailed cutting-in work on any project.

Chalk Paint Brush Set: Paint brushes include 1" round paint brush, 1" pointed brush, 1" flat brush and 2.5" oval chalk piant brush. A good helper in your life
Chalk Paint
Editor’s Choice

Chalky Chicks 8 Fl Oz Matte Midnight (Peacock Blue) Chalk Paint for Furn…


ALL-IN-ONE Paint by Heirloom Traditions, Thistle (Gray Purple), Quart – …

Satin Clear Coat (8oz) | Satin Finish Polyacrylic Topcoat | Chalk-Friend…
2. Quality Paint Brushes
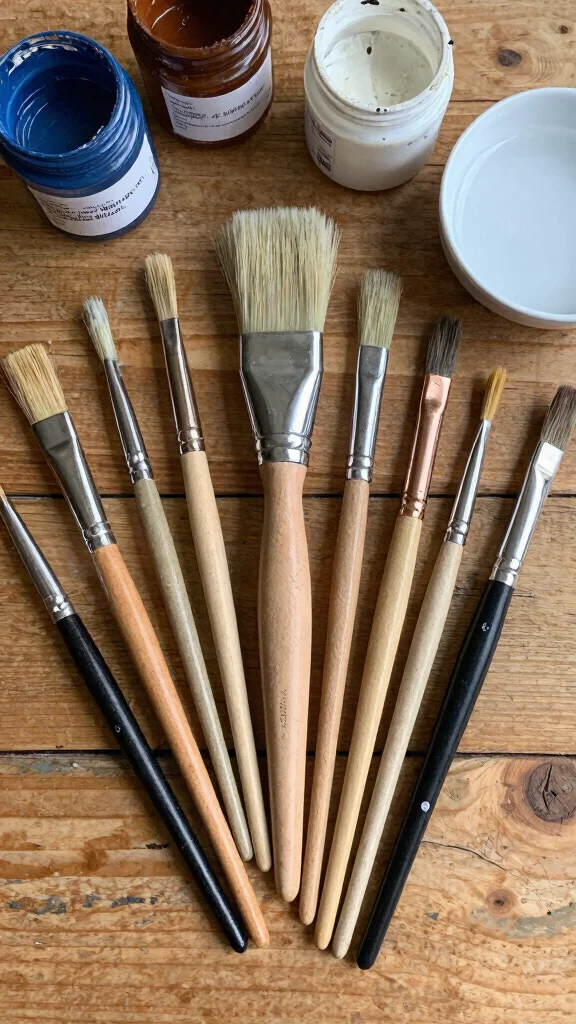
Investing in quality paint brushes is essential for achieving a professional finish on your furniture. Brushes made from synthetic or natural bristles cater to different types of paint, and having a variety of sizes allows you to tackle everything from detailed carvings to expansive flat surfaces. A well-chosen brush can make all the difference in your paint application.
To maximize your painting experience, consider these brush tips:
– Use a wide brush for large surfaces and a smaller detail brush for corners.
– Clean your brushes according to the paint type to maintain their longevity.
– Opt for a stencil brush if you want to add intricate designs.
With the right brushes at your disposal, you’ll save time and achieve stunning results that elevate your furniture pieces.
Fun fact: a high-quality brush can cut application time by up to 30% and reduce brush strokes by half. For farmhouse furniture, invest in a few sizes—one wide for flats, a slim for details, and a reliable synthetic or natural blend—perfect in your furniture painting supplies.
Recommended Products

Assorted Grit Sanding Blocks – This set includes 4 sponge sanding blocks (4 x 2.6 x 0.7 inches) in 120, 220, 320, and 400 grits, covering coarse to ultra-fine sanding needs. Color-coded for easy identification.

【ASSORTED GRIT SANDING BLOCKS】Includes 8 sanding blocks in 4 grits, from coarse to superfine specifications in 60/80/120/180/220 grit, 2 blocks for each grit. You can cut it into appropriate sizes for your needs

Assortment Pack: This sanding sponge set includes 24 pieces with grits 80/120/180/240/320/400/500-600/800-1000/1200-1500/2000/2500/3000,each of 2, covering coarse material removal (80 grit) to ultra-fine polishing (3000 grit). Perfect for wood furniture refinishing, auto bodywork, and delicate surface prep—all in one convenient kit, each measuring 3.93 x 2.75 x 0.19 inches
Quality Paint Brushes
Editor’s Choice

Wooster Brush Q3211-2 Shortcut Angle Sash Paintbrush, 2-Inch, White

Mister Rui Chalk Wax Paint Brush, 3pcs, Chalk Paint Brushes for Furnitur…

Angelus Paint Brush Set Round Flat Angular Artist Acrylic Paint Brush Se…
3. Sandpaper and Sanding Sponge
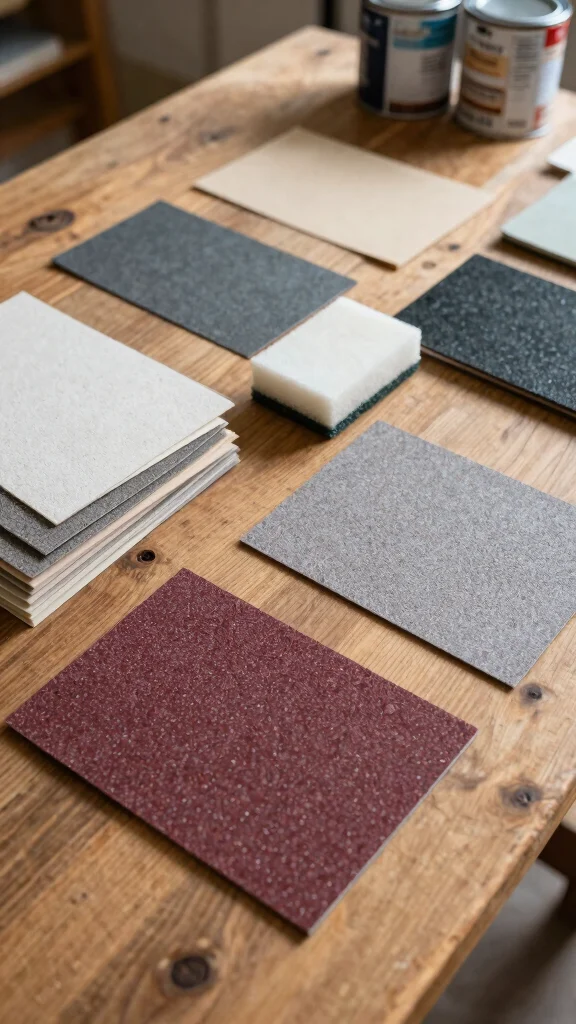
Properly preparing your furniture is crucial for a successful paint job, and sandpaper and sanding sponges are your best allies in this process. These tools help smooth rough surfaces and remove old paint, paving the way for better adhesion of your new finish. A well-prepped surface ensures a beautiful outcome.
For optimal results, remember these essentials:
– Start with coarse grit sandpaper and finish with a finer grit for a silky surface.
– Use a sanding sponge to reach those tricky areas and contours.
– Wipe down the surface with a damp cloth after sanding to clear away dust.
Taking the time to prepare your furniture properly will make all the difference in the final look of your painted pieces.
Recommended Products

READY. SET. TAPE!: 1 roll of 1.41 inches x 60 yards tan Scotch General Purpose Masking Tape, a versatile solution for painting, labeling, bundling and general masking applications on non-damageable surfaces with a 3-inch core

BLUE PAINTER'S TAPE: Includes One 1.88 in x 60 yd roll of ScotchBlue Original Painter's Tape, a blue masking tape for painting that helps protect surfaces by preventing paint bleed

FOR MULTI-SURFACE USE: Frog Tape 2 inch wide paint tape with medium adhesion is ideal for a variety of surfaces such as cured painted walls, baseboards and trim, glass, carpet and metal
🖌️ Elevate Your Decor Game
Transform your rustic furniture with creative ideas from The Renter’s Decorating Journal for a personalized touch.
Sandpaper and Sanding Sponge
Editor’s Choice

100 Pack Heavy Duty Melamine Sponge, Magic Cleaning Sponges Eraser for K…

3M Sandpaper, 60 Grit, 4 Sheets, 9 in x 11 in, Sands Paint, Wood & Metal…

Sand Paper, 48 PCS Sandpaper, 120 to 5000 Assorted Grit Sandpaper Sheets…
4. Stencils for Unique Designs
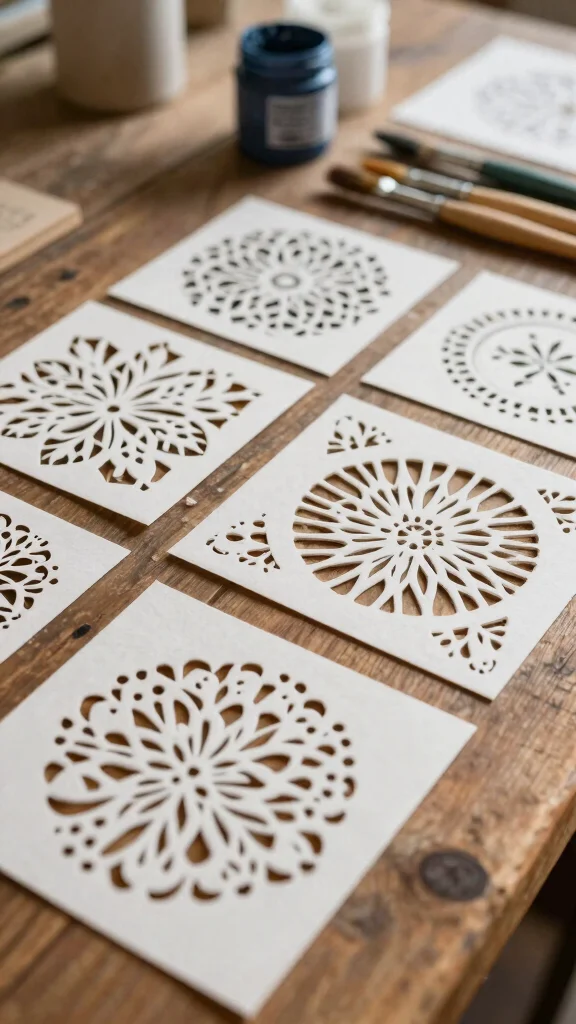
If you want to add a personal flair to your painted furniture, stencils are an excellent option. They allow for creativity and customization, helping you achieve beautiful, intricate designs that align perfectly with your decor style. Stencil projects can transform your pieces into true works of art.
To make the most of stencils, keep these tips in mind:
– Choose designs that resonate with your aesthetic, like floral or geometric patterns.
– Secure the stencil firmly to prevent shifting during painting, using painter’s tape.
– Apply paint over the stencil with a foam brush for a crisp finish.
Stencils not only enhance your furniture but also let your creativity shine through, making each piece unique.
Recommended Products

RASIYA ART KNOBS: Visit our storefront, by clicking on "Visit the Rasiya Art Store" below the title to have a glimpse of our collection

Cabinet Knobs size: Each drawer knobs measures approximately 1.2inch/30mm in diameter and 0.92inch/23.4mm in height; The length of the small screw is about 0.98in/25mm. The length of the large screw is about 1.57in/40mm.

Cabinet Knobs Size: Diameter: 1-1/2inch(38mm),Height: 7/8inch(22mm),Base Diameter: 1/2inch(13mm)
📹 Related Video: DIY Farmhouse Furniture: Floral Stencil Nightstand Makeover
Stencils for Unique Designs
Editor’s Choice

FINGERINSPIRE 4PCS Mandala Women Stencils with Brush 8.3×11.7inch Floral…
Mister Rui Chalk Wax Paint Brush, 3pcs, Chalk Paint Brushes for Furnitur…

50 PCS Mandala Painting Stencils Reusable Mandala Stencils for Painting …
5. Painter’s Tape
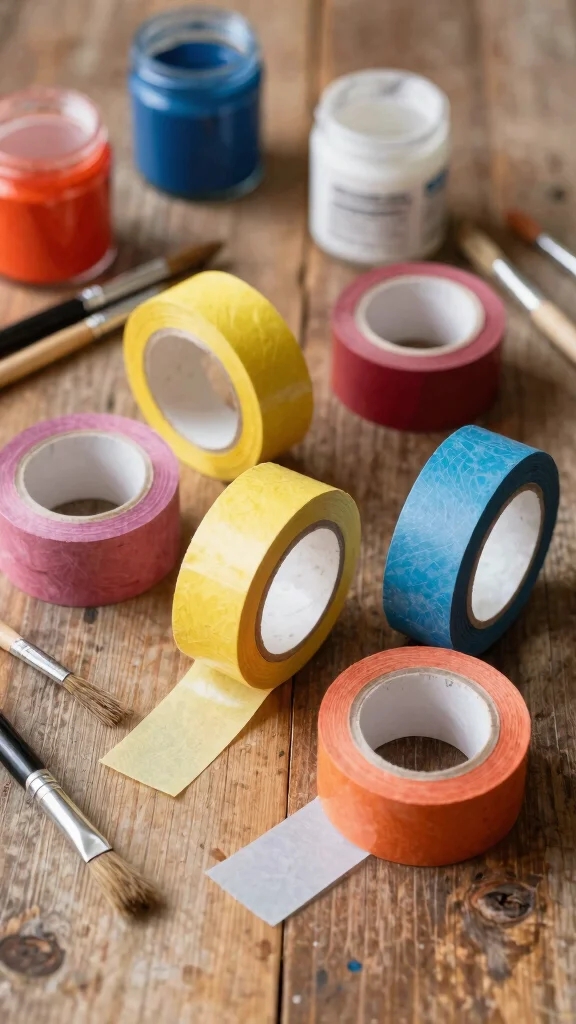
Painter’s tape is a must-have for creating clean lines and defined edges when painting. It prevents paint from bleeding into unwanted areas, especially crucial for intricate designs or pieces with multiple colors. Utilizing painter’s tape ensures a polished look in your final project.
Here’s how to use painter’s tape effectively:
– Apply it firmly on clean, dry surfaces to avoid seepage.
– Burnish the edges with a credit card for a tight seal.
– Remove the tape while the paint is still slightly wet to prevent peeling.
With painter’s tape in your toolkit, you can achieve professional-looking results without the hassle of touch-ups.
Recommended Products
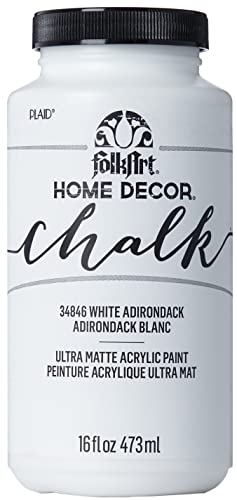
VERSATILE SIZE - This unique chalk white acrylic paint comes in a convenient 16 oz size and has a rich, highly pigmented formula - perfect for all your home décor projects

EASY TO USE, EVEN FOR BEGINNERS: Whether you’re new to DIY or a pro, Rust-Oleum Chalked makes painting easy and enjoyable. Minimal prep required means you can jump right into your project confidently and focus on creativity—not complicated steps

SUPERIOR COVERAGE ON VARIOUS SURFACES: Dive into your next DIY project with our all-in-one paint, designed for superior coverage on multiple surfaces. Tackle wood, laminate, metal, glass, resin, or cement with ease. Achieve a smooth finish with fewer coats for maximum impact. Whether you’re after white wood paint for furniture, matte black paint, or pink paint for walls, our versatile furniture paint no sanding all in one works with spray guns and airbrushes for seamless application.
You might also like

Painter’s Tape
Editor’s Choice

Double Sided Body & Clothing Tape Hypoallergenic Skin-Safe Side&Strong F…

Fearless Tape – Double Sided for Clothing Body & Dresses (50 Strips) | C…
6. Paint Tray and Roller
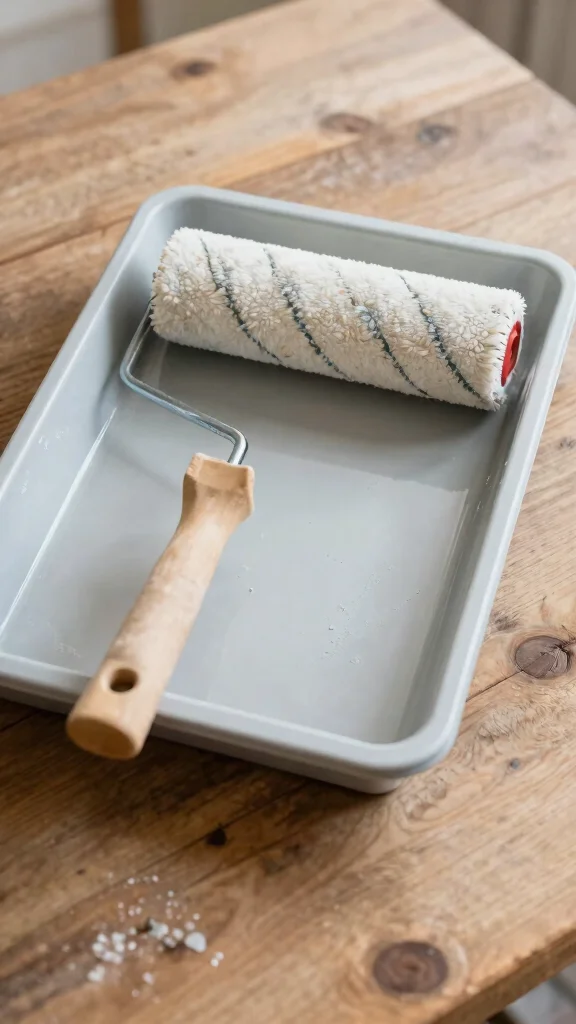
While brushes are essential, a paint tray and roller can significantly speed up the painting process for larger furniture pieces. A roller provides quick coverage, allowing you to work efficiently while ensuring a smooth finish. This combination can save you valuable time during your project.
To incorporate them into your routine, follow these tips:
– Use a tray to hold your paint for easy roller loading.
– Select a roller cover that suits chalk paint for the best texture.
– Roll in a consistent direction for a seamless finish.
Using a roller ensures your furniture receives a beautiful, even coat, enhancing its overall look.
Recommended Products

Chalk Paint Brush Set: Paint brushes include 1" round paint brush, 1" pointed brush, 1" flat brush and 4" flat chalk piant brush. A good helper in your life

Chalk Paint Brush Set: Paint brushes include 3 small round chalk paint brushes & 2 Large wax brushes for chalk painting. A good helper in your life

2 Pcs Set for Various Needs: The chalk paint brush set includes an 8.4-inch long round paintbrush and a 4.5-inch long oval chalk paintbrush. The large round brush is perfect for covering wide areas, while the small flat brush is ideal for applying paint to narrow corners, curves, and edges.
Paint Tray and Roller
Editor’s Choice

CALZITALY 70 DEN Cover Skates, Skate Boot Covers for Roller Skating Wear…

LNAUJS 8 Pack Plastic Paint Tray Palettes, 6 Well Rectangular Palette, W…

10PCS Palette Knife, Stainless Steel Painting Knife Set, Flexible Spatul…
7. Wood Conditioner
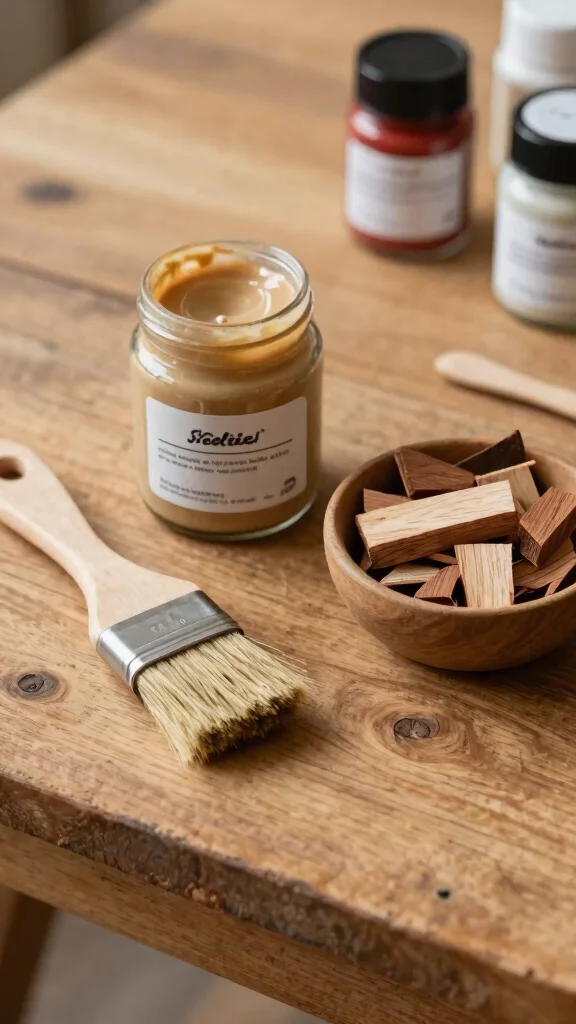
If you’re working with raw or bare wood, applying a wood conditioner before painting is a wise step. This product enhances paint adhesion and promotes an even finish, especially for chalk paints that may absorb unevenly. A well-conditioned surface leads to better results.
Benefits of using wood conditioner include:
– Prevents blotchiness for a uniform color across your piece.
– Highlights the natural beauty of the wood grain beneath your paint.
– Simply brush it on and let it absorb before painting.
Incorporating wood conditioner into your preparation process will help you achieve that polished farmhouse look you desire.
Recommended Products

【ASSORTED GRIT SANDING BLOCKS】 8 sand blocks, 4 sizes from coarse to ultra-fine sand, 60/80/120/220 grit, 2 blocks for each grit. There are four different colors, grey (corresponding to grit size - 220), blue (120), green (80), and orange (60), with different numbers of grains for different colors.

Product Specifications: 3.9” L x 2.7” W x 0.6” H, weighing 0.42 oz. To save your valuable time, please confirm that the dimensions and weight of the sanding block meet your needs before purchasing. Thank you for your support and understanding

Product specifications: You will get 12 sanding blocks sized 10 x 6.5 x 2.5 cm (3.94 x 2.56 x 0.98 inches), including 60, 80, 100, 120, 180, and 220 grit sanding sponges, suitable for each stage of sanding
How To Choose The Right Painting Tools for Furniture
When it comes to painting farmhouse furniture, the right painting tools can make all the difference in the quality of your work. Choosing the best supplies ensures a smooth finish and helps you achieve that rustic appeal you desire. Let’s break down the key factors to consider when selecting your painting tools.
1. Type of Paint
The type of paint you choose is critical. For farmhouse style furniture, chalk paint is highly recommended. It dries quickly and adheres well to various surfaces without the need for extensive prep work. Other options, like latex or acrylic paints, can also work, but may require a primer for better adhesion.
2. Brush Quality
Investing in quality paint brushes is essential. A good brush makes a significant difference in application. Look for brushes with synthetic bristles for water-based paints or natural bristles for oil-based paints. A round brush is great for detail work, while a flat brush works best for larger areas.
3. Sanding Tools
Surface preparation is a must for a polished look. Choose a combination of sandpaper (medium and fine grit) and sanding sponges. Sanding sponges are particularly useful for curved edges and intricate designs. Sanding helps to create a smooth surface for painting, allowing the paint to adhere better.
4. Stencils and Accessories
If you want to add unique designs, stencils are a fun and easy way to do so. Look for reusable stencils that can be applied with a sponge or brush. Accessories like painter’s tape are also helpful for creating clean, straight lines and protecting areas you don’t want to paint.
5. Paint Trays and Rollers
For larger furniture pieces, consider a paint tray and roller setup. Rollers cover more surface area quickly, which saves time. Choose high-density foam rollers for a smooth finish. Don’t forget to have a tray that fits your roller for ease of use.
6. Protective Gear
Safety should never be overlooked. Ensure you have protective gear like gloves, a mask, and goggles. Paint can emit harmful fumes, and protecting your skin from paint splatters is also crucial. It’s better to be safe than sorry, especially in poorly ventilated areas.
Pro Tip: Before you commit to a specific paint, test a small area of the furniture. This way, you can see how the color looks on your piece and check how it interacts with the wood grain.
By following these criteria, you can select the best painting tools for your DIY furniture refinishing projects. Whether you’re repainting an old piece or crafting something new, having the right supplies ensures your painting experience is enjoyable and successful!
Recommended Products

Professional Mask Tape - Multi-Surface adhesive tape made of high quality blue crepe paper not easy to lift or curl, has sunlight, UV, heat, moisture resistant, sturdy to use. So, blue tape painters tape is very much suitable for indoor and outdoor, office, home decoration, classroom. And, its paper use environment friendly material, harmless to human body, using blue paint tape can reduce the natural burden. Excellent blue masking tape for packaging, closing, and light duty masking and sealing.

【Masking Tape & Paper 2 in 1】 This pretaped masking paper features with premium masking paper and painter tape together, cover and secure with one action, quick and easy protection for most surfaces, saving your time in painting.
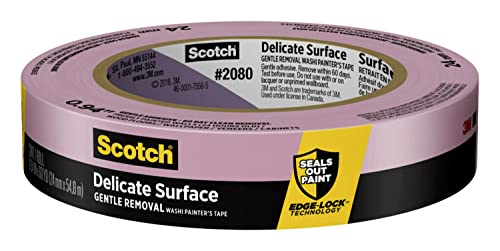
READY. SET. PAINT!: 1 roll of 0.94 inch wide Scotch Delicate Surface Painter's Tape, a versatile solution for protecting surfaces that require a little extra care when preparing to paint your living or working environment
Wood Conditioner
Editor’s Choice

Huron Hair Styler for Men and Women – Lightweight Styling Cream, Firm Ho…
8. Drop Cloths
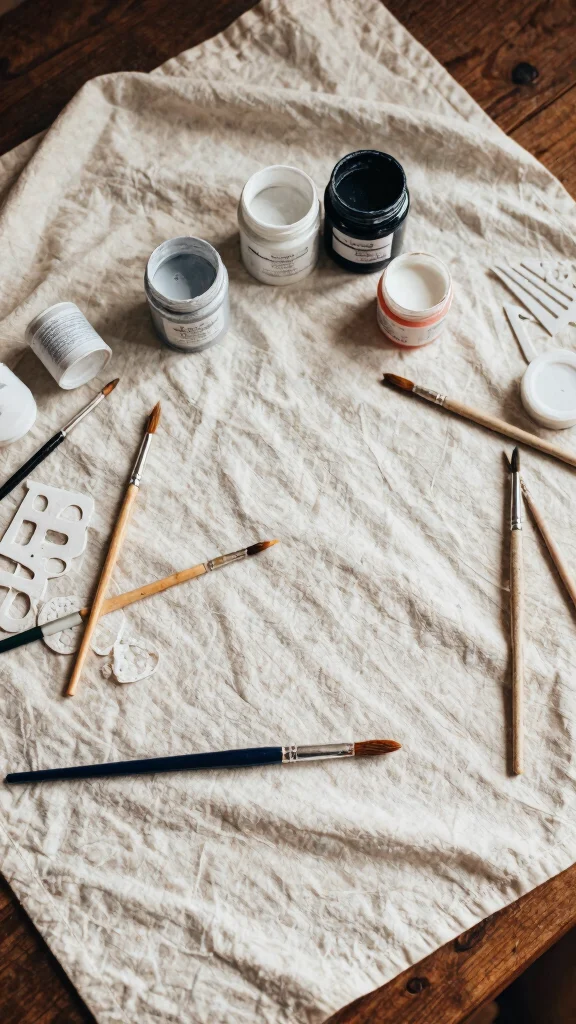
Creating your masterpiece can get messy, which is why drop cloths are essential! They protect your floors and work surfaces from paint spills, making cleanup much easier. Utilizing drop cloths allows you to focus on your creative process without worrying about messes.
Here are some tips for effective use:
– Choose a durable, washable cloth for repeated use.
– Secure the edges with painter’s tape to prevent slipping.
– Opt for a color that complements your workspace for a more appealing look.
With drop cloths, you can enjoy a stress-free painting experience while safeguarding your home.
Recommended Products

Package Included: 2 x Farmhouse Cabinet Knobs, 2 x 45mm, 25mm screws, 1 x screwdriver. Diameter: 1.18"/30mm, Height: 0.94"/24mm, Bottom Diameter: 0.51"/13mm

HIGH-QUALITY, SOLID METAL CORE: Crafted with a solid metal core, our cabinet pulls and knobs stand far above the hollow knockoffs flooding the market. Embrace the difference as you feel the weight and sturdiness in your hands, experiencing the unmistakable mark of true high-end hardware. Built to last, these pulls exude unparalleled durability, ensuring they withstand the test of time and daily use. Elevate your space with our superior, solid core pulls and knobs- the epitome of elegance, strength, and unmatched craftsmanship.
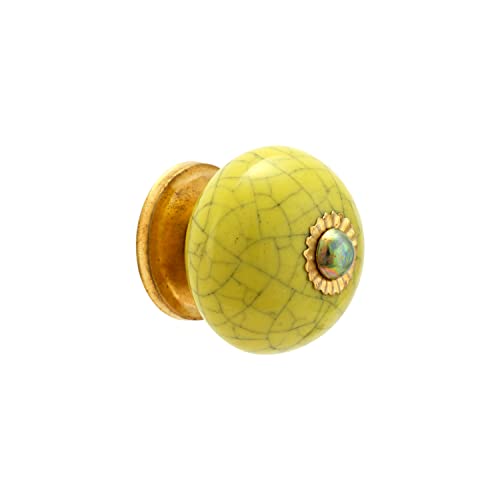
RASIYA ART KNOBS: Visit our storefront, by clicking on "Visit the Rasiya Art Store" below the title to have a glimpse of our collection
You Might Also Like


Drop Cloths
Editor’s Choice

Amazon Essentials x Sofia Grainge Women’s Relaxed Fit Boxy Drop Shoulder…
9. Clear Topcoat
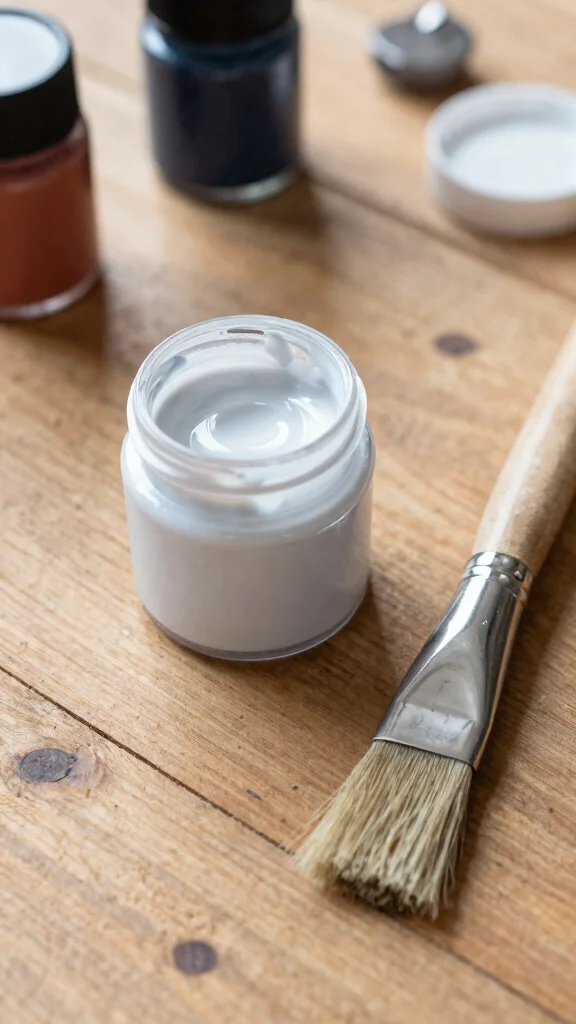
Once you’ve completed your painting project, sealing it with a clear topcoat is essential for durability. A clear coat protects your furniture from scratches and stains, while enhancing the vibrancy of your paint. This step ensures your beautifully painted pieces remain stunning over time.
When selecting a topcoat, keep these factors in mind:
– Water-based options offer easy cleanup, perfect for indoor use.
– Choose polycrylic for durability that stays clear without yellowing.
– Apply with a clean brush for smooth coverage without brush marks.
With a topcoat, your painted farmhouse furniture will look fresh and beautiful for years to come.
Topcoats seal the deal on your rustic furniture; without them, even great paint scratches easily. Choose a water-based polycrylic for a clear, durable finish that won’t yellow, keeping your farmhouse pieces vibrant for years.
Clear Topcoat
Editor’s Choice

Rust-Oleum 249087 Painter’s Touch 2X Ultra Cover Spray Paint, 12 oz, Mat…

Helly-Hansen Women’s Crew Hooded Midlayer Jacket 2.0

Gold Iron Phoenix Bookends for Shelves, Decorative Golden Heavy Duty Boo…
10. Finishing Touches: Hardware and Accessories
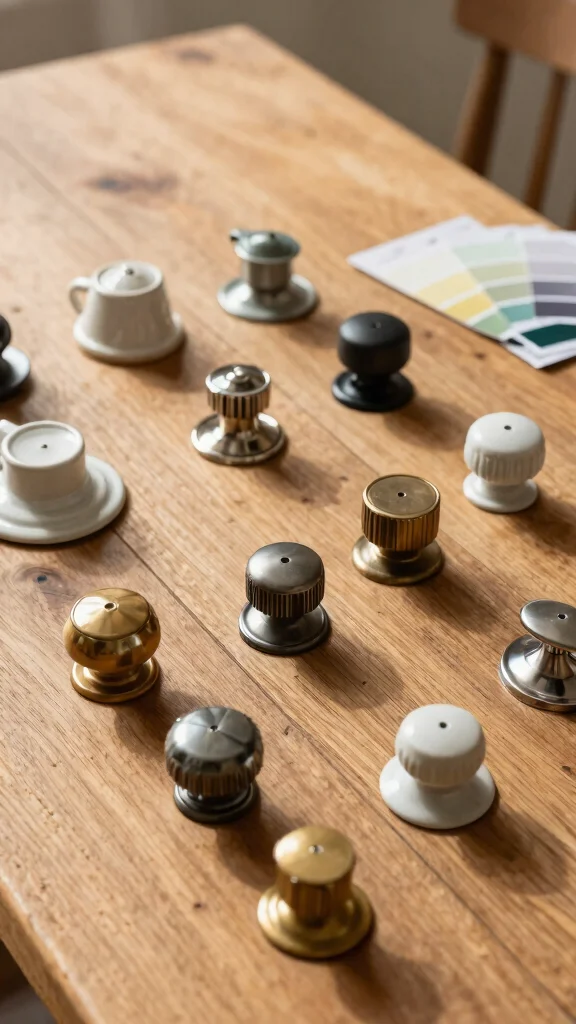
Don’t overlook the finishing touches! Updating hardware like knobs and handles can greatly enhance the appearance of your farmhouse furniture. These small details tie your design together and can dramatically change the overall look of your pieces.
Consider these tips when selecting hardware:
– Choose materials that complement your paint color, such as distressed metal or ceramic.
– Mix and match styles for an eclectic farmhouse feel.
– Add decorative stencils or decals for extra personalization.
Finishing touches truly bring your furniture to life, so enjoy experimenting with different accessories!
Fun fact: upgrading knobs and handles can boost perceived value by up to 25% in a room. Even simple ceramic pulls or distressed metal hardware elevate your painted farmhouse pieces, proving that the right hardware from your furniture painting supplies makes a big difference.
Finishing Touches: Hardware and Accessories
Editor’s Choice

FINGERINSPIRE 4 Styles Woman Stencils 8.3×11.7 Inch Water Drop Woman Ste…

Ceramic Door Knobs, 2 Pcs Retro Furniture Handle, Vintage Antique Drawer…

Akstore 6 Pcs Crystal Glass Cabinet Knobs 30mm Diamond Shape Drawer Kitc…
Conclusion
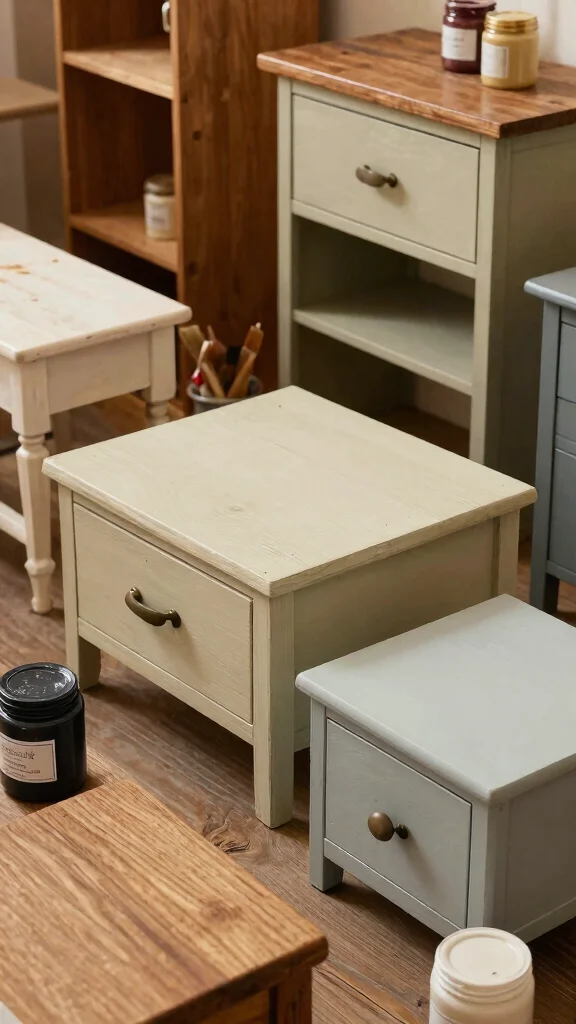
With these 10 must-have furniture painting supplies, you’re well on your way to creating stunning farmhouse furniture that reflects your personal style. From chalk paint to quality brushes and unique designs, each item plays a role in bringing your vision to life.
Now it’s time to roll up your sleeves and dive into your next DIY project. Remember, every piece you create adds character to your home, making it a cozy haven. Share your journey and inspire others with your beautiful transformations!
Note: We aim to provide accurate product links, but some may occasionally expire or become unavailable. If this happens, please search directly on Amazon for the product or a suitable alternative.
This post contains Amazon affiliate links, meaning we may earn a small commission if you purchase through our links, at no extra cost to you.
Frequently Asked Questions
What are the must-have furniture painting supplies for painting farmhouse furniture?
Starting a farmhouse project? Gather these core furniture painting supplies and you’re ready to go: high-quality painting tools for furniture (brushes in 1-2 in and 2-3 in, plus a foam roller), sandpaper (120-180 for prep, 220 for finishing), a reliable primer, your chosen farmhouse style paints or chalk paint supplies, and a sealer or wax. Don’t forget a drop cloth, painter’s tape, and a clean rag. For DIY furniture refinishing, plan two thin coats rather than one thick coat to avoid drips, and seal with a topcoat for durability. Start with a small piece to practice, then scale up.
Pro tip: choose neutral tones first to nail the farmhouse look, then add character with distressing or glazing.
How do I choose the right farmhouse style paints for DIY furniture refinishing?
Choosing the right farmhouse style paints is about color story and finish. Start with a neutral base (creamy whites, warm grays, soft taupes) that complements home decor projects. Pick a finish that matches your goal: matte or chalky for vintage charm, satin for everyday durability. Check coverage and drying time on your surface, and verify compatibility with your chalk paint supplies if you’re mixing products. Consider low-VOC options for better indoor air quality, and always test color on a hidden area before committing. Pair with a compatible sealer for a durable farmhouse look while you tackle DIY furniture refinishing.
What are the best painting tools for furniture to avoid brush marks and achieve a smooth finish?
For a flawless finish, invest in a small set of quality painting tools for furniture: synthetic brushes 1-2 inch for edges, 2-3 inch for broad surfaces, and a couple of foam mini rollers for flat areas. Use a tack cloth to remove dust between coats and 220-grit sandpaper for between layers. Work with long, smooth strokes and maintain a wet edge to prevent lap marks. Clean brushes immediately after use to preserve their shape. With the right painting tools for furniture, your farmhouse piece will look professional in less time.
How should I prep with chalk paint supplies and start DIY furniture refinishing the farmhouse way?
Prep drives the result. Start by removing hardware and cleaning the surface. If the piece is glossy, lightly sand to roughen the finish so the paint grabs. If visible flaws exist, fill cracks and rough spots, then wipe clean with a tack cloth. You can skip primer with chalk paint, but for very porous wood or dramatic color changes, a light primer helps. Apply a thin first coat of chalk paint supplies and let it dry fully before adding a second coat. Light sanding between coats (with 220 grit) yields a smoother finish, and finish with wax, polyurethane, or another topcoat to seal and achieve that farmhouse aged look. Always ensure good ventilation as you work on DIY furniture refinishing projects.
What simple home decor projects can I do after finishing a farmhouse furniture piece?
Finish a farmhouse piece and you’re ready to style it in your space. Use the piece as a base for a cozy vignette with linen textiles, vintage accents, and distressed wood. Try glazing or wax to add depth and character, then repurpose the piece as a side table, tray, plant stand, or decorative storage. These are practical home decor projects that extend your furniture painting supplies investment and help you coordinate a consistent farmhouse look across your room.
Related Topics
home decor
farmhouse style
DIY furniture refinishing
chalk paint supplies
painting tools
rustic decor
beginner friendly
upcycling projects
affordable home decor
easy DIY
furniture painting techniques
vintage furniture