
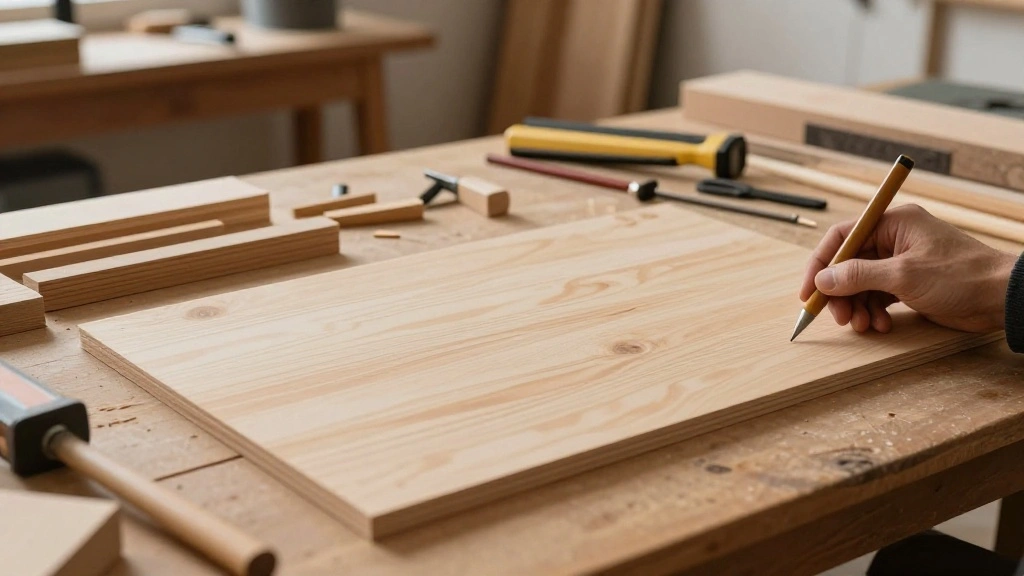
Are you tired of clutter taking over your space? Do you want to add some rustic charm to your home without breaking the bank? Building a DIY farmhouse shelf may be the solution you need! Not only will you create a stylish storage solution, but you’ll also gain a sense of accomplishment from crafting something with your own hands. In this guide, we will walk you through the entire process, from gathering materials to putting the final touches on your shelf.
By the end of this project, you will have a beautiful farmhouse shelf that showcases your favorite decor items or provides extra storage in any room. You will learn the necessary materials, tools, and step-by-step instructions to build your shelf successfully. This project is perfect for beginners, requiring minimal skills and tools.
With an estimated completion time of 2-3 hours, you’ll find this DIY project manageable and rewarding. Let’s get started on transforming your space with a charming farmhouse shelf!
TL;DR Summary
- Build a stylish DIY farmhouse shelf in just 2-3 hours.
- Gather essential materials like wood, screws, and brackets.
- Follow six easy steps to create your shelf from start to finish.
- Enjoy the satisfaction of making a unique piece for your home.
Recommended Products

✓ HEAVY DUTY CONSTRUCTION: Made from premium quality metal with reinforced design, each 6 inch shelf bracket supports up to 150 lbs, providing reliable strength for your floating shelves, kitchen shelves, bathroom storage, and home organization needs

【High Quality Metal】: This heavy duty shelf bracket is made of high-quality solid metal steel, coated with a matte black finish, with a sleek and modern look. Rust-proof, corrosion-resistant, and smooth edges to prevent scratches during installation. Suitable for all kinds of DIY projects and long-term use

TL;DR Summary
Editor’s Choice

Ready Seal Exterior Wood Stain | Turbo Spray System | Professional Grade…


KAKURI Japanese Woodworking Hand Tool Set for Beginner 7 Pcs (Japanese P…

12 Pack L12 x H 8″ Black Heavy Duty Shelf Brackets with Screws Metal She…
Prerequisites/Materials Needed
- Wood: 1×12 board (6 feet long) for the shelf surface
- Wood: 2×4 boards (4 pieces, 3 feet long) for the shelf supports
- Wood screws: 2.5 inches long (1 box)
- Brackets: (2 heavy-duty brackets for support)
- Sandpaper: (medium and fine grit)
- Paint or stain: (optional, for finishing)
- Drill: (with drill bits)
- Saw: (hand saw or miter saw)
- Measuring tape:
- Level:
- Safety gear: (gloves and goggles)
Recommended Products

SOLID WOOD SHELVES - The fuqing wood floating shelves for wall are handcrafted and polished from lightweight solid Paulownia wood. We deliberately retain the wood texture on the surface to create a natural and warm feelings that suit your various home decorations

Sanded Smooth and Treated with Mineral Oil.

Rustic & Modern Floating Shelves: These shelves for room wall are made of premium engineered wood board with PVC wood grain finish. The rustic wooden grain surface add character and warmth to any modern or traditional interior with these thick floating shelves. Having this floating shelves for room wall is not only for its decoration effect, but also for this wall shelves high practicality
Prerequisites/Materials Needed
Editor’s Choice

Power Drill Cordless: DEKOPRO Cordless Drill 20V Electric Power Drills S…

Starunder 6 Pack Floating Shelf Brackets, 6 Inch Heavy Duty Industrial S…

JEGONFRI 85pcs #8 × 2-1/2 inch High Hardness Drywall Screws, Black, Coa…
Skill Level & Time Estimate
Skill Level: beginner. This project is designed for those with little to no woodworking experience.
Total time estimate: 2-3 hours. Here’s a breakdown:
- Gather materials: 30 minutes
- Cut wood: 30 minutes
- Assemble the shelf: 1 hour
- Finish (sand/paint/stain): 1 hour
Recommended Products
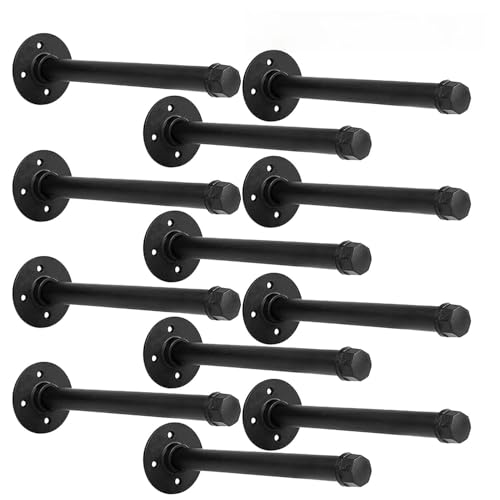
【𝑯𝒆𝒂𝒗𝒚-𝑫𝒖𝒕𝒚 𝑰𝒏𝒅𝒖𝒔𝒕𝒓𝒊𝒂𝒍 𝑺𝒕𝒓𝒆𝒏𝒈𝒕𝒉 - 𝑺𝒖𝒑𝒑𝒐𝒓𝒕𝒔 60𝒍𝒃𝒔 𝑷𝒆𝒓 𝑩𝒓𝒂𝒄𝒌𝒆𝒕】Engineered with 3/4" thick black iron and reinforced welds, these brackets are built to last. Each bracket holds 60lbs (120lbs per pair) - strong enough for: Heavy tool storage in garages Kitchen appliances like mixers and air fryers Large book collections or vinyl records The upgraded powder coating resists chipping and rust, even in humid bathrooms or workshops.

Full Kit with All Accessories This shelving kit has all needed parts: the package includes 3wire rack support brackets, 6wire shelf clips, and 2end brackets . It fits 12-inch wire racks, so no extra parts are needed. Great for building or fixing wire shelving, it includes every bracket and support piece for your project.

【𝑯𝒆𝒂𝒗𝒚-𝑫𝒖𝒕𝒚 𝑰𝒏𝒅𝒖𝒔𝒕𝒓𝒊𝒂𝒍 𝑺𝒕𝒓𝒆𝒏𝒈𝒕𝒉 - 𝑺𝒖𝒑𝒑𝒐𝒓𝒕𝒔 60𝒍𝒃𝒔 𝑷𝒆𝒓 𝑩𝒓𝒂𝒄𝒌𝒆𝒕】Engineered with 3/4" thick black iron and reinforced welds, these brackets are built to last. Each bracket holds 60lbs (120lbs per pair) - strong enough for: Heavy tool storage in garages Kitchen appliances like mixers and air fryers Large book collections or vinyl records The upgraded powder coating resists chipping and rust, even in humid bathrooms or workshops.
Skill Level & Time Estimate
Editor’s Choice

HURRICANE 8pc Wood Lathe Chisel Set, M2 HSS Wood Turning Tools with 10″ …

Gorilla Max Strength Construction Adhesive, 2.5 oz (Pack of 1), Clear, W…

3M Sandpaper, 220 Grit, 5 Sheets, 9 in x 11 in, Sands Paint, Wood & Meta…
Step 1: Gather Your Materials

Start by collecting all the materials listed in the Prerequisites section. Having everything ready will save you time and prevent interruptions during the build. Follow these sub-steps:
- Review the checklist from the Prerequisites section to ensure you have all items.
- Find a clean, open workspace where you can work comfortably.
- Put on your safety gear before handling any tools or materials.
Pro Tip: Organize your materials in a way that makes them easily accessible during the build process. Why this matters: A well-organized workspace helps you focus and reduces frustration.
Time estimate for this step: 30 minutes.
Recommended Products

Ideal for use on all interior wood projects: furniture, cabinets, doors, trim and paneling
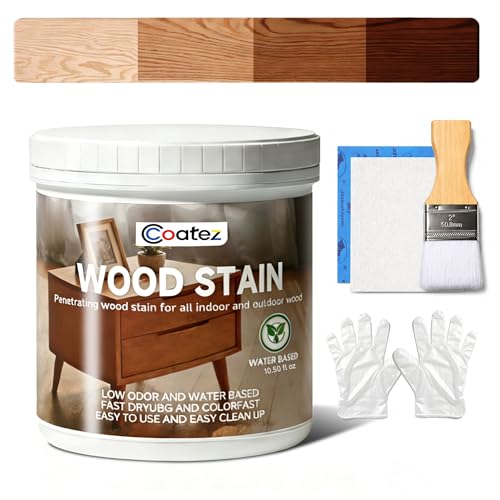
【WOOD STAIN & SEALER IN ONE】This brown walnut wood stain combines primer and top coat in one, eliminating the need for separate steps. It deeply penetrates to nourish wood from within while forming a dense protective seal on the surface, enhancing hardness to resist daily scuffs and scratches. Ideal for DIY enthusiasts to restore wood finishes with ease
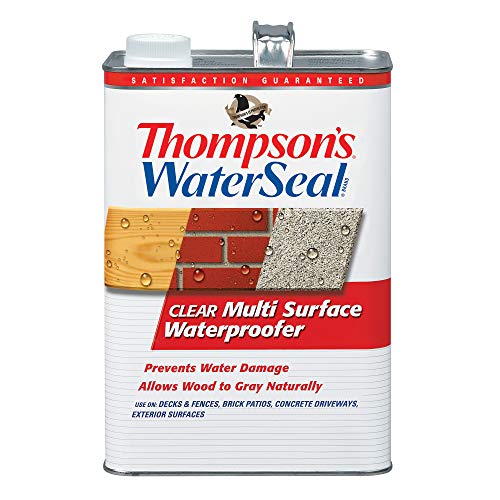
WATERPROOFING STAIN – Bring out the beauty of your outdoors with Thompson’s WaterSeal Clear Multi-Purpose Waterproof Stain. Proven to waterproof concrete, brick, exterior wood and other exterior surfaces.
Step 1: Gather Your Materials
Editor’s Choice

Dewalt DPG82 Concealer Anti-Fog Dual Mold Safety Goggle – 1 Pair

AVID POWER 20V Cordless Drill Set for Home DIY & Beginner Projects – Lig…

Gorilla Wood Glue, 8 oz., Water Resistant PVA Wood Glue for Indoor & Out…
Step 2: Cut the Wood
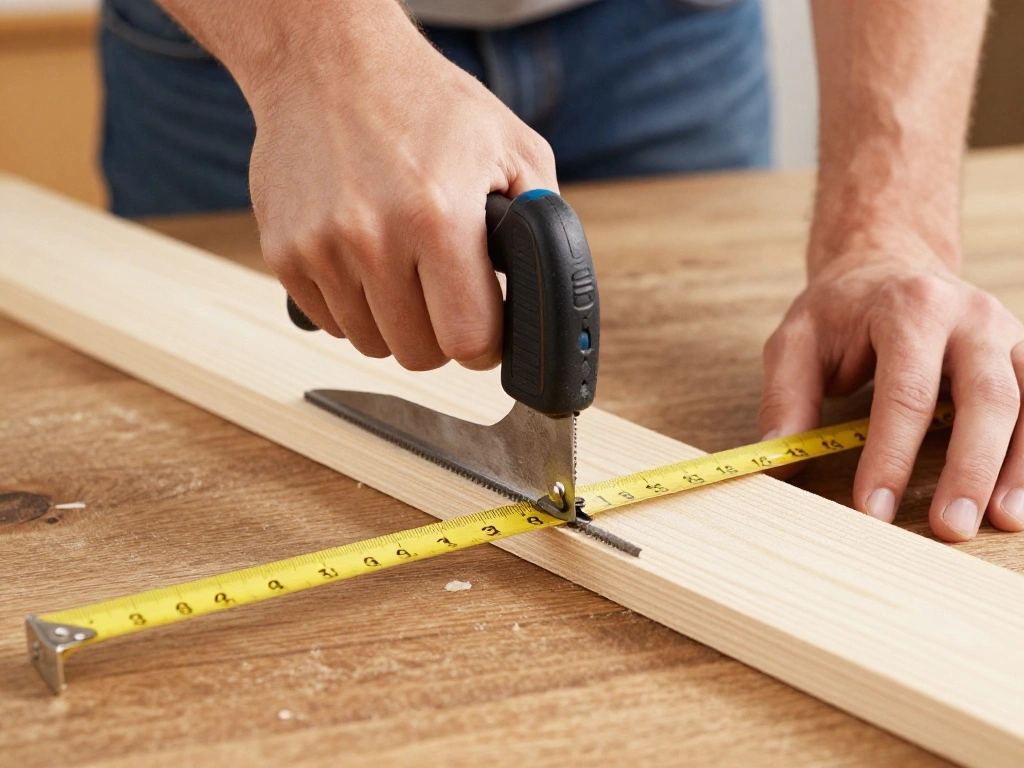
Next, cut your wood pieces to the specified lengths. Accurate cuts are essential for a sturdy shelf. Follow these steps to measure and cut:
- Measure the 1×12 board to 6 feet for the shelf surface. Mark this length with a pencil.
- Use a saw to cut the board. Make sure to cut along the marked line for precision.
- For the 2×4 boards, measure and mark four pieces, each 3 feet long. Cut these pieces as well.
Warning: Always ensure your fingers are away from the cutting path when using a saw. Why this matters: Safety is paramount when handling sharp tools.
Time estimate for this step: 30 minutes.
Step 2: Cut the Wood
Editor’s Choice

SKIL 15 Amp 7-1/4 Inch Circular Saw with Single Beam Laser Guide – 5280-01

HORUSDY 8-Pack Bar Clamps for Woodworking, 12″ and 6″ Bar Clamps, Wood W…

FastCap PSSR-16 16 Foot Pro Carpenter Standard Reverse Measuring Tape
Step 3: Sand the Wood
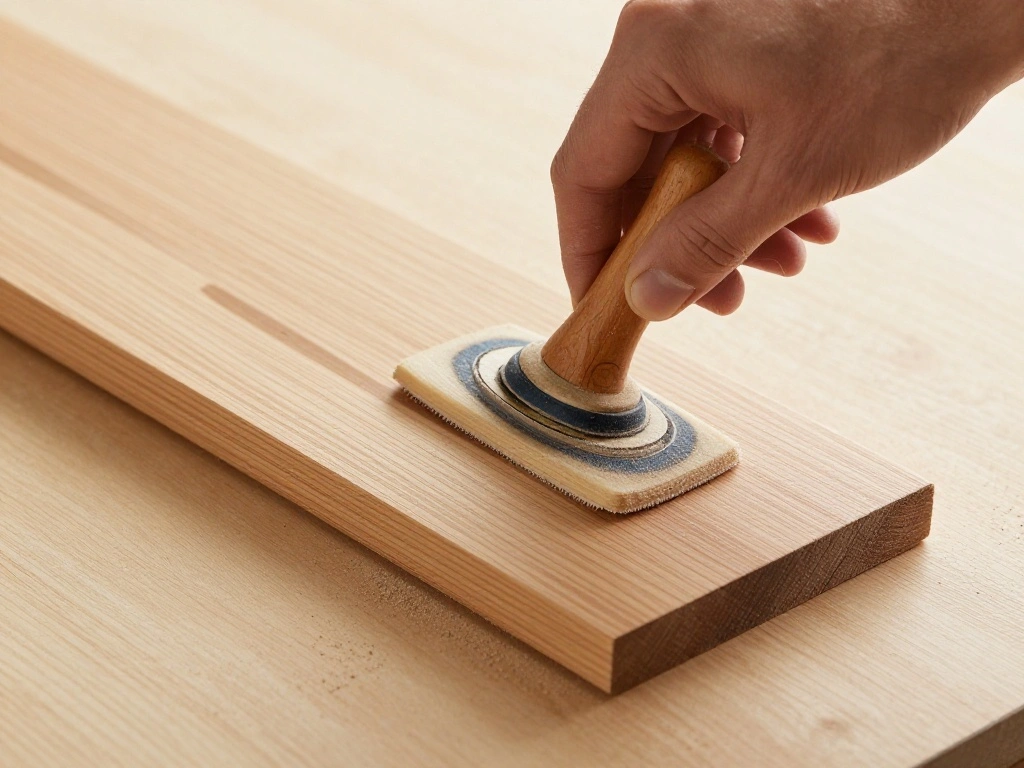
After cutting, it’s important to sand the wood to ensure a smooth finish. Sanding prevents splinters and enhances the shelf’s appearance. Follow these steps:
- Start with medium-grit sandpaper to smooth rough edges and surfaces.
- After the initial sanding, switch to fine-grit sandpaper for a polished finish.
- Wipe down the wood with a damp cloth to remove any dust particles.
Pro Tip: Always sand in the direction of the wood grain for the best finish. Why this matters: Proper sanding increases the shelf’s aesthetic appeal and durability.
Time estimate for this step: 30 minutes.
Recommended Products
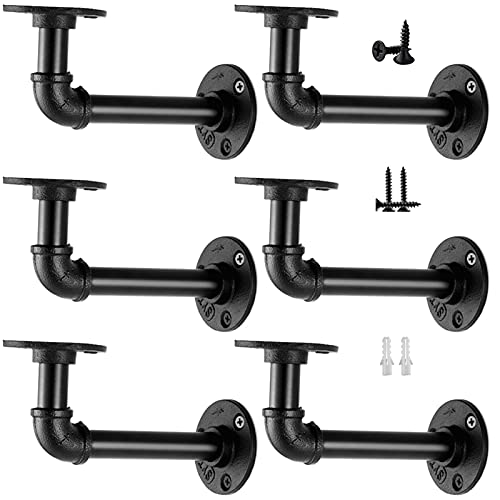
Fits 7"-14" Board Depth : This pipe shelf brackets L stype are designed to hold the wood lumber board depth from 7 inch to 14 inch.

𝐌𝐨𝐝𝐞𝐫𝐧 & 𝐌𝐢𝐧𝐢𝐦𝐚𝐥𝐢𝐬𝐭 𝐒𝐭𝐲𝐥𝐞 - Featuring clean lines and a rustic brown finish, these wall-mounted shelves bring warm farmhouse charm and modern style to any space. Perfect as shelves for room decoration, book shelves display, and rustic farmhouse wall decor — they elevate your bathroom wall art vibe, bedroom aesthetic, living room style, kitchen organization, office setup, and laundry room storage all in one versatile design

Step 3: Sand the Wood
Editor’s Choice

VALENGO New Lint Free Rags – 100% Cotton Cloth, Soft T-Shirt Rags, Lin…

3M Aluminum Oxide Sandpaper, 5 Sheets, Assorted Grit 100-150-220, 9-in x…
3M Sandpaper, 220 Grit, 5 Sheets, 9 in x 11 in, Sands Paint, Wood & Meta…
Step 4: Assemble the Shelf
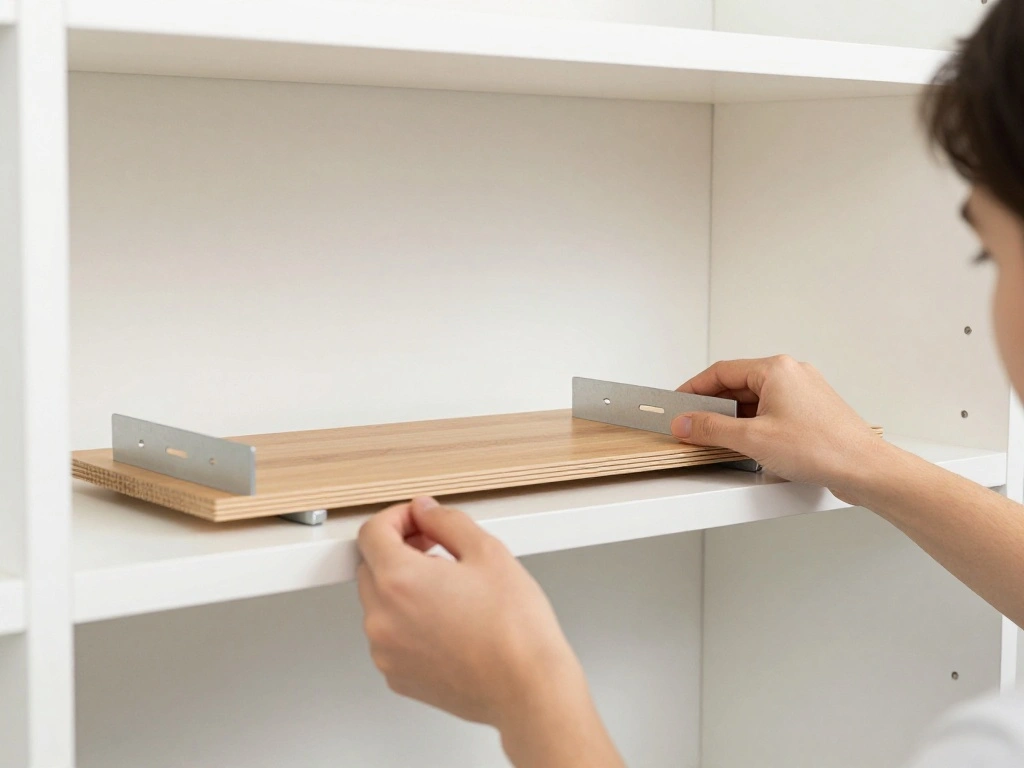
Now it’s time to assemble your farmhouse shelf. This step involves attaching the supports and the shelf surface. Follow these instructions closely:
- Take two of the 3-foot 2×4 pieces and position them vertically on a wall or work surface, about 3 feet apart.
- Attach the brackets to the top of each 2×4 using wood screws for added support.
- Position the 1×12 shelf board on top of the brackets and ensure it is level.
- Screw the shelf board into the brackets from underneath for secure placement.
Warning: Make sure the shelf is level before securing to avoid uneven surfaces. Why this matters: A level shelf is crucial for both functionality and aesthetics.
Time estimate for this step: 1 hour.
Recommended Products

PREMIUM SOLID WOOD: Crafted from 100% solid acacia wood, offering rich natural grain patterns and exceptional durability.

Hand Crafted Natural Hardwood Frame Set: 2-Pack of 10x8 picture frames complete with High Definition Real Glass for superior clarity and protection

【Functional Floating Shelves】 Add extra storage to your bedroom, bathroom, or kitchen with these black wall shelves. Perfect for organizing DVDs, plants, and spices, or as a farmhouse floating decor wall shelves to declutter counters.
Step 4: Assemble the Shelf
Editor’s Choice

3Pcs Circular Bubble Level Bullseye Degree Marked Surface Round Spirit L…

24 Pack 10″ x 8″ Heavy Duty Metal Shelf Brackets, Floating Shelf Bracket…

MYWISH (20Sets) 1/4″ x 2″ Hex Head Lag Bolts, Heavy Duty Lag Screws with…
Step 5: Finish the Shelf
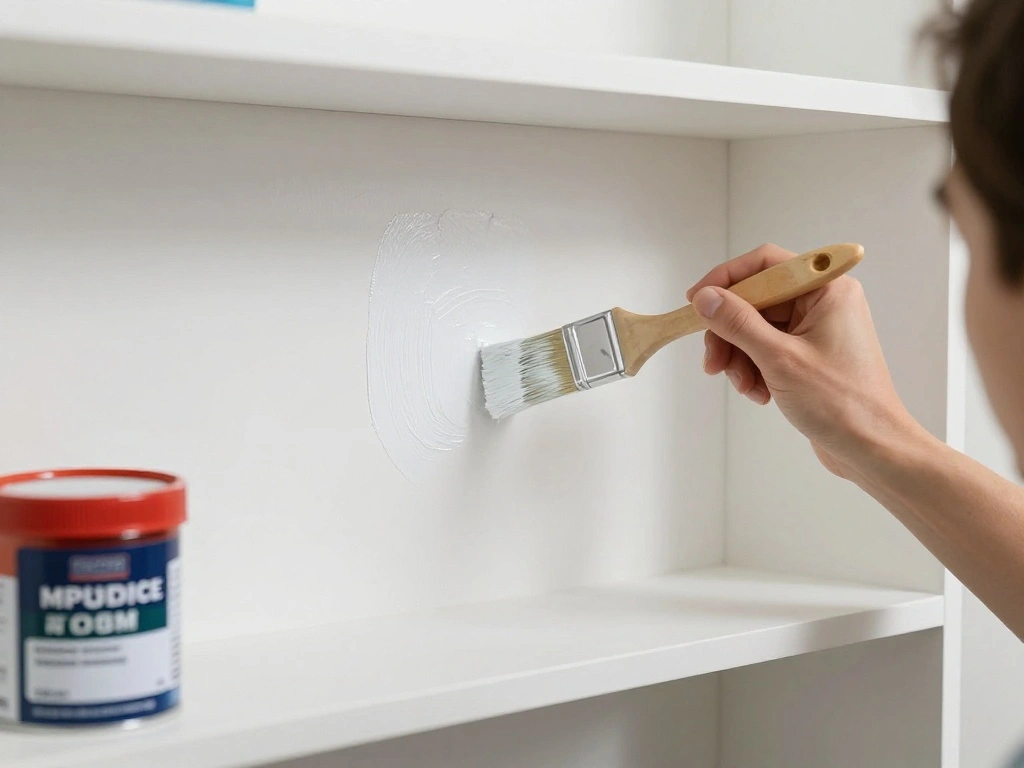
Your shelf is almost complete! Now, let’s add some finishing touches for that farmhouse look. Follow these steps:
- If desired, apply paint or stain to the shelf for a rustic finish. Choose a color that matches your decor.
- Allow the paint or stain to dry according to the product instructions.
- Once dry, inspect the shelf for any rough spots and sand again if necessary.
Pro Tip: Use a brush for detailed areas and a roller for larger surfaces when painting. Why this matters: Finishing enhances the shelf’s longevity and visual appeal.
Time estimate for this step: 1 hour (including drying time).
Recommended Products

Authentic Industrial Plumbing Pipes & Fittings: These set of four PIPE DÉCOR industrial pipe shelf brackets use genuine schedule 40 black steel pipe and genuine plumbing fittings. The components that make up this kit are high quality and heavy duty. Although they are being used to make a decorative shelving bracket, make no mistake that this is the real industrial pipe.
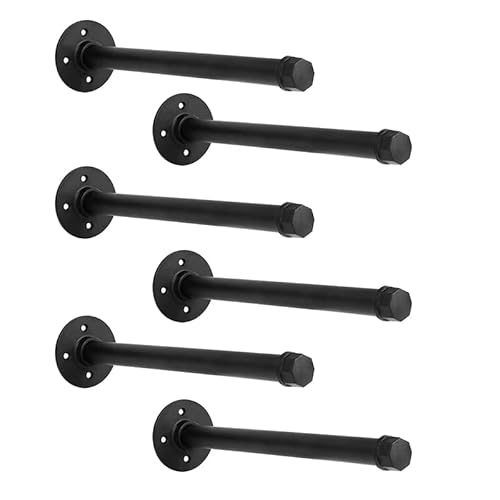
【𝑯𝒆𝒂𝒗𝒚-𝑫𝒖𝒕𝒚 𝑰𝒏𝒅𝒖𝒔𝒕𝒓𝒊𝒂𝒍 𝑺𝒕𝒓𝒆𝒏𝒈𝒕𝒉 - 𝑺𝒖𝒑𝒑𝒐𝒓𝒕𝒔 60𝒍𝒃𝒔 𝑷𝒆𝒓 𝑩𝒓𝒂𝒄𝒌𝒆𝒕】Engineered with 3/4" thick black iron and reinforced welds, these brackets are built to last. Each bracket holds 60lbs (120lbs per pair) - strong enough for: Heavy tool storage in garages Kitchen appliances like mixers and air fryers Large book collections or vinyl records The upgraded powder coating resists chipping and rust, even in humid bathrooms or workshops.

【𝑯𝒆𝒂𝒗𝒚-𝑫𝒖𝒕𝒚 𝑰𝒏𝒅𝒖𝒔𝒕𝒓𝒊𝒂𝒍 𝑺𝒕𝒓𝒆𝒏𝒈𝒕𝒉 - 𝑺𝒖𝒑𝒑𝒐𝒓𝒕𝒔 60𝒍𝒃𝒔 𝑷𝒆𝒓 𝑩𝒓𝒂𝒄𝒌𝒆𝒕】Engineered with 3/4" thick black iron and reinforced welds, these brackets are built to last. Each bracket holds 60lbs (120lbs per pair) - strong enough for: Heavy tool storage in garages Kitchen appliances like mixers and air fryers Large book collections or vinyl records The upgraded powder coating resists chipping and rust, even in humid bathrooms or workshops.
Step 5: Finish the Shelf
Editor’s Choice

Varathane Premium Fast Dry Wood Stain | 1 Hour Dry Time | 1 Coat Color |…
Step 6: Install the Shelf
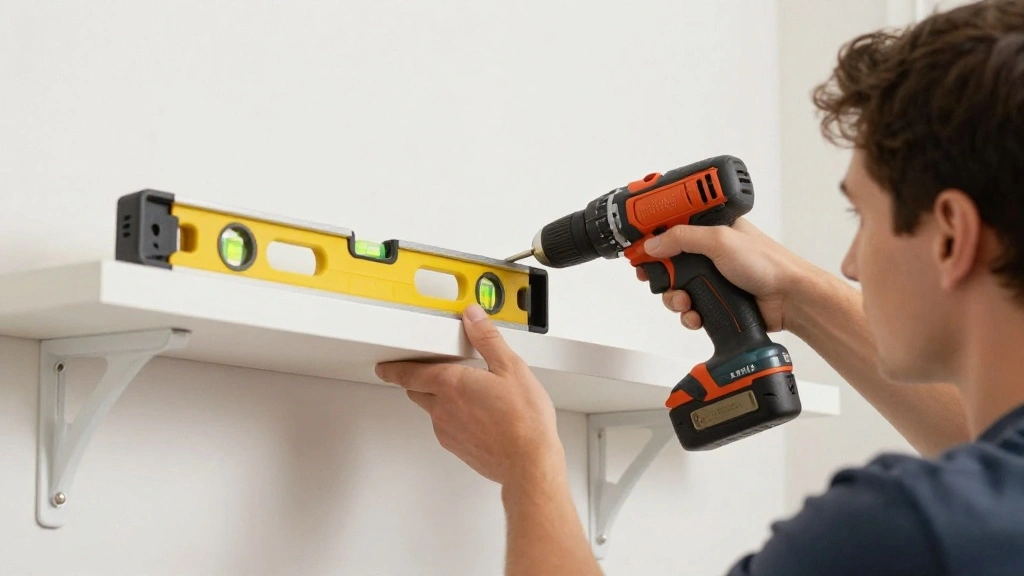
Finally, it’s time to install your shelf in its designated spot. Follow these steps to secure it properly:
- Choose a wall location where the shelf can be mounted securely.
- Use a level to mark the points where the brackets will attach to the wall.
- Drill pilot holes into the wall at the marked points and insert wall anchors if necessary.
- Attach the brackets to the wall using screws, ensuring everything is tight and secure.
Warning: Make sure to mount the shelf into wall studs for maximum support. Why this matters: A well-secured shelf prevents accidents and damage.
Time estimate for this step: 30 minutes.
Recommended Products

EFFECTIVE ON ALL WOOD SURFACES and QUICK DRYING: Furniture Clinic Wood Stain is a fast drying and highly concentrated wood stain making it effective on all indoor and outdoor wood surfaces. Our wood stain provides excellent coverage and ensures even color penetration. It's water based, environmentally friendly, and dries to a natural matte finish in only 10 minutes.

NO LAPS, RUNS OR STREAKS: Goof Proof formula with no back brushing required; ideal for exterior wood projects

CLEAR WATERPROOFING WOOD SEALER: Olympic WaterGuard clear sealer waterproofs and protects exterior wood and masonry without changing the surface's natural look.
Step 6: Install the Shelf
Editor’s Choice

Torpedo Level Magnetic, Firecore 9 Inch Shockproof Small Leveler Tool wi…

KURUI 140Pcs #8 Self Drilling Drywall Anchors with Screws Kit, Heavy Dut…

NEODROP 4-Pack 12 Inch Heavy Duty Shelf Brackets, Large Wall Bracket for…
Pro Tips
- Pre-drill Holes: Always pre-drill holes for screws to prevent the wood from splitting.
- Use Quality Materials: Invest in good quality wood and hardware for a durable shelf.
- Customize Dimensions: Adjust the size of the shelf based on your space and storage needs.
- Consider Lighting: Install under-shelf lighting for added ambiance and functionality.
- Showcase Personal Style: Use the shelf to display items that reflect your personality and style.
Recommended Products

【VARIOUS SIZES】FIXLINK wood screws assortment kit provides you with 8 common sizes from short to long. Contains #6 X 1/2", 5/8" and #8 x 3/4", 1", 1-1/4", 1-1/2", 2", 2-1/2". The wood screws set and M7 screw anchors meet your daily needs

FIVE ESSENTIAL SIZES FOR MULTIPLE PROJECTS: This dry wall anchors and screws kit comes with five of the most widely used sizes: #6 1", #7 1", #6 1-1/5", #8 1-3/5", and #8 2-2/5". It works for all types of hanging installation needs, and pairs great with a drywall repair kit, whether you’re mounting shelves, fixing curtain rods, or hanging bathroom living room wall decor.
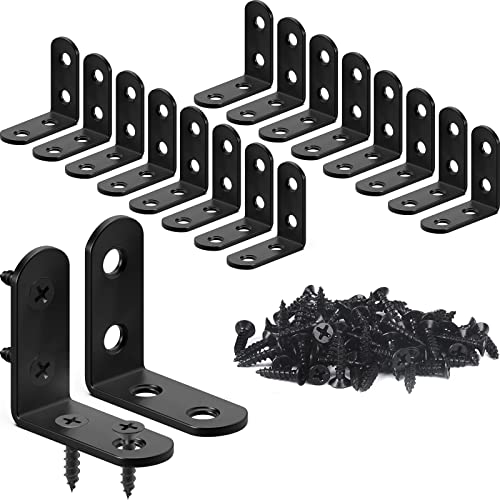
GREAT VALUE & WITH STORAGE TIN: You will get FATLODA 18PCS L brackets (with 72PCS screws) and they come in a cute reusable tin, very convenient to store or carry. Each corner bracket size: 40*40*16mm/ 1.57*1.57*0.63in, the thickness: 2mm/ 0.08in, and the hole diameter: 5mm/ 0.2in. The screw length: 16mm/ 0.63in, screw head diameter: is 7mm/ 0.27in.
Pro Tips
Editor’s Choice

DEWALT Drill Bit Set, 3-Flats Shank,14-Piece, 135 Degree Split Point, fo…

BATODA Set of 2 17″ Acacia Wood Floating Shelves Wall Mounted – Rustic…

Black Shelf Lights, LED Bookcase Lighting Compatible with Alexa, WiFi Di…
Common Mistakes to Avoid
Warning: Not checking for levelness can lead to an uneven shelf. Always double-check with a level tool before securing. Warning: Using weak brackets may compromise the shelf’s integrity. Always opt for heavy-duty brackets for safety.
Warning: Skipping the sanding step can result in splinters. Always sand your wood for a smooth finish.
Editor’s ChoiceCommon Mistakes to Avoid
Heavy Duty Shelf Brackets 10 Inch, 6 Pack Floating Shelf Brackets, L Wal…
Romeda 8-Pack Sanding Sponge, Four Grits Per Pack 60/80/120/220, Washabl…
Floor Gap Fixer Tool, 2026 Upgraded Heavy Duty Floor Gap Fixer Suction C…


Troubleshooting Section
Problem: The shelf is wobbling after installation. Editor’s Choice
Solution: Check to see if the brackets are securely fastened and if the wall anchors are properly installed.
Problem: Paint or stain is uneven.
Solution: Sand down the rough areas and apply an additional coat for an even finish.
Problem: The wood has split during cutting.
Solution: Ensure you are using sharp blades and pre-drill holes for screws to avoid splitting.
Troubleshooting Section
E•Werk – Reciprocating Saw Blades for Wood – 5 Pieces – High Carbon St…
SKIL 5” Random Orbital Sander with Cyclonic Dust Box & 3pc Sanding She…


Variations/Alternative Methods
If you want to explore different styles for your farmhouse shelf, consider these variations:
- Floating Shelf: This design eliminates visible brackets for a sleek look. Use brackets that are hidden inside the shelf.
- Corner Shelf: A corner shelf can maximize space in smaller rooms while adding charm.
- Multi-Tiered Shelf: Create a multi-tiered design for more display space, using multiple shelf boards stacked at different heights.
Variations/Alternative Methods
Editor’s Choice
EVALD Hidden Floating Shelf Bracket | 8-Inch Heavy Duty Blind Shelf Supp…

MaxSmeo Corner Shelf, 5-Tier Corner Bookshelf for Small Spaces, Stylish …

Baltic Birch Plywood 24 x 48 x 1/2 Inch – 12 mm Craft Wood, Pack of 1 B/…
FAQs
What if I don’t have a power drill? Editor’s Choice
You can use a manual screwdriver, but a power drill makes it easier and faster.
How long should I wait for the paint to dry?
It typically takes 1-2 hours, but refer to the manufacturer’s instructions for specifics.
Is it safe to mount the shelf in drywall?
Yes, but ensure you use wall anchors or screws directly into studs for better support.
FAQs
KURUI Drywall Anchors and Screws Assortment Kit 270PCS, 135 Plastic Dry …
Apple Barrel, Vibrant Spectrum Collection Acrylic Craft Paint, Promoabii…
PULITUO’S 20V Cordless Drill/Driver, Electric Screwdriver – 2 Batteries,…


Conclusion
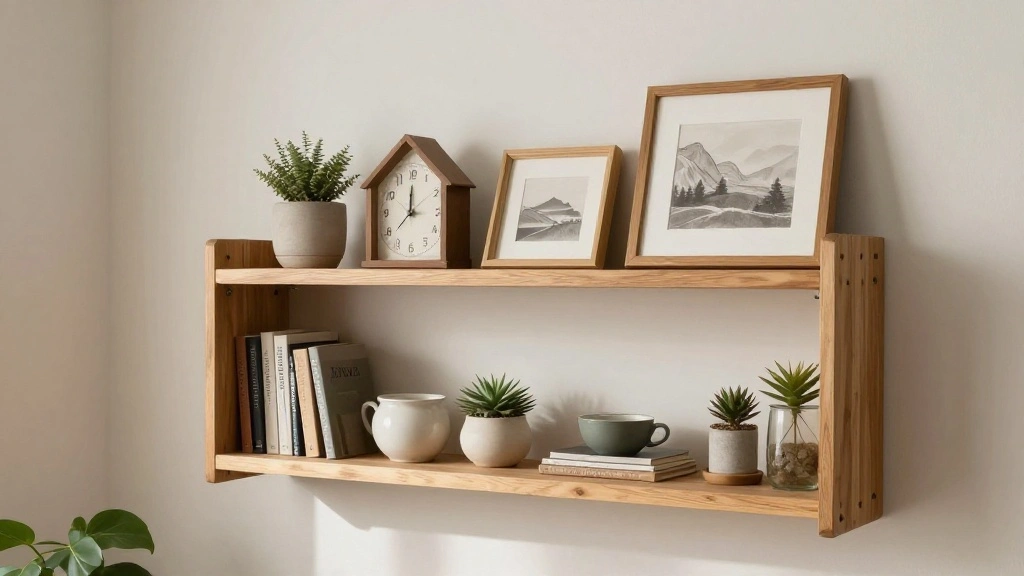
Congratulations! You’ve successfully built your very own DIY farmhouse shelf. This project not only adds functionality to your space but also serves as a testament to your woodworking skills. Now, take a moment to admire your handiwork.
As you enjoy your new shelf, consider what other DIY projects you might tackle next. Perhaps you could build matching decor items or even a full set of shelves for a cohesive look. The possibilities are endless!