
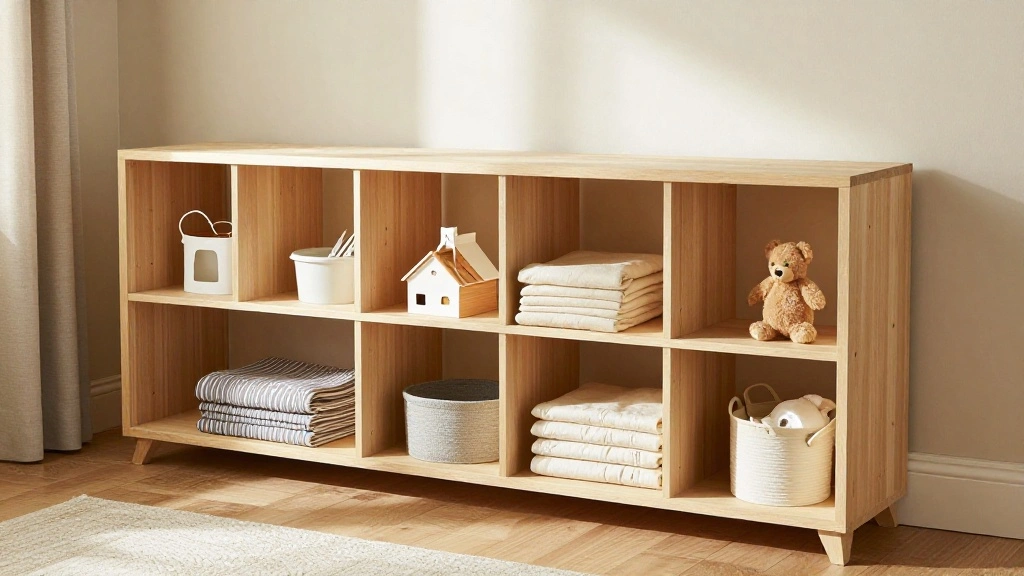
Are you feeling overwhelmed by the task of creating a cozy and stylish nursery for your little one? A well-styled nursery not only nurtures a calm environment for your baby but also reflects your personal style. With the right techniques, you can transform a simple crib and shelving setup into a warm and inviting space. In this guide, you will learn how to effectively style a farmhouse crib and nursery shelves, achieving a beautiful and functional design.
Throughout this article, you will discover practical steps to choose colors, textures, and accessories that embody the farmhouse aesthetic while ensuring safety and functionality. You’ll also learn how to arrange and display items on nursery shelves to maximize both style and storage.
Whether you’re a new parent or redecorating, this guide is designed for beginners and will take approximately 2-3 hours to complete. Let’s dive into the world of nursery styling!
TL;DR Summary
- Learn to style a farmhouse crib and shelves with practical tips.
- Discover how to choose colors, textures, and accessories.
- Get step-by-step instructions for arranging items safely and beautifully.
- Perfect for beginners and takes about 2-3 hours.
Recommended Products

SNUG FIT: Includes: (2) Baby Crib Sheets: 52in. x 28in. x 8in. Our newborn standard crib sheets fit snugly, with premium elastic sewn around the entire bottom edge for a secure fit on most standard sized cribs & toddler beds, to reduce shifting & bunching. This microfiber cribsheets set features an exclusive design print of watercolor farm animals, cows, horses, goose, sheep, pig, chickens, goats, rustic barns & windmills and is gentle on delicate skin to foster a soothing sleep environment.

4 PIECE CRIB BEDDING SET INCLUDES: Crib Comforter (45in. x 36in.), Fitted Crib Sheet (52in. x 28in. x 8in. Pocket), Crib Skirt (52in. x 28in. x 15in. Drop) and Diaper stacker (15in. x 20in. x 6in.). An infant crib set including all the baby essentials is a great value compared to purchasing pieces separately. This baby crib set is made of soft microfiber fabric and features the neutral color palette of reds, blues, yellows, greens and grey to bring your farmhouse barn animals baby room together.

11 Piece Set Includes: Crib Blanket: 45 in. x 36 in., Skirt: 52 in. x 28 in. x 15 in. drop, Fitted Crib Sheet: 52 in. x 28 in. x 8 in. pocket, Valances: 15 in. x 54 in. each; fits standard rods up to .75 inches in diameter, Diaper Stacker: 15 in. x 20 in. x 6 in., Toy Bag: 13 in. x 24 in., Pillow: 10 in. x 10 in., Set of 3 Wall Hangings: 10 in. x 10 in. each
TL;DR Summary
Editor’s Choice

Welshower Boho Floral Girl Nursery Poster Hanger Frame, Wildflower Nurse…

Prerequisites/Materials Needed
- Crib (1)
- Changing table (1) or dresser (1)
- Bookshelves (1-2, depending on space)
- Decorative items (e.g., stuffed animals, books, plants) – at least 5-10
- Textiles (bedding, curtains, rugs) – as needed
- Storage bins or baskets (2-3)
- Paint or wall decals (optional)
Recommended Products

Strong Magnets: Our wood bead curtain tiebacks magnetic are newest design and have a super strong magnet. Magnetic curtain tiebacks use upgraded version of nickel-plated magnets, which are smooth, and rust-resistant, screw fixing, does not fall off. This boho magnetic curtain tie backs hold the curtains back great
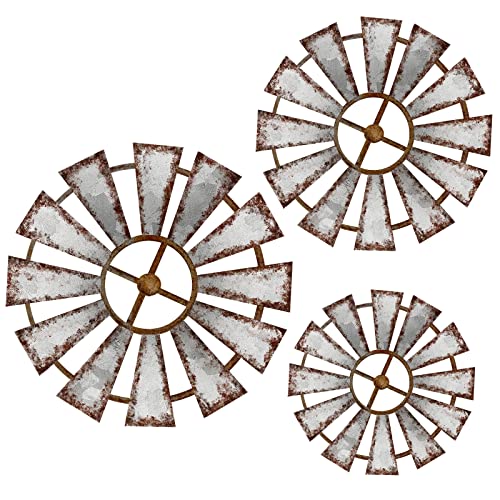
Rustic Appearance: with windmill themes and faux rust edges, farmhouse bathroom wall decors are rustic and retro, which is good for decorating your farmhouse, bedroom and other places, and giving you a sense of nature and a country feeling

Cursive fonts are one continuous piece (with the exception of Brittany & chicago fonts. They will be seperate where pictured in preview, legibility issues when altered), Print font letters will be individual letters as pictured & stated in the description above. Sizes are width aka left to right span of the first name.
Prerequisites/Materials Needed
Editor’s Choice
Rectangle Storage Basket with Handles,Collapsible Storage Bin,Books Box,…

Allenjoy Cute Anime Purple Korean Hunter Comforter Set with 2 Pillowcase…

Inspirational Wall Sticker Pretty Eyelashes Eyes Wall Decals Motivationa…
Skill Level & Time Estimate
Skill Level: beginner. Total time estimate: 2-3 hours. Here’s how the time breaks down:
- Choosing a color scheme: 30 minutes
- Arranging the crib and changing table: 30 minutes
- Styling the shelves: 1 hour
- Adding decorative touches: 30 minutes
Recommended Products

【Neutral Floral Art Prints】: The neutral wall art prints decor are ideal for nursery decor/farmhouse wall decor or for gallery wall. The unframed wall art will always bring you home a touch of timeless elegance, making it the perfect addition to any room. The delicate floral designs blend seamlessly with farmhouse, cottage, or modern aesthetics, creating a soothing ambiance in any room.

Quality materials: This wildflower nursery decor is made of a rustic wood frame, sturdy material ensures the longevity of the product

[Versatile & Scalloped Design] Upgrade your child's space with AELS paper rope shelves—ideal for lightweight items such as books, toys, and decor. Flip 'em upside down for a fresh look in any room, from nurseries to playrooms. These woven beauties are the gift that keeps on giving, blending style and function throughout your home.
Skill Level & Time Estimate
Editor’s Choice

Bedsure Tufted Rose Pink Queen Size Comforter Sets, GentleSoft™ 3 Piec…

DONFENTHY 3 Pieces Inspirational Pink Floral Wall Decor Wooden Hanging W…

MAIZMZ Beige Check Storage Basket Baby Toys Organizer Bins Decorative Gi…
Step 1: Choose a Color Palette
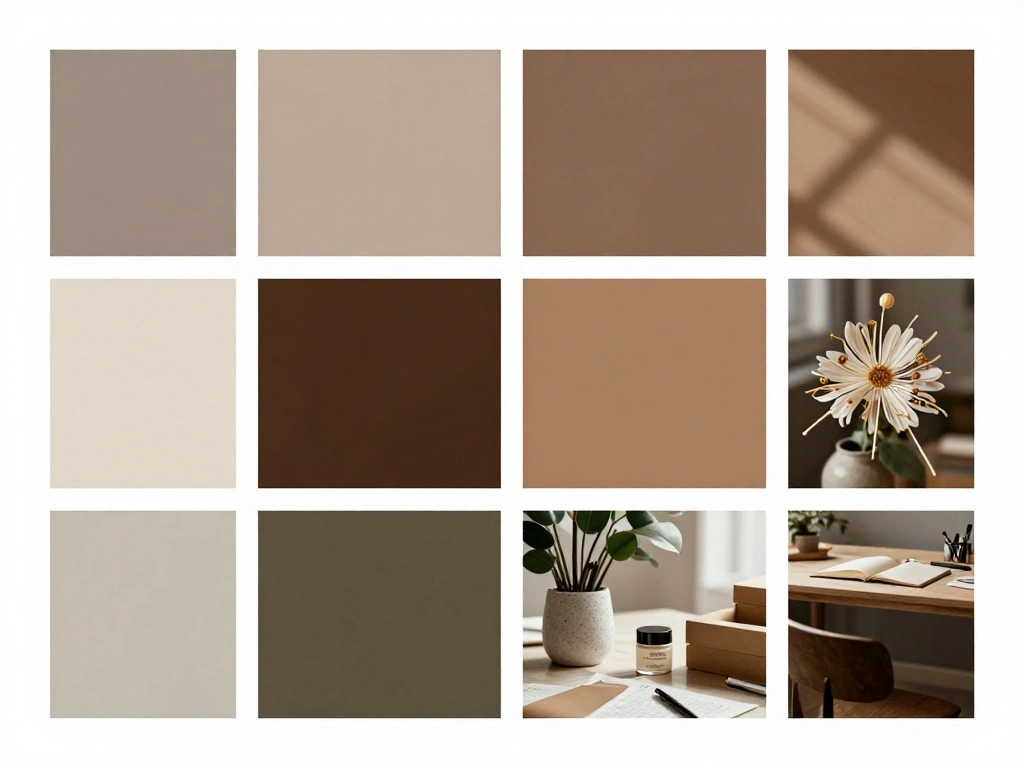
Start by selecting a color palette that reflects the farmhouse style. Pro Tip: Neutral colors like whites, grays, and soft pastels work well for a calming effect. Here’s how to do it:
1. Look at inspiration from farmhouse designs online or in magazines.
2. Pick 2-3 main colors and 1-2 accent colors.
3. Consider how these colors will work with the existing walls and furniture.
Warning: Avoid using too many bold colors, as they can create a chaotic effect.
Why this matters: A cohesive color palette establishes a serene atmosphere for the nursery. Time estimate: 30 minutes.
Recommended Products
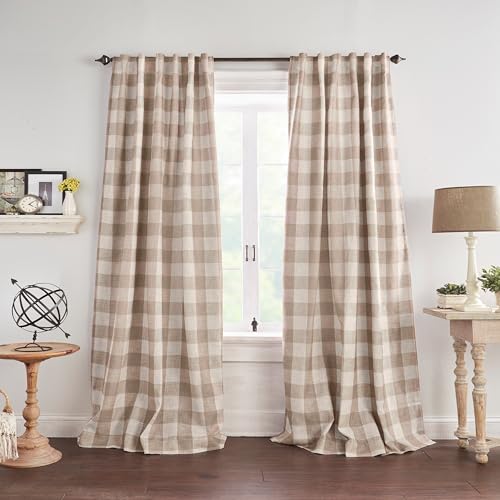
FARMHOUSE BUFFALO-CHECK STYLE: Add rustic charm to any space with this timeless buffalo-plaid curtain panel, designed to complement farmhouse, cottage, or country-inspired décor.

Pair Sold: 2 panels per package. Each panel measures 52 inches wide by 84 inches Long, pair measures 104 inch width x 84 inch Length. 3 in 1 hanging style includes (1) using the back loops to create an elegant pleated effect, (2) from the 3 inch rod pocket for a classic look, or (3) using clip rings for easy, slide open and closed (clip rings not included)

PINCH PLEATED DESIGN: Curtains top features 1.5 times length fabric design for an elegant pleated effect. Perfectly presenting a sense of stereoscopic and layering. Whether in living room, bedroom, dining room or sliding door etc, it fit perfectly into a variety of room decor style
Step 1: Choose a Color Palette
Editor’s Choice

GRAPMKTG Home Decor Pulp Reading Women Thinker Statue Aesthetic Sculptur…

110pcs Mixed Faux Greenery: Real Touch Babys Breath Artificial Flowers B…

The Peanutshell 3 Piece Baby Crib Bedding Set for Girls – Newborn, Infan…
Step 2: Arrange the Crib
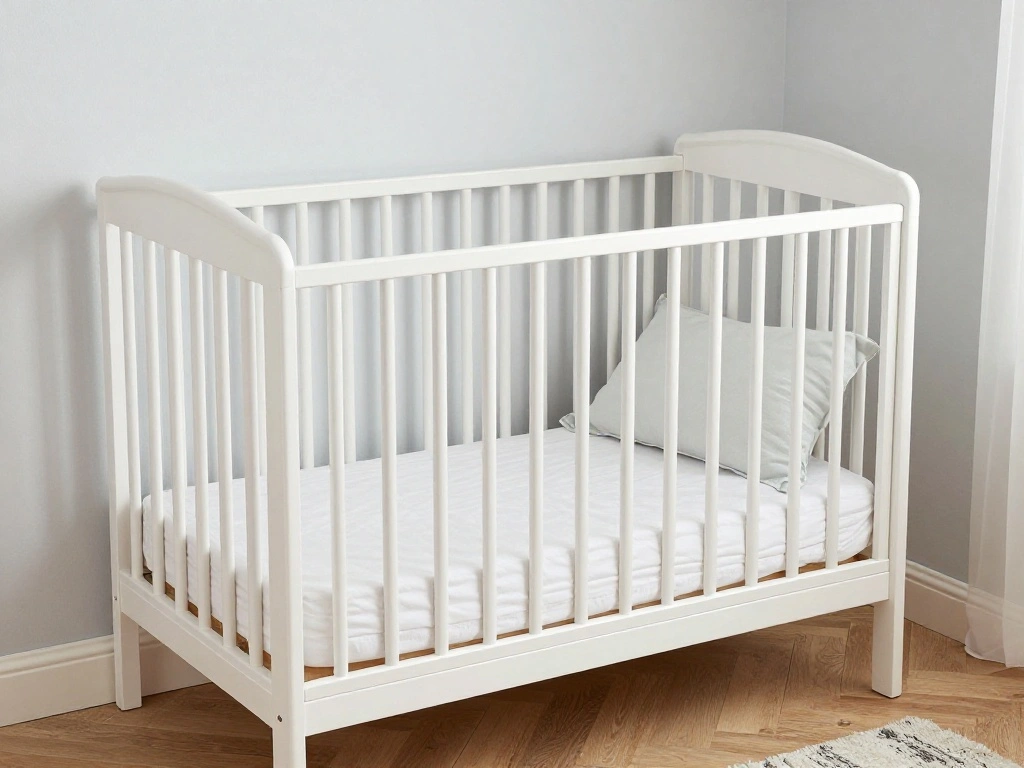
Positioning the crib correctly is crucial for safety and style. Follow these steps:
1. Choose a corner or wall space that allows easy access.
2. Ensure the crib is away from windows and direct sunlight to avoid overheating. Pro Tip: Place the crib where you can easily monitor the baby.
3. Adjust the crib height according to the baby’s age.
Why this matters: A well-placed crib ensures safety and comfort for your baby while enhancing the overall aesthetic of the nursery. Time estimate: 30 minutes.
Recommended Products

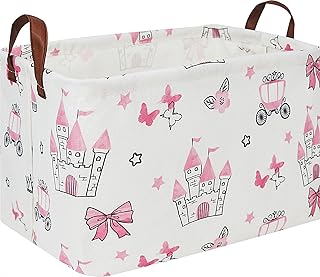
Reinforced Built-in Handles - Features thickened seamless integrated handles with multilayer woven construction for strong load-bearing. Smooth edge design avoids snagging clothes. Soft grip allows easy carrying from room to room.

XXL Capacity for All Your Storage Needs, Measuring 21.7"D x 13.8"H, this spacious basket effortlessly holds family clothing, blankets, pillows, toys, and laundry. One basket to declutter your entire home

【NATURAL COTTON ROPE DESIGN | SOFT & DURABLE】 Made with natural cotton rope, this woven storage basket features a soft texture without plastic materials or harsh chemicals. The gentle rope construction is safe for family use, while the durable handwoven design helps the basket maintain its structure and provides long-lasting everyday storage.
Step 2: Arrange the Crib
Editor’s Choice

BEDELITE Baby Pink Queen Comforter Set – 3 Pieces Boho Pintuck Bedding C…

Biloban Crib Mattress Protector 2 Pack, Waterproof, Durable, Grey & Navy…
Step 3: Add a Changing Table
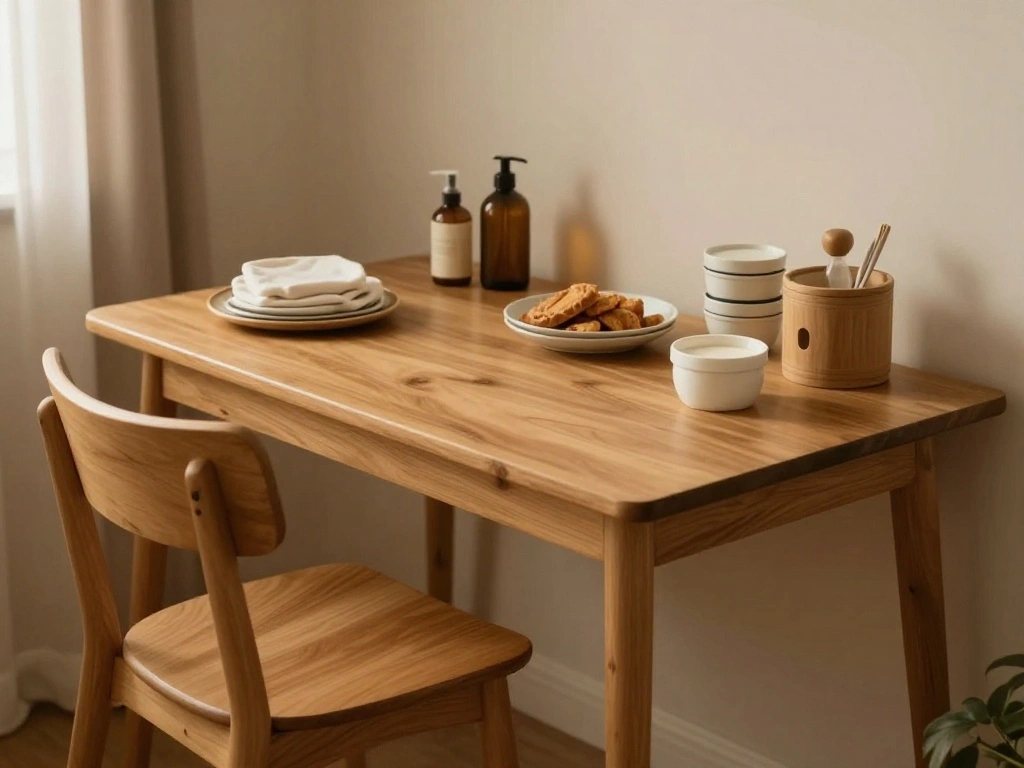
Next, incorporate a changing table or dresser into the nursery. Here’s how:
1. Choose a style that complements the crib; for a farmhouse look, opt for wood with a distressed finish.
2. Place the changing table within arm’s reach of the crib for convenience.
3. Organize changing supplies in baskets or drawer organizers.
Warning: Ensure that the changing table is sturdy and secure.
Why this matters: A functional changing area makes diaper changes quick and easy, while also maintaining the farmhouse style. Time estimate: 30 minutes.
Recommended Products

Farmhouse Theme: Add a playful and soft touch to your toddler's or baby’s nursery with a boho farmhouse theme featuring charming cow prints and patchwork on forest green and white.

5 PIECE CRIB BEDDING SET INCLUDES: Crib Comforter (45in. x 36in.), 2 Fitted Crib Sheets (52in. x 28in. x 8in. Pocket), Skirt (52in. x 28in. x 15in. Drop), and Diaper stacker (15in. x 20in. x 6in.). An infant crib set including all the baby essentials is a great value compared to purchasing pieces separately. This baby crib set is made of soft microfiber fabric & features a farmhouse style color palette of blush pink yellow green & white that will bring your vintage boho chic baby room together.

3-piece Crib Bedding Set for Girls or Boys Includes: Crib Comforter, Fitted Crib Sheet, Crib Bed Skirt
Step 3: Add a Changing Table
Editor’s Choice

Mr. Pen- Baby Diaper Caddy Organizer, Gray, Medium, Nursery Storage Bin …

Boho Flower Nursery Basket,Waterproof collapsible storage box,Fall Wildf…

Delta Children Infant Changing Table with Pad, White
Step 4: Select Decorative Items
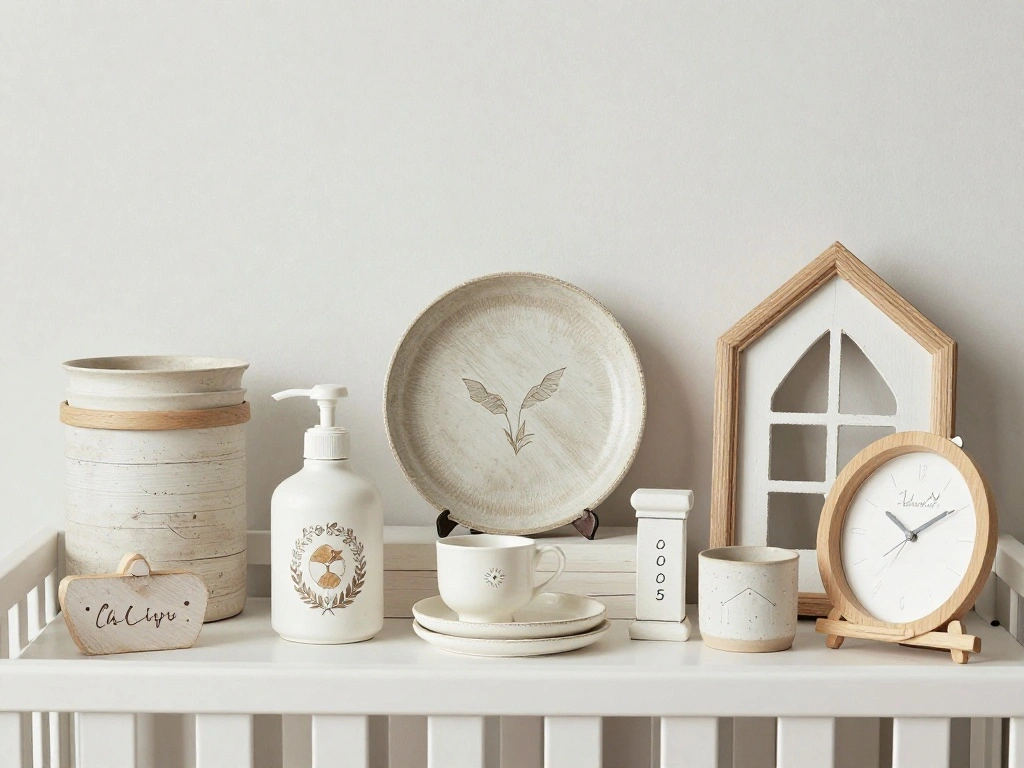
Decorative items add personality to your nursery. Here’s how to choose:
- Opt for soft toys, books, and decorative pillows that match your color palette.
- Select a few larger items like wall art or a mobile that highlights the farmhouse theme.
- Use natural materials such as wood, cotton, and linen to enhance the rustic feel.
Pro Tip: Aim for a mix of textures for visual interest.
Why this matters: Thoughtful decor makes the space feel welcoming and personal. Time estimate: 30 minutes.
Recommended Products

Track your travels on this beautiful National Geographic push pin travel map

【Premium Solid Wood Frame】 – Crafted with a durable solid wood frame, this wood framed wall art offers stability and natural farmhouse charm. Perfect for adding rustic warmth and elegance to your living room wall decor, bedroom wall art, or farmhouse kitchen decoration.

Daisy Wall Decor Set of 3: what you will receive are 3 pieces of boho nursery decor in different sizes, designed in a unified daisy patterns in the theme of boho style; Enough quantities and various sizes can basically meet your interior decoration needs and satisfy your personal preferences
Step 4: Select Decorative Items
Editor’s Choice

Bedtime Originals Twinkle Toes Pink Elephant Plush, Hazel, 1 Count (Pack…
DONFENTHY 3 Pieces Inspirational Pink Floral Wall Decor Wooden Hanging W…

Mancheng-zi Farmhouse Throw Pillows, Cow Gifts 12×20 Pillow Cover,Farmho…
Step 5: Style the Shelves
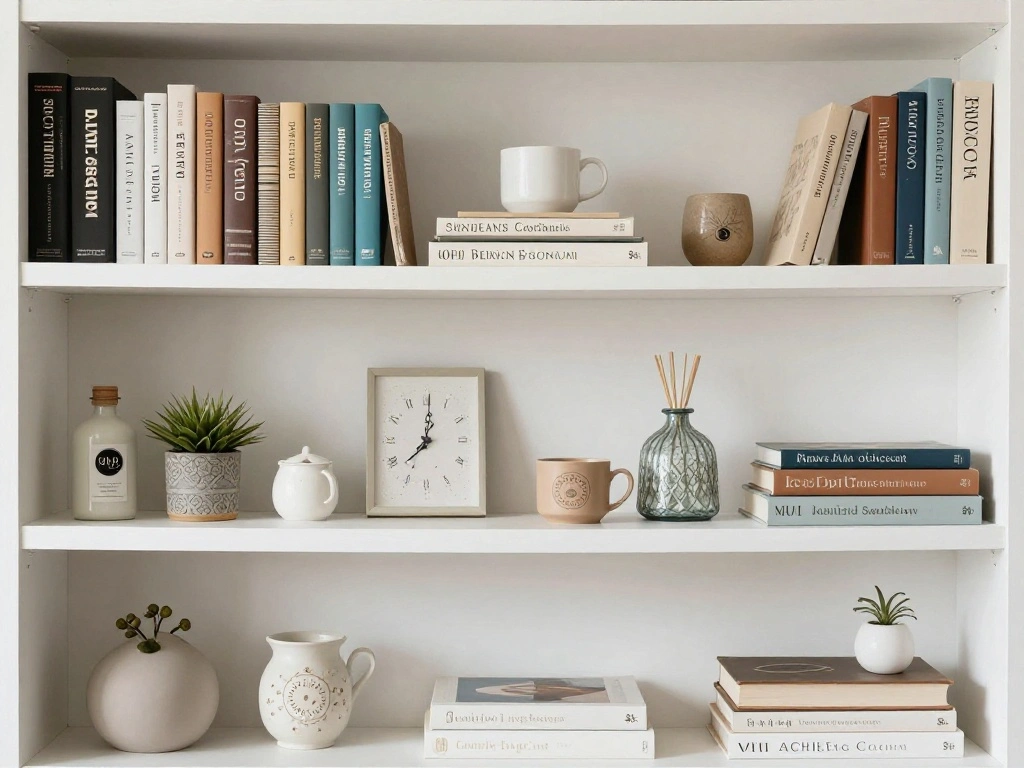
Your nursery shelves should be both functional and stylish. Here’s how to arrange them:
1. Start with the largest items at the back, such as books or storage bins.
2. Layer smaller items like toys and decorative pieces towards the front.
3. Use the rule of three for grouping items – it creates balance.
Warning: Secure heavy items to the wall to prevent tipping.
Why this matters: Well-styled shelves not only offer storage but also serve as a focal point in the nursery. Time estimate: 1 hour.
Recommended Products

CREATE A BEAUTIFUL & ORGANIZED WALL DISPLAY: Transform empty walls into stylish storage and decor space with these natural wood floating picture ledge shelves. Perfect for displaying kids books, framed photos, vinyl records, small plants, artwork, and farmhouse home decor in nurseries, bedrooms, living rooms, or playrooms.

Multi-Functional Floating Shelves: The tray design of these storage shelves will give you the opportunity to store your books, precious picture frames, your vinyl record collection, photo albums, trophies or your small plants and whatever you imagine!

🌲【Vintage Christmas Wall Art Print】: Bring the timeless symbol of Christmas into your home with our vintage pine tree art print. Designed with a rustic, farmhouse aesthetic, this piece evokes feelings of warm nostalgia and cozy winter nights, instantly creating a festive and welcoming atmosphere in your living room, entryway, or dining space.
Step 5: Style the Shelves
Editor’s Choice
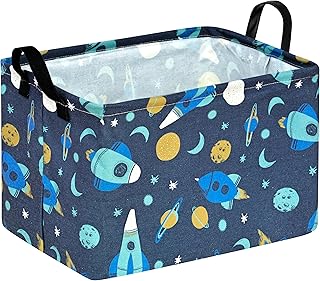
Baby Waterproof Storage Basket Toys Organizer Nursery Bins for Women Kid…

Nurses Gifts for Women, Nurse Accessories Charm for Bogg Bag Nurses Week…
Baby Waterproof Storage Basket Toys Organizer Nursery Bins for Women Kid…
Step 6: Incorporate Textiles
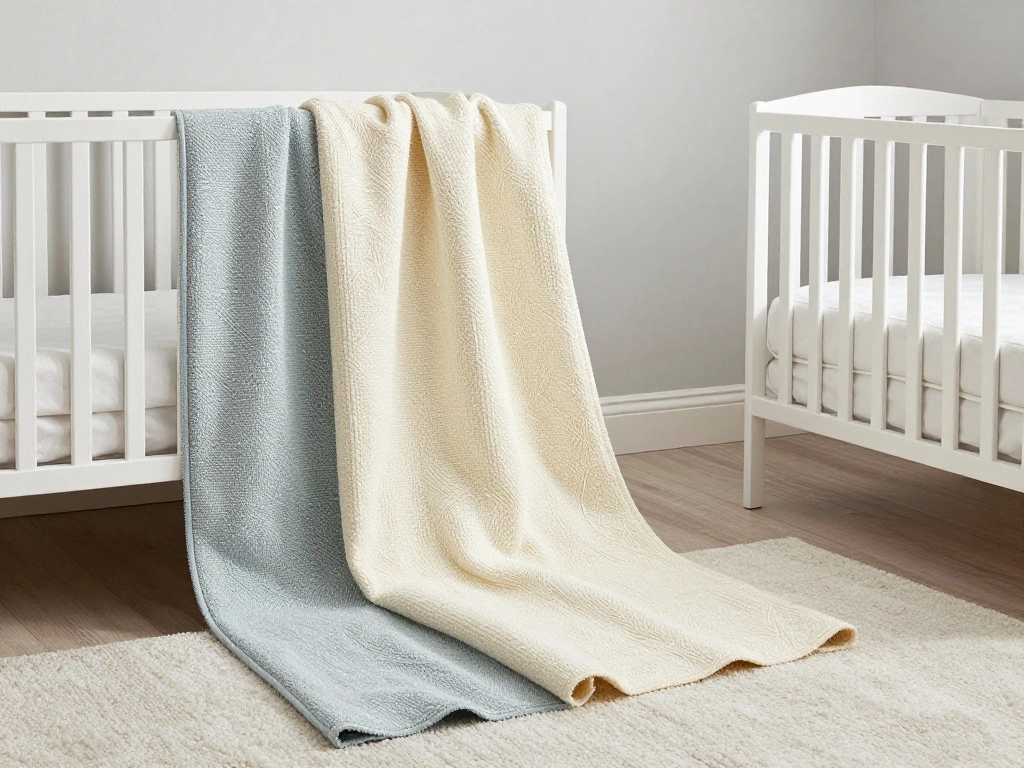
Textiles contribute comfort and warmth to the nursery. Follow these steps:
1. Select a soft rug that complements your color scheme.
2. Add curtains that allow natural light while providing some privacy.
3. Choose bedding that matches your overall theme and is easy to wash.
Pro Tip: Layer textiles for added texture and coziness.
Why this matters: Textiles enhance the nursery’s comfort and style, making it a nurturing environment for your baby. Time estimate: 30 minutes.
Recommended Products
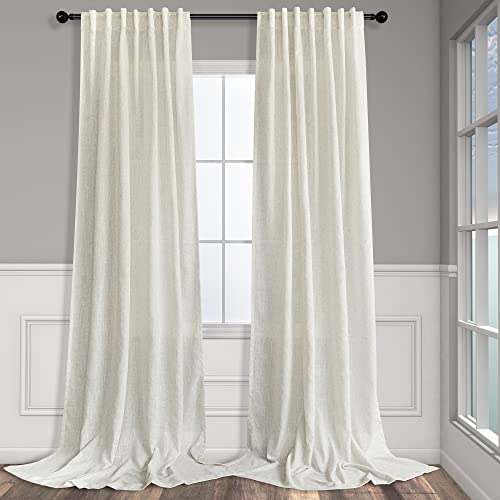
Basic Information: 2 LINEN PANELS in 1 package. Each panel measures width 52 x 84 length. 3-Way Hanging Options: Hang these curtain panels (1) using the back loops to create an elegant pleated effect, (2) from the 3 inch rod pocket for a classic look, or (3) using clip rings for easy, slide open and closed (clip rings are not included)

100% Blackout Curtains: A full blackout white coating is attached to the back of our linen curtains, blocking 100% of sunlight and UV rays. Provide you a complete private and personal space for a sweet sleep or rest. Good choice for bedrooms, nursery, living rooms, offices, patio door. Also perfect for babies, night shift workers and people sensitive to light

Ready Made: The package includes 2 panels of thick linen semi sheer curtains, and each panel 42"W (84"W for pair), 3 hanging options to meet your needs: rod pocket, back tab, or hanging ring (clips or hooks not included).
Step 6: Incorporate Textiles
Editor’s Choice

Laojin Balhen Queen Comforter Set 7 Pieces, Pink Seersucker Bed in a Bag…
Step 7: Add Personal Touches
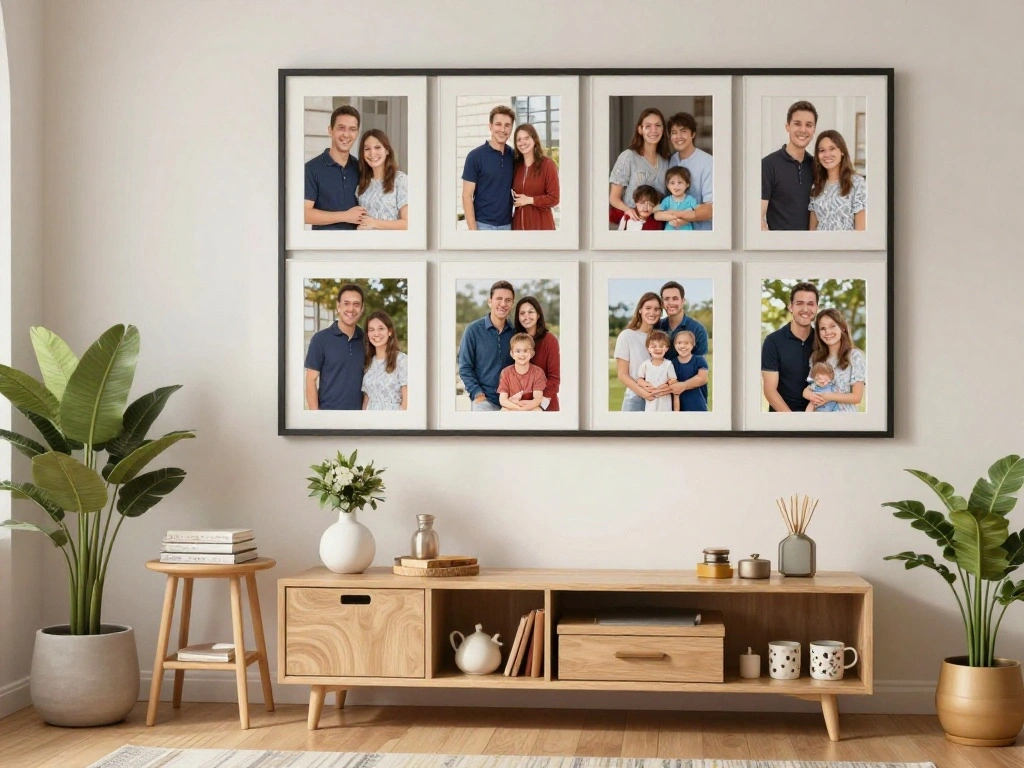
Personal touches make the nursery feel special. Here’s how to incorporate them:
1. Hang family photos or artwork that resonates with you.
2. Create a memory wall with milestones or favorite quotes.
3. Consider a special item, like a handmade quilt or a piece from a loved one.
Pro Tip: Personalize items with the baby’s name or initials for extra charm.
Why this matters: Personal touches create a unique atmosphere that reflects your family’s story. Time estimate: 30 minutes.
Recommended Products

Gingham Style: the storage basket showcases a warm khaki and white gingham pattern that creates a natural, understated aesthetic, adding a cozy farmhouse touch that grounds shelves, softens corners, and brings a timeless, earthy charm to any room
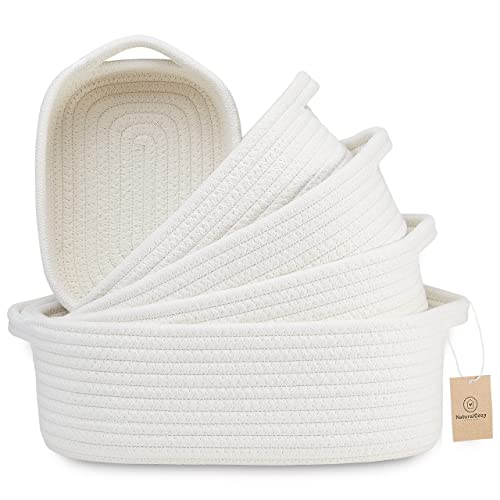
NO MORE FLOPPY, WEIRLY SHAPED BASKETS: “My baskets came flat and now they won’t stand up straight!” If this sounds familiar, you may be a victim of “squashed basket syndrome.” Not on our watch! While competitors send folded baskets that droop and sag, ours are stacked together in their own gift box so they don’t get smushed during shipping. No more sad, floppy cotton rope storage baskets!

Foldable and Functional: The bin folds flat when needed, allowing it to be stored in small gaps or packed away between uses. It can hold items such as seasonal clothing, children’s toys, towels, or office-related materials, fitting into shelves, closets, or under desks.
Step 7: Add Personal Touches
Editor’s Choice

Watercolor Pink Floral Picture Frame 4×6 Inch – Cute Pastel Flower Desig…

WNNNS Personalized Baby Blankets for Girls Women Custom Boho Style Baby …

AVAGifts Custom Name Metal Signs | Personalized Monogram Name Sign | Out…
Step 8: Assess Safety and Functionality

Ensure everything is safe and functional for your nursery. Here’s what to check:
1. Secure all furniture to the wall to prevent tipping.
2. Verify that cords from blinds or decorations are out of reach.
3. Ensure the crib meets safety standards and that bedding is appropriate for the baby’s age.
Warning: Always prioritize safety when setting up a nursery.
Why this matters: A safe environment is essential for peace of mind as your baby grows. Time estimate: 30 minutes.
Step 8: Assess Safety and Functionality
Editor’s Choice
BEDELITE Baby Pink Queen Comforter Set – 3 Pieces Boho Pintuck Bedding C…

Ougourim Furniture Anchors (10 Packs) Anti Tip Furniture Anchors for Bab…
Step 9: Finalize and Review

Take a moment to review your work and make any adjustments:
1. Step back and look at the nursery as a whole.
2. Adjust items if necessary to achieve balance and harmony.
3. Ensure that everything is functional and accessible.
Pro Tip: Invite a friend or family member to give feedback.
Why this matters: A final review ensures that your nursery meets both aesthetic and functional needs. Time estimate: 30 minutes.
Step 9: Finalize and Review
Editor’s Choice
MAIZMZ Beige Check Storage Basket Baby Toys Organizer Bins Decorative Gi…

3 Pieces Unicorn Decor for Girls Room Princess Room Decor Rainbow Pink T…
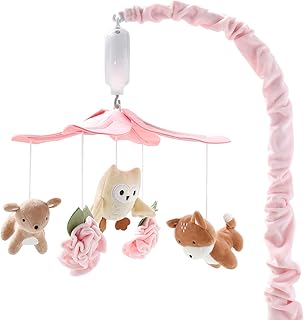
The Peanutshell Crib Mobile for Girls – Pink and White Musical Baby Crib…
Step 10: Enjoy Your New Nursery
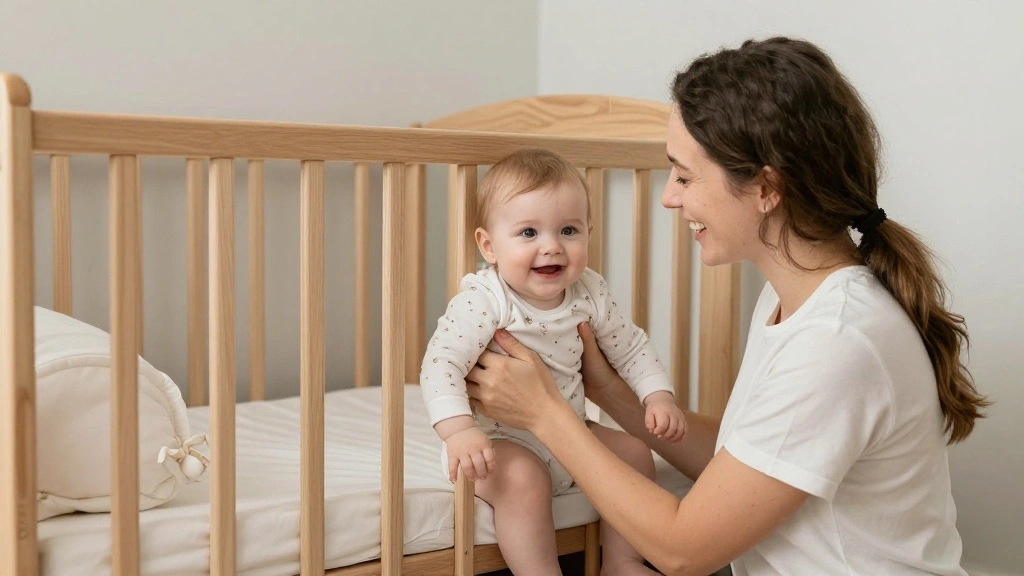
Now that you’ve styled your farmhouse crib and shelves, it’s time to enjoy the space! Here’s what to do:
1. Spend time in the nursery with your baby, enjoying the environment you’ve created.
2. Take photos to capture the beautiful setup for memories.
3. Continue to evolve the space as your baby grows.
Why this matters: Enjoying the space strengthens your bond with your baby and creates lasting memories. Time estimate: Ongoing!
Step 10: Enjoy Your New Nursery
Editor’s Choice

Nurse Gifts for Women, RN Nurse Practitioner Gift Baskets for Christmas …
Allenjoy Cute Anime Purple Korean Hunter Comforter Set with 2 Pillowcase…

Tiny Detalles Birthday Gifts for Women – Mini Positive Crochet Sunflower…
Pro Tips
- Layer Textures: Use pillows, throws, and rugs to create depth and warmth.
- Mix Old and New: Incorporate vintage items to add character.
- Use Baskets: Organize toys and supplies effortlessly with stylish storage.
- Choose Adjustable Furniture: Opt for pieces that grow with your child.
- Keep it Simple: Avoid over-cluttering to maintain a serene atmosphere.
Pro Tips
Editor’s Choice

Delta Children Perry 6-in-1 Convertible Crib – Greenguard Gold Certified…

BEBE BASK Handwoven Rattan Wicker Basket Set of 3 (17 × 13 × 7 in) –…

Nurse Retirement Gifts for Women, Nurse Retirement Gifts, Nurses Retired…
Common Mistakes to Avoid
Warning: Avoid these common mistakes:
- Using too many bright colors can overwhelm the space.
- Placing the crib too close to windows can pose safety risks.
- Forgetting to secure furniture can lead to accidents.
- Not considering the baby’s needs (accessibility, comfort) can hinder functionality.
Common Mistakes to Avoid
Editor’s Choice

Regalo Safety Swing Down Crib Rail for Toddlers, 33″ Baby Bed Rail Guard…
MAIZMZ Beige Check Storage Basket Baby Toys Organizer Bins Decorative Gi…

Baby Mobile for Crib Pink Bow Baby Crib Mobile for Girls Handmade Coquet…
Troubleshooting Section
Problem: The nursery feels cluttered.
Solution: Remove items that don’t serve a purpose or don’t fit your theme. Consider storage solutions.
Problem: The color scheme looks off.
Solution: Adjust accent colors with decorative items to bring balance.
Problem: Heavy items on shelves are tipping.
Solution: Secure items to the wall or rearrange for better stability.
Troubleshooting Section
Editor’s Choice
Ougourim Furniture Anchors (10 Packs) Anti Tip Furniture Anchors for Bab…

XUANGUO Small Woven Storage Baskets 12“X8”X5“ Decorative Rope Bins…
Welshower Boho Floral Girl Nursery Poster Hanger Frame, Wildflower Nurse…
Variations/Alternative Methods
Consider these variations for styling your nursery:
1. Minimalist Approach: Focus on fewer items and a clean aesthetic.
2. Themed Decor: Choose a specific theme (e.g., animals, nature) to guide your choices.
3. Eco-Friendly Options: Use sustainable materials and decor for a green nursery.
Each method has its pros and cons, so consider what aligns best with your vision and values.
Variations/Alternative Methods
Editor’s Choice
MAIZMZ Beige Check Storage Basket Baby Toys Organizer Bins Decorative Gi…
100% Organic Cotton Heritage Knit Textured Baby Quilt Blanket for Girls …

Inspirational Wall Art for Bedroom, Motivational Office Wall Art Decor, …
FAQs
What if I don’t have enough space for a changing table?
You can use a dresser with a changing pad on top to save space.
How long should I wait before changing the nursery’s decor?
Consider changing decor based on your baby’s growth; typically, after 1-2 years works well.
Is it safe to use vintage items in the nursery?
Yes, as long as they are properly cleaned and meet safety standards. Inspect for any potential hazards.
FAQs
Editor’s Choice

Diaper Changing Pads for Baby, Portable Change Mat, 3Layers Waterproof C…

Pink Vintage Wildflower Nursery Decor Banner For Girls, Baby Girl Room D…

Baby Girl Floral Romper, Long Sleeve Lace Dress Bodysuit with Bonnet, Pr…
Conclusion

Congratulations on creating a beautifully styled farmhouse crib and nursery! You’ve taken thoughtful steps to ensure a safe and inviting space for your baby. Now that your nursery is complete, consider continuing to personalize it as your child grows.
Explore related resources on nursery decoration and parenting tips to further enhance your journey. Remember, this space is more than just a room; it’s a place where memories will be made. Enjoy your new nursery!