
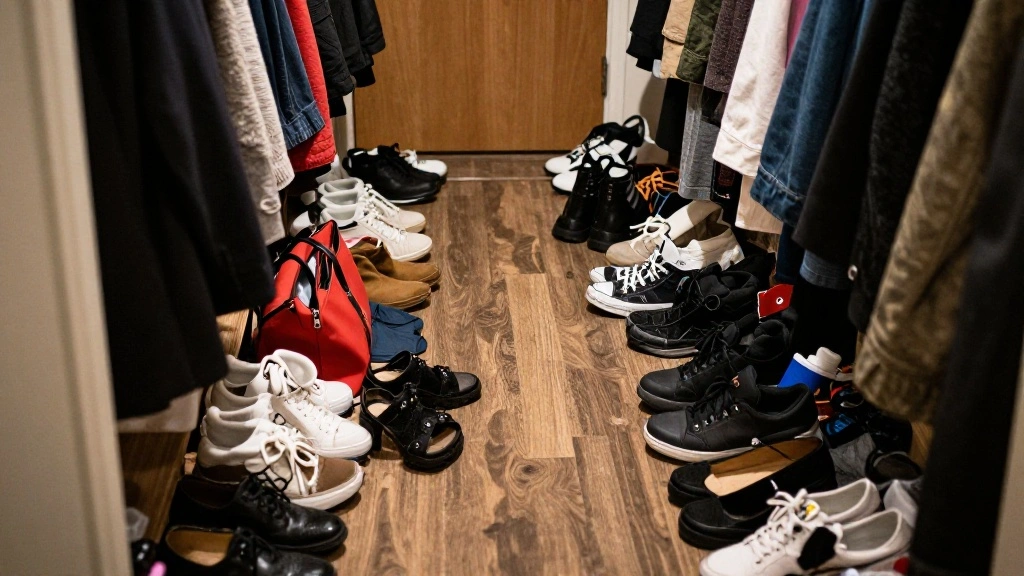
Is your entryway cluttered with shoes, bags, and coats? A chaotic entry can create unnecessary stress and make your home feel disorganized. Creating a mudroom drop zone in a small entry can solve this problem, providing a designated space for all your daily essentials.
In this guide, you’ll learn how to transform your small entry into an organized and functional drop zone. By the end, you will have a customized solution that suits your family’s needs and lifestyle.
This guide will cover the essential steps to design and create your mudroom drop zone, including how to choose the right furniture, utilize vertical space, and incorporate storage solutions. This project is rated as beginner level and should take approximately 3-4 hours to complete, depending on your entry’s size and your chosen materials.
Ready to reclaim your entryway? Let’s get started!
TL;DR Summary
- Identify your space and needs for the drop zone.
- Choose appropriate furniture and storage solutions.
- Organize your items effectively to maintain order.
- Personalize the space to match your home’s aesthetic.
Recommended Products

[PREMIUM QUALITY] TICONN wall-mounted coat hanger built with premium material. With the combination of stainless steel backing plate and aluminum alloy hooks, each tri-hook can hold up to 11lbs.
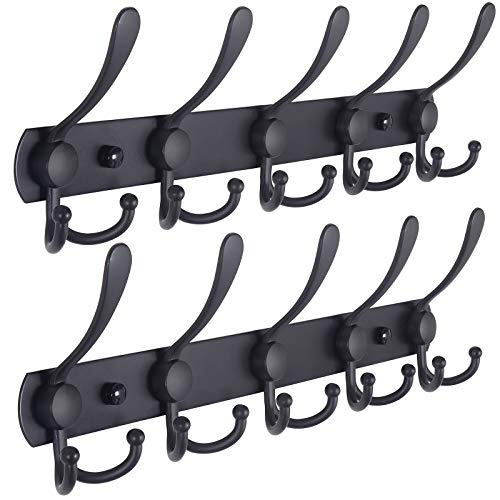
1. Heavy-duty and durable with a simple yet stylish look

1. Impressed with heavy duty, simple and stylish look
TL;DR Summary
Editor’s Choice

Dseap Coat Rack Wall Mounted – 5 Tri Hooks, Heavy Duty, Stainless Steel,…

HOMSHO 2-Tier Storage Bench, 47.2″ Wide Shoe Bench with Padded Seat Cush…

Bagnizer Storage Bins Large Fabric Storage Baskets for Shelves 3 Pack, D…
Prerequisites/Materials Needed
- Furniture:
- Bench or stool (1)
- Shoe rack or cubbies (1)
- Storage Solutions:
- Hooks (4-8)
- Baskets or bins (2-4)
- Tools:
- Drill (1)
- Screwdriver (1)
- Level (1)
- Other Supplies:
- Measuring tape (1)
- Paint or stain (optional)
Recommended Products

5-in-1 Multifunctional Entryway Organizer: Merges a top hanging rod, 12 versatile hooks, a rustic shoe bench, and a 2-tier dense wire storage rack into one compact tower. This freestanding hall tree optimizes vertical space to keep your coats, hats, bags, and shoes perfectly categorized, transforming any messy foyer or mudroom into a clean and inviting entrance
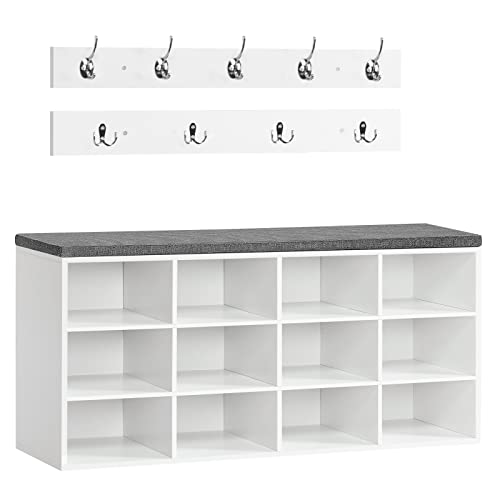
Multifunctional Shoe Cubby Bench: Are your shoes are piled up all over your entryway? This entryway cabinet will be the perfect solution for you. This storage bench with 12 compartments is able to store the daily shoes of your whole family. The hooks in 2 rows hold jackets and accessories

Multifunctional Shoe Cubby Bench: Are your shoes are piled up all over your entryway? This entryway cabinet will be the perfect solution for you. This storage bench with 12 compartments is able to store the daily shoes of your whole family. The hooks in 2 rows hold jackets and accessories
Prerequisites/Materials Needed
Editor’s Choice
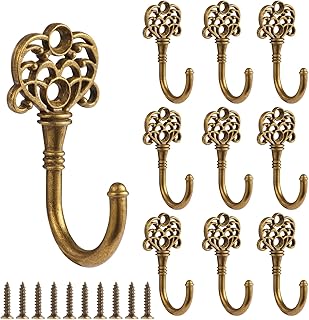
10 PCS Vintage Metal Wall Hooks, Bohemian Decorative Hook with Screws, W…

Goodpick Cube Storage Bins – Towel, Book, Cloth, Shoes, Closet Shelf Wov…
Skill Level & Time Estimate
This project is rated as beginner level. You can expect to spend approximately 3-4 hours to complete your mudroom drop zone. Here’s a breakdown of time per major step:
- Planning: 30 minutes
- Shopping for materials: 1-2 hours
- Setup and installation: 1-2 hours
Recommended Products

【COMPARTMENT DESIGN MEETS OPEN STORAGE】This shoe bench comes from VASAGLE CUSTOS Collection, characterized by the open compartment design that embodies easy-to-blend-in minimalism, while ensuring everything's organized and easily accessible
![Tribesigns Industrial [Shoe] [Rack] [Bench] with Coat [Rack] Set with Hall Tree, 3 Storage Cubbies, 7 Hooks for Entryway, Hallway, 5-in-1Design, Rustic Brown](https://m.media-amazon.com/images/I/51Ub1b0221L._SL500_.jpg)
5-in-1 design combines coat rack, shoe bench, 3 storage cubbies and top shelf for entryway organization

【18-Cube Open Storage for Shoe Organization】This shoe rack bench with 18 spacious open cubbies, each measuring 11" L x 9.5" W x 5.3" H. Store each pair of shoes individually without stacking or crowding, keeping your sneakers, flats, sandals, and more neatly organized and easy to grab when you head out. Whether you need a bench with shoe storage for your family’s daily footwear or extra space for guests’ shoes, this design adapts to your needs
Skill Level & Time Estimate
Editor’s Choice

Decorative Coat Hooks For Wall Mount Set of 5 – Stylish and Sturdy Black…

RuiSiSi Farmhouse 76.7″ Hall Tree with Bench and Shoe Storage, 4-in-1 En…

SNTD Shoe Rack – Expandable Shoe Organizer for Closet, Adjustable Metal …
Step 1: Assess Your Space
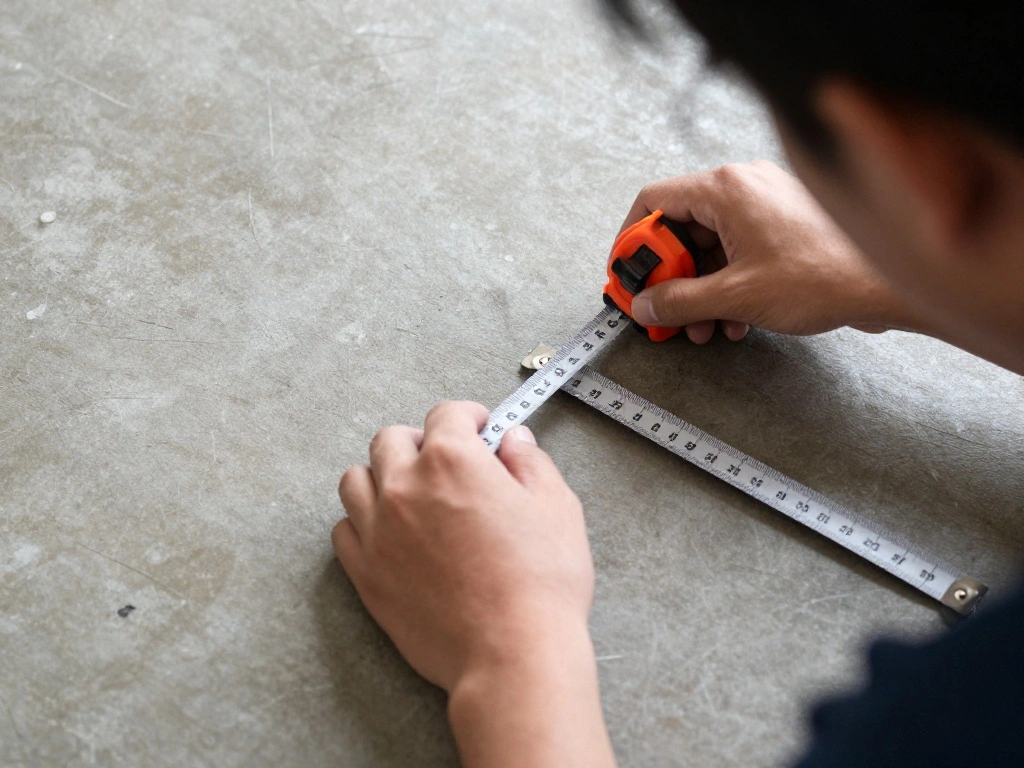
Begin by evaluating your entryway. Measure the dimensions of the space to determine what furniture will fit. Consider the following:
- Identify available wall space for hooks and shelves.
- Measure width and depth for seating and storage.
- Consider foot traffic and accessibility.
Pro Tip: Take photos of your entryway from different angles to visualize potential layouts. This step is crucial as it lays the foundation for your design. Warning: Ensure you measure accurately to avoid purchasing items that won’t fit. Expect to spend about 30 minutes on this step.
Recommended Products

Keeping Your Entrance Clutter-Free: This 7-tier vertical shoe rack is perfect for solving the clutter in your home. The 7 open compartments keep your shoes neat and organized. The detachable design can also accommodate boots or high heels storage needs

Maximize Your Space: Our vertical wall-mounted key holder is designed specifically for compact areas, making it the ideal solution for multi-car families. Perfect for entryways, laundry rooms, garages, or RVs, it helps you optimize limited space while keeping your essentials neatly arranged.

Style Feature: This wall hanging sunglasses holder adopts classic Bohemian style with natural plain color. It is handmade of premium cotton cord and pine wood. The unique 12 layer horizontal line design provides large storage space for sunglasses and reading glasses, and also serves as delicate wall decoration for home space.
Step 1: Assess Your Space
Editor’s Choice
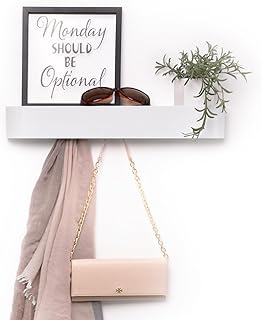
xympo Modern Wall-Mounted Coat Rack with Shelf – Heavy-Duty Steel, 5 S…

QsQueen Scalloped Wood Wall Shelf – 17 Inch Floating Shelf with Wood B…

Homleke 2-Tier Storage Bench, Shoe Bench with Thickened Padded Seat Cush…
Step 2: Choose Your Furniture
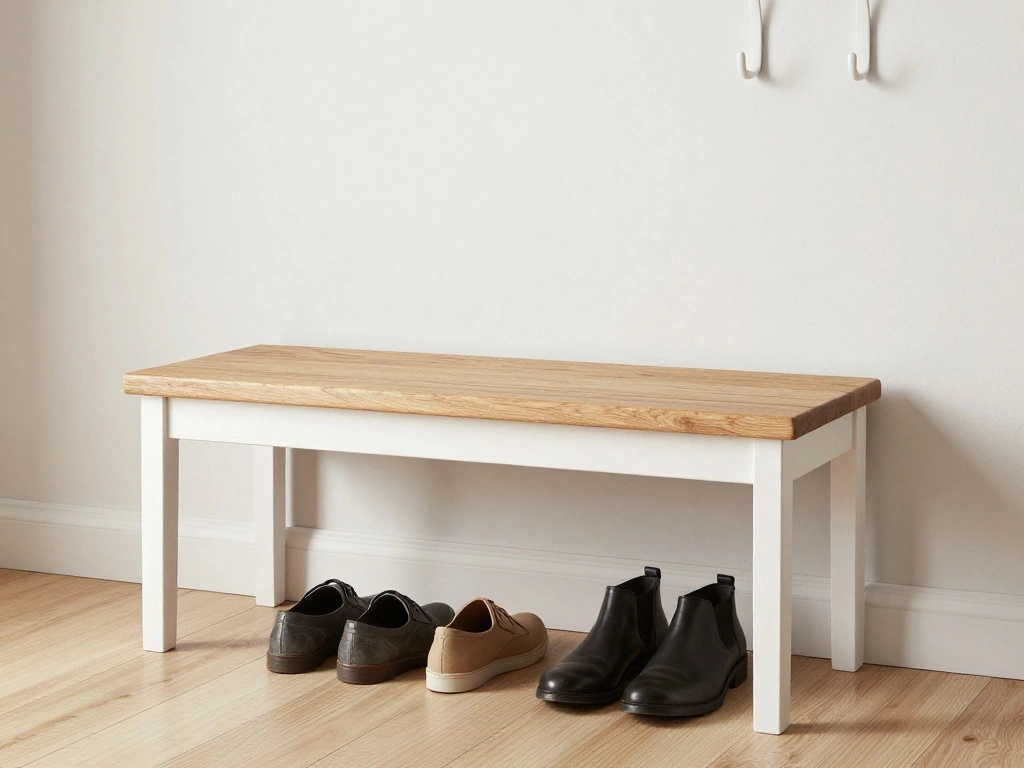
Select furniture that maximizes your space while meeting your family’s needs. Consider the following:
- Choose a bench or stool for seating.
- Opt for a shoe rack or cubbies to store footwear.
- Pick hooks that can hold bags and coats without taking up floor space.
Pro Tip: Look for multi-functional furniture, such as a bench with storage underneath. This step is vital as the right pieces will enhance both function and aesthetics. Allocate about 1 hour for shopping and decision-making.
Recommended Products

4-IN-1 HALL TREE WITH BENCH – This multifunctional hall tree bench combines a wall-mounted coat rack and 3-tier shoe bench, offering the perfect solution for keeping your home organized and stylish.

[4-in-1 Hall Tree] Combining a hanging rod, a shoe bench, a shoe rack, and coat hooks, this all-in-one freestanding coat rack offers you convenient storage for your coats, shoes, and on-the-go items and a seat to change shoes

Unique Design: This hall tree is 31.5”L x 12.6”W x 74.8”H in size and suitable for organizing coats, scarves, shoes, bags and hats in your lobby. This well-designed hall tree is ideal for tight spaces, keeping your home clean and tidy
Step 2: Choose Your Furniture
Editor’s Choice
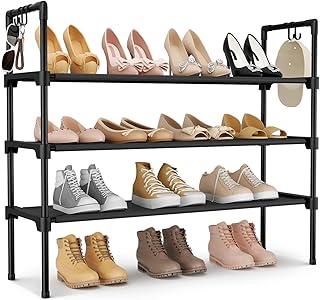
LANTEFUL 3 Tier Shoe Rack for Closet, Shoe Organizer with 5 Hooks, Long …

Optish Coat Rack Wall Mount, 16.5 Inches Wood Coat Hooks, Wall Hooks for…

LBT Solid Wood Entryway Shoe Bench with Storage, Adjustable 2-Tier Shoe …
Step 3: Plan the Layout
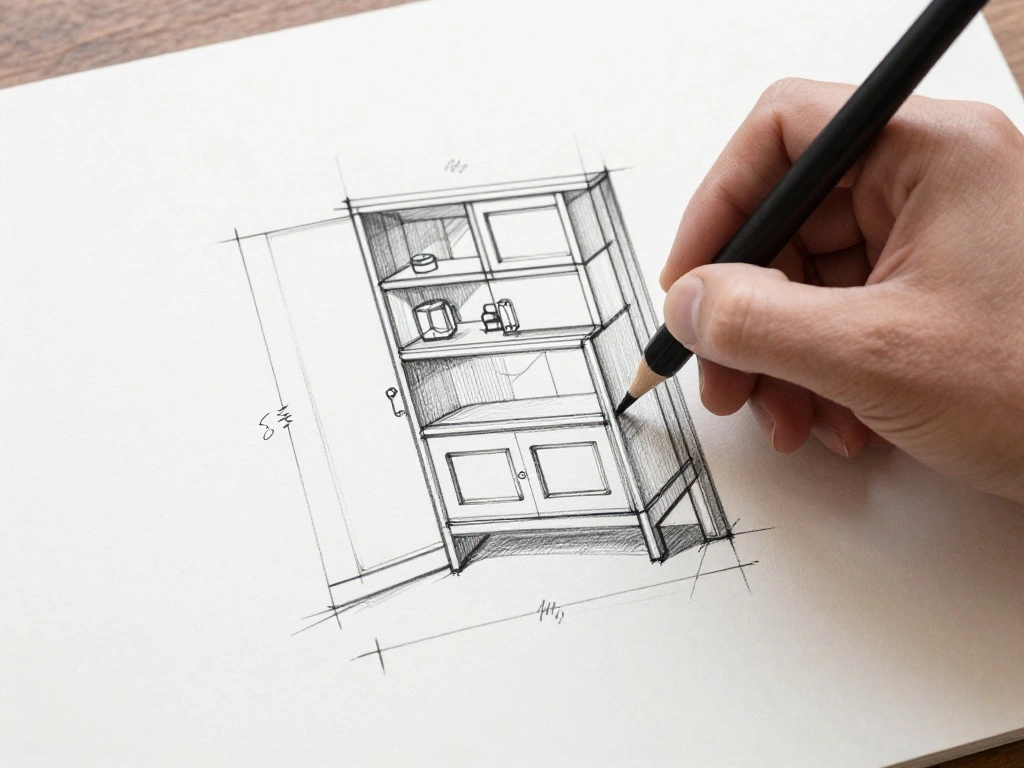
Once you have your furniture, it’s time to plan how to arrange it effectively. Follow these steps:
- Sketch a layout on paper, marking where each piece will go.
- Consider the flow of traffic; ensure pathways remain clear.
- Visualize how items will be accessed daily.
Pro Tip: Use painter’s tape on the floor to outline the furniture positions for a visual representation. Planning your layout is crucial to ensure everything fits well and functions properly. Expect to spend about 30 minutes on this step.
Recommended Products
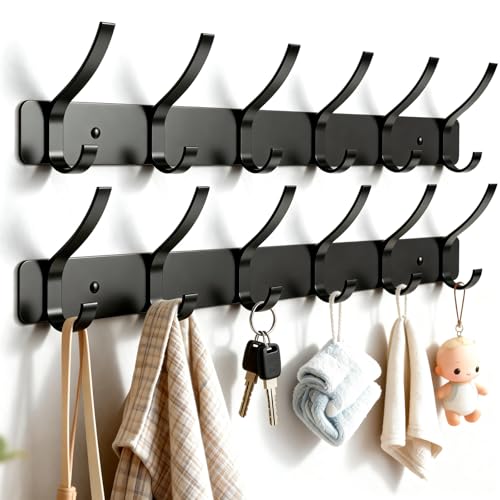
UPGRADED 12 HOOKS & HEAVY DUTY:Includes 2 packs of wall-mounted coat racks, each featuring 6 sturdy hooks for a total of 12 hanging points. Crafted from high-grade aluminum alloy, this rack easily supports heavy winter coats, backpacks, and wet towels without bending or breaking. Maximum organization in a compact 15.7" design.
Organization and storage: Great for storage of backpacks, coats, hats, umbrellas, towels, and more

1.Hole to hole: 16 inches; 3 mounting holes.
Step 3: Plan the Layout
Editor’s Choice

4 Rolls Premium Painters Tape, Blue Tape, Masking Tape, Paint Tape for M…
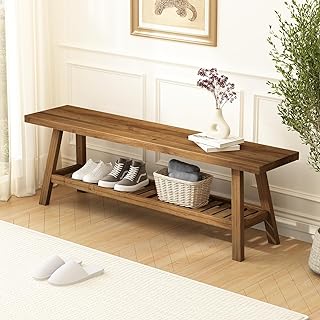
HOKYHOKY Reclaimed Solid Wood Bench-55 Inches Farmhouse Entryway Bench w…
Step 4: Install Hooks and Shelving
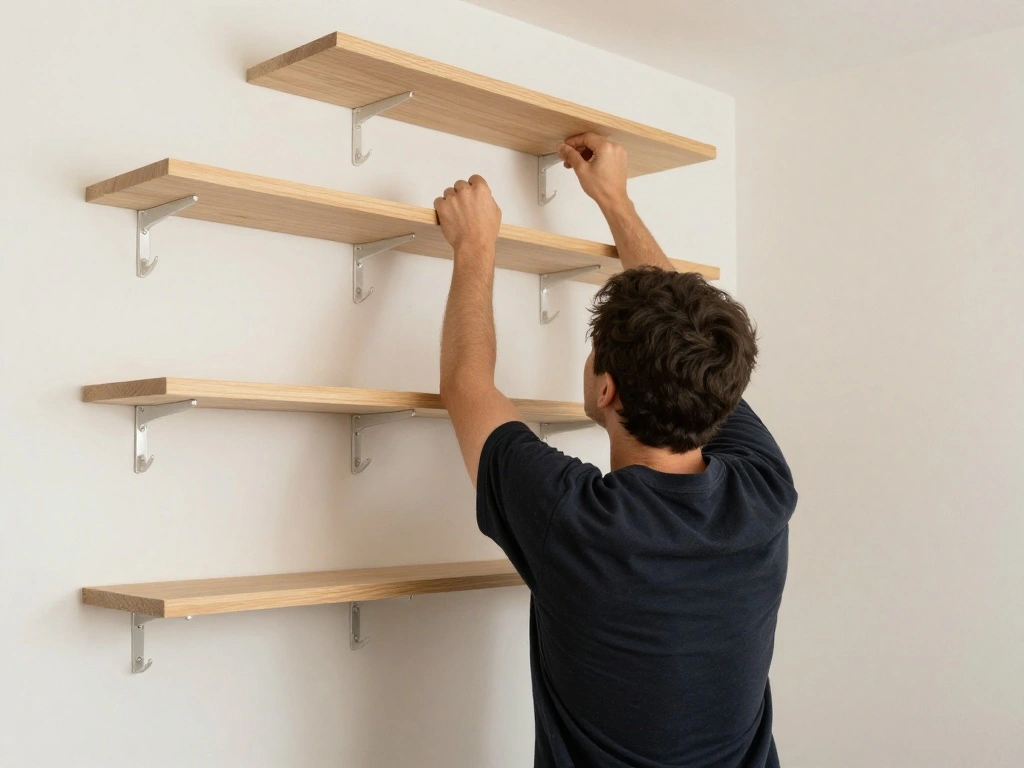
Now it’s time to install hooks and shelving units. Follow these steps:
- Use a level to mark the height for hooks, usually around 5 feet from the floor.
- Drill pilot holes and install the hooks securely.
- For shelving, measure and mark where the shelf brackets will go, then install them according to the manufacturer’s instructions.
Pro Tip: Space hooks evenly to avoid overcrowding. This step is essential as it creates the vertical storage needed in a small space. Allow about 1 hour for installation.
Recommended Products

More Comfortable Shoe Changing: Equipped with a 25 mm thick sponge cushion, allowing you to sit and change shoes comfortably without bending or squatting. This saves your back and knees, especially useful for seniors, pregnant women, and busy families

5-in-1 Multifunctional Entryway Organizer: Merges a top hanging rod, 12 versatile hooks, a rustic shoe bench, and a 2-tier dense wire storage rack into one compact tower. This freestanding hall tree optimizes vertical space to keep your coats, hats, bags, and shoes perfectly categorized, transforming any messy foyer or mudroom into a clean and inviting entrance

More Comfortable Shoe Changing: Equipped with a 25 mm thick sponge cushion, allowing you to sit and change shoes comfortably without bending or squatting. This saves your back and knees, especially useful for seniors, pregnant women, and busy families
Step 4: Install Hooks and Shelving
Editor’s Choice

BLACK+DECKER 20V MAX* POWERCONNECT Cordless Drill Driver Kit with Drill …

BAYKA Floating Shelves Set of 2, 22.5 inches Farmhouse Rustic Wood Wall …
Step 5: Arrange the Furniture
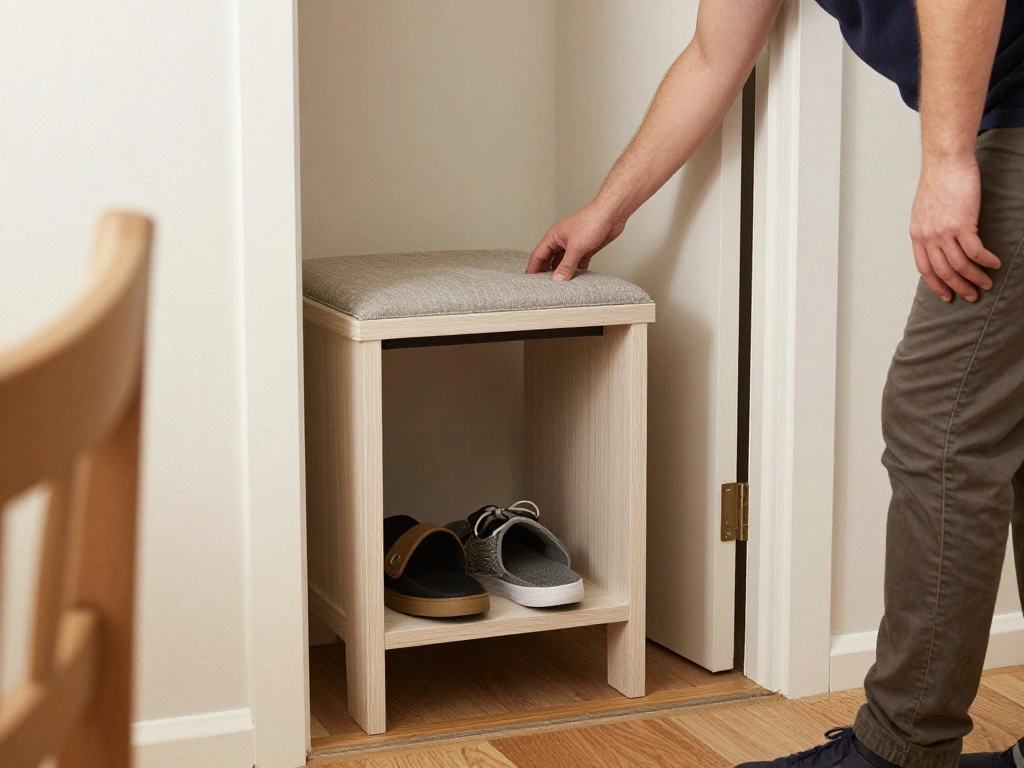
With the hooks and shelves in place, arrange your furniture according to your layout. Here’s how:
- Position the bench or stool against the wall or near the hooks.
- Place the shoe rack or cubbies nearby for easy access.
- Ensure everything is stable and secure in its location.
Pro Tip: Leave some space between furniture for cleaning and movement. Proper arrangement is key to maintaining an organized entry. This step should take about 30 minutes.
Recommended Products
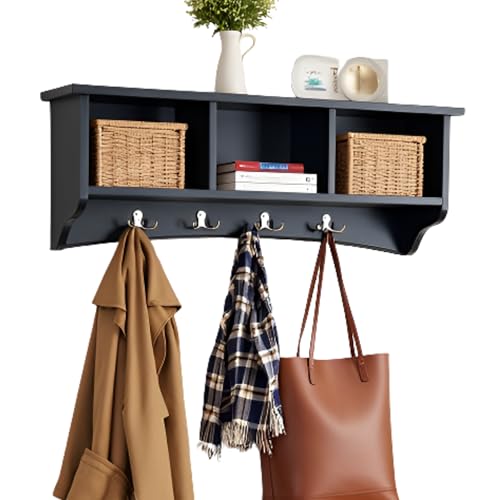
SPACE-SAVING ENTRYWAY ORGANIZATION – Keep your entryway neat and organized with three spacious cubbies (10.25" x 9" x 7.25") ideal for storing keys, scarves, gloves, and small accessories, ensuring essentials are always within reach.

【Premium Quality】The mens valet tray is made of high-quality black PU faux leather exterior and a light colored faux suede interior lining. Mens night stand organizer with soft materials will not wear out the placed items, such as watches,phones, sunglasses,keys,wallet and other expensive jewelry.

🔀 Flexible Combination for Your Unique Needs! Customize your storage space by purchasing one or multiple sets of our shoe rack and effortlessly combine them to suit your specific needs. With a clean, modern, and conservative design, it's a perfect fit for any home, regardless of size. Please note: storage capacity will vary based on the installation scenario. Currently, a horizontal installation only allows for 4 grids, with some parts left unused.
Step 5: Arrange the Furniture
Editor’s Choice

Kitsure Shoe Rack – Non-Woven Shoe Rack Shelf, Shoe Organizer for Closet…
Decorative Coat Hooks For Wall Mount Set of 5 – Stylish and Sturdy Black…
Homleke 2-Tier Storage Bench, Shoe Bench with Thickened Padded Seat Cush…
Step 6: Organize Your Items
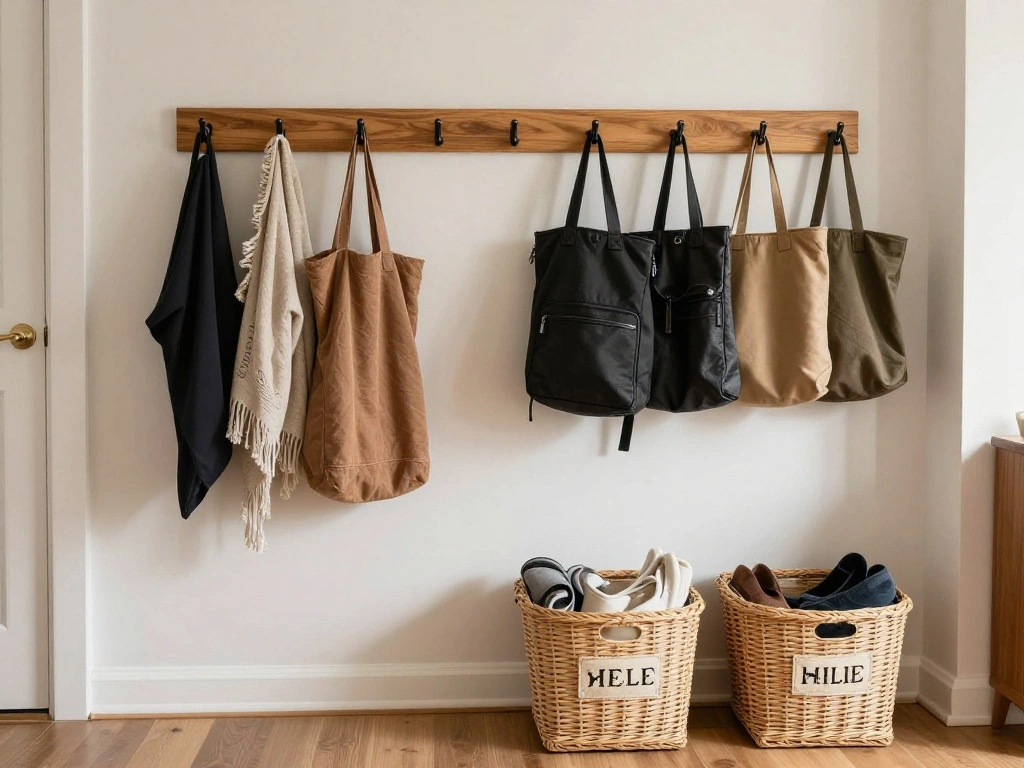
Now that your furniture is set up, it’s time to organize your items effectively:
- Sort shoes into the shoe rack or cubbies.
- Use baskets or bins for smaller items like gloves and hats.
- Hang bags and coats on the hooks.
Pro Tip: Label baskets for easy identification. This step is crucial for maintaining order and ensuring quick access to items. Expect to spend about 30 minutes organizing.
Recommended Products

No Assembly, Sturdy: H16"(41cm) x W5.7"(14.5cm) x D2.6"(6.5cm) Wall mounted design. This welded wall mounted coat rack with 6 welded metal hooks, each hook can withstand more than 100 pounds. Not require assembly and is 15X stronger and more durable than other coat racks that require assembly

Customizable - You can split a tall, narrow shoe rack into multiple smaller shoe racks. Upon splitting, the smaller shoe racks are works independently, even in different rooms. Please refer to the instruction manual in the package.

【Perfect solution for your walls】Our stylish coat rack wall mount look simple yet modern, are a great addition if you need long or vertical organizers and storage wall space for hanging items. These wall hooks for hanging can free up floor & counter spaces and make places much tidier and neater in your entryway, hallway, closet, living room, bedroom, kitchen etc.
Step 6: Organize Your Items
Editor’s Choice

4 Pack Storage Baskets for Organizing, Woven Baskets for Shelves – Perfe…

Autonomier 4 Tier Extra Small Shoe Rack (16.3″ Wide), Narrow Stackable K…

Wall Hooks for Hanging Towel/Coat – 22LB Screw in Metal Hanger Wall Moun…
Step 7: Personalize the Space
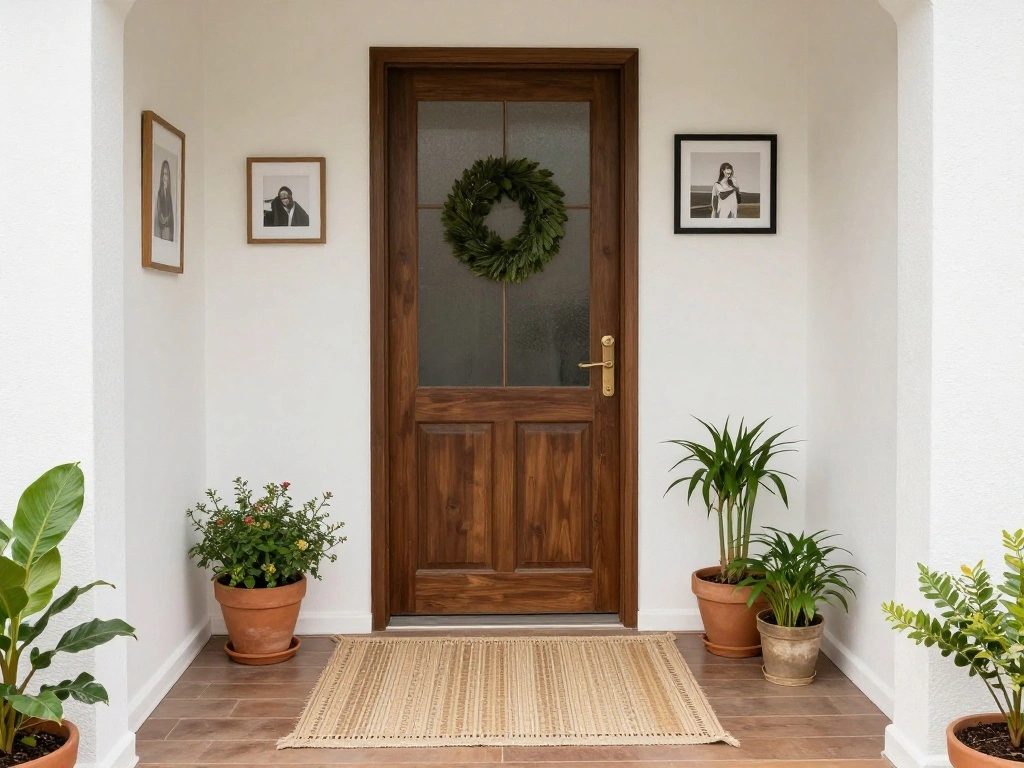
Make your mudroom drop zone feel like part of your home by personalizing it:
- Add a small rug for comfort and style.
- Incorporate decorative elements like photos or artwork.
- Consider adding plants for a touch of nature.
Pro Tip: Choose decor that reflects your personal style. Personalization is important for making the space inviting. Allow about 30 minutes for this step.
Recommended Products

Combo for Origanized Hallway: With 9 coat hooks in 2 rows together with a sturdy shoe bench, this combination will work together in your entryway to conquer the chaos once and for all
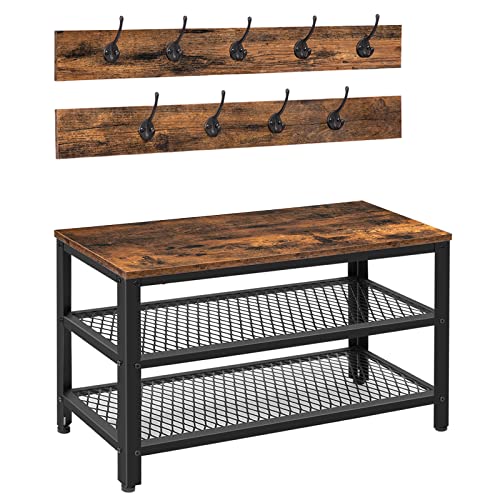
Work Steadily: Load capacity of each hook: 11 lb and shoe bench: 176 lb. The shoe bench is of great convenience without shoe clutter. Just sit on it to change shoes. The coat hanger perfectly tidies handbags instead of throwing them on the couch

【Charming Industrial Coat Shoe Rack】: Combining sophistication with a rustic appeal, this entryway coat rack shoe bench set can match perfectly with other furniture in your home and add a vintage charm to your space. This is not only a coat rack, but also a shoe bench and shoe storage rack. It is perfect for entryways, hallways, foyers, bedrooms, living rooms
Step 7: Personalize the Space
Editor’s Choice

Crystal Tree of Life with Chakra Stones – Healing Crystals Decor for Des…

Planters’ Choice 9 Herb Indoor Window Garden Kit – Birthday Gifts – Hous…

5×7 Area Rugs Living Room Rug: Washable Vintage Boho Rug No Slip Stain R…
Step 8: Maintain the Drop Zone

To keep your mudroom drop zone functional, establish a maintenance routine:
- Set a weekly schedule to tidy up the space.
- Encourage family members to return items to their designated spots.
- Regularly reassess your organization methods for effectiveness.
Pro Tip: Create a checklist to track maintenance tasks. This step ensures your drop zone remains effective over time. Allocate about 15-20 minutes weekly for maintenance.
Step 8: Maintain the Drop Zone
Editor’s Choice

IRIS USA 6-Pack High-Capacity Clip Box with Latching Lids, 32 Quart Craf…
Homleke 2-Tier Storage Bench, Shoe Bench with Thickened Padded Seat Cush…
Dseap Coat Rack Wall Mounted – 5 Tri Hooks, Heavy Duty, Stainless Steel,…
Step 9: Evaluate and Adjust
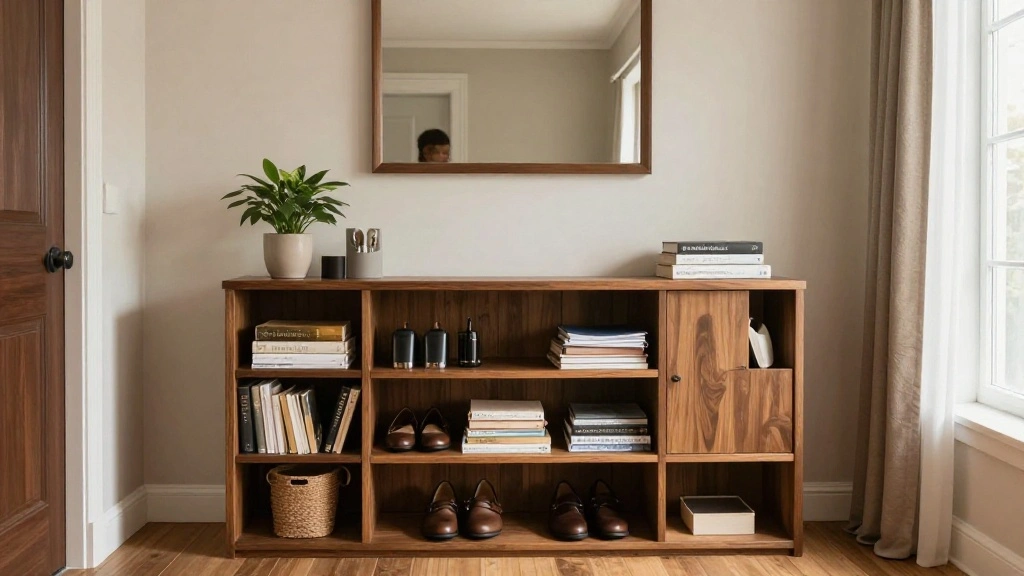
Finally, evaluate the effectiveness of your mudroom drop zone and make necessary adjustments:
- Observe how well the space functions in everyday use.
- Identify any problem areas or items that are frequently misplaced.
- Make changes to furniture arrangement or storage solutions as needed.
Pro Tip: Don’t hesitate to modify the setup until it feels right. This step is vital to ensure long-term satisfaction with your mudroom. Expect to spend about 30 minutes for evaluation and adjustments.
Step 9: Evaluate and Adjust
Editor’s Choice

FYY Over the Door Hooks, 4 Pack Hangers Hooks with Rubber Prevent Scratc…
Pro Tips
- Multi-Functional Furniture: Look for benches that open for storage.
- Seasonal Rotation: Rotate items based on the season to reduce clutter.
- Child-Friendly Hooks: Install hooks lower for kids to use easily.
- Daily Maintenance: Allocate a few minutes each day for tidying up the drop zone.
- Use Vertical Space: Incorporate wall-mounted storage to maximize space.
Pro Tips
Editor’s Choice

Tribesigns 55″ Wood Entryway Bench with Shoe Storage, Large 2-Tier Narro…

HAPPYGRILL Over the Door Jewelry Organizer, Hanging Jewelry Storage Cabi…

10 PCS Vintage Metal Wall Hooks, Bohemian Decorative Hook with Screws, W…
Common Mistakes to Avoid
Warning: Avoid overcrowding your entryway with too much furniture, which can impede movement. Warning: Don’t forget to leave enough space between hooks and furniture for easy access. Warning: Be cautious with heavy items placed on shelves; ensure they are secured properly to avoid accidents. Warning: Don’t ignore the aesthetics; an uninviting space can lead to disorganization. Warning: Avoid using small bins that can get lost in clutter; opt for larger, more visible options.
Common Mistakes to Avoid
Editor’s Choice

GWAAZXGZ White Coat Rack Wall Mount – 15 Inch Arc Shaped Design with 6 H…
Troubleshooting Section
Problem: Items keep falling off hooks.
Solution: Consider using stronger hooks or adjusting their height.
Problem: Shoes are still cluttered.
Solution: Reassess your shoe storage capacity and consider adding more cubbies.
Problem: Lack of space for items.
Solution: Review your organization technique; eliminate unnecessary items.
Problem: Family members forget to return items.
Solution: Establish a routine or reminder for everyone to keep the space organized.
Problem: The mudroom looks messy after a few days.
Solution: Implement a daily tidying routine to maintain order.
Troubleshooting Section
Editor’s Choice
Optish Coat Rack Wall Mount, 16.5 Inches Wood Coat Hooks, Wall Hooks for…
Boho Floral Flowers Storage Basket – Rectangular Decorative Box Collapsi…

Narrow Shoe Organizer Cabinet with 3 Large Flip Drawers & 2 Storage Draw…
Variations/Alternative Methods
Consider these alternative methods if the traditional drop zone doesn’t suit your needs:
- Wall-mounted Solutions: If floor space is limited, use wall-mounted shelves and hooks to create a vertical drop zone.
- Portable Storage: Use rolling carts for a mobile drop zone that can be moved as needed.
- Closet Conversion: Transform a small closet into a mudroom drop zone by adding hooks and shelves inside.
Variations/Alternative Methods
Editor’s Choice
YOUDENOVA Hanging Closet Organizer and Storage, 6-Shelf Closet Hanging S…

WEN 500-Pound Capacity 46 By 25.5-Inch Extra Wide Service Utility Cart

BAYKA Floating Shelves for Wall, Wall Mounted Rustic Wood Shelves for Ba…
FAQs
What if I don’t have enough wall space?
Consider using freestanding furniture like a tall bookshelf or a cabinet that can provide storage without needing wall mounting.
How long should I maintain the drop zone?
Plan for a quick tidy-up daily and a more thorough clean weekly.
Is it safe to hang heavy coats on hooks?
Yes, as long as the hooks are securely mounted and rated for weight.
What if my family doesn’t use the drop zone?
Communicate its importance and involve everyone in organizing it to encourage use.
Can I use bins for shoes?
Absolutely! Just ensure they are clear or labeled for easy identification.
FAQs
Editor’s Choice

bussdis Coat Hooks Wall Mount for Hanging, Heavy Duty Backpack Hooks for…

BELLEZE Bijou 31.5″ Modern Wood Sideboard Cabinet with Arched Doors – Pr…
HOMSHO 2-Tier Storage Bench, 47.2″ Wide Shoe Bench with Padded Seat Cush…
Conclusion
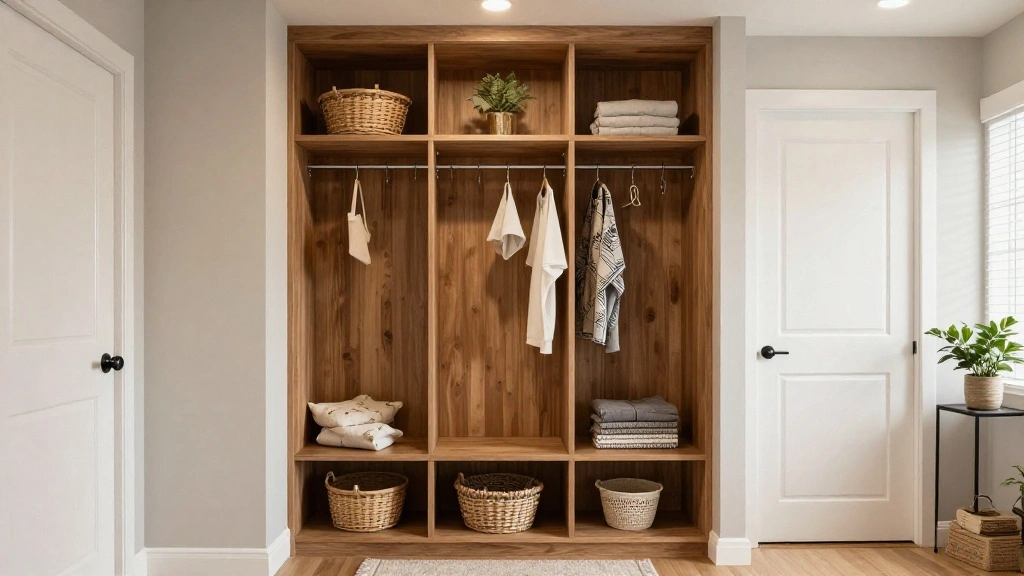
Congratulations on creating your mudroom drop zone! You’ve taken a significant step toward a more organized and functional entryway. Remember to maintain the space regularly to keep it looking and working its best.
As you enjoy your new drop zone, consider exploring additional organization projects around your home. Whether it’s enhancing your closet systems or maximizing kitchen storage, the skills you’ve gained here will serve you well in other areas. Keep up the great work!