
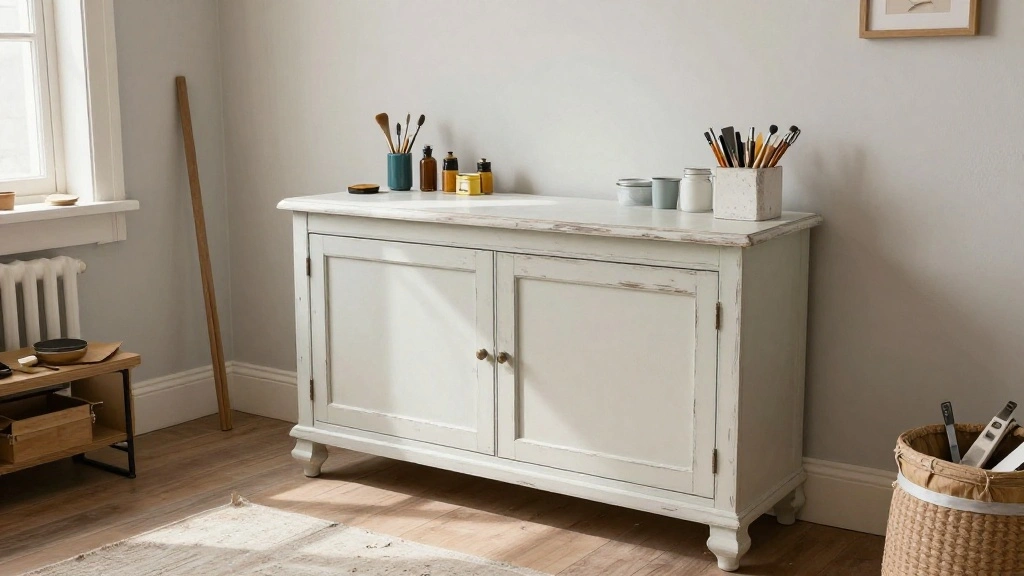
Are you tired of your furniture looking too new and polished? In today’s world, the desire for rustic charm is at an all-time high, and achieving that farmhouse finish on your painted furniture can seem daunting. You might feel overwhelmed with the thought of how to create that perfectly worn-in look that adds character and warmth to your home.
This guide will walk you through a step-by-step process to distress painted furniture, giving it a beautifully aged appearance that fits perfectly in any farmhouse-style decor. By the end of this article, you will have the knowledge and skills to transform your furniture, turning it into a stunning centerpiece in your space.
In this guide, you will learn about the materials needed, the techniques for distressing, and expert tips to ensure a successful outcome. This project is of intermediate skill level and will take approximately 2-3 hours to complete. Let’s get started on your journey to creating beautiful, distressed furniture!
TL;DR Summary
– Distressing furniture adds a charming farmhouse finish.
– Follow a step-by-step guide for best results.
– Total time: 2-3 hours, skill level: intermediate.
– Gather all materials before starting.
Recommended Products
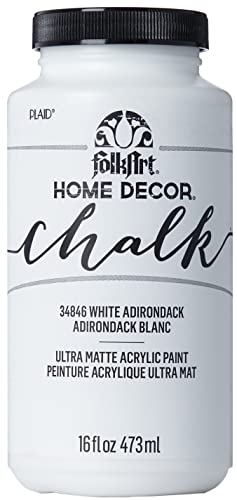
VERSATILE SIZE - This unique chalk white acrylic paint comes in a convenient 16 oz size and has a rich, highly pigmented formula - perfect for all your home décor projects

EASY TO USE, EVEN FOR BEGINNERS: Whether you’re new to DIY or a pro, Rust-Oleum Chalked makes painting easy and enjoyable. Minimal prep required means you can jump right into your project confidently and focus on creativity—not complicated steps

WHITE ANTIQUE DISTRESSED FINISH – Soft, timeworn white finish brightens your space while delivering classic country cottage charm. Perfect for light, airy interiors and farmhouse-inspired homes.
TL;DR Summary
Editor’s Choice



Rust-Oleum 249087 Painter’s Touch 2X Ultra Cover Spray Paint, 12 oz, Mat…

FolkArt Home Décor Chalk Finish Acrylic Paint, 8oz, 8 ounce, Milk Jug
Prerequisites/Materials Needed
- Furniture piece: One wooden or painted item
- Sandpaper: 120-grit and 220-grit (1 sheet of each)
- Paint: Chalk paint or latex paint in your preferred color (1 quart)
- Clear coat: Polyurethane or wax (1 quart)
- Brushes: Paintbrush and foam brush
- Rags: 2-3 clean rags
- Distressing tools: A hammer, chains, or a distressing tool (1 piece)
- Stencils or stencils tape: Optional for patterns (1 roll)
Recommended Products

VERSATILE SIZE - This unique chalk acrylic paint comes in a convenient 8 oz size and has a rich, highly pigmented formula - perfect for all your home décor projects!

【Perfect Color Combination】Magicfly chalk paint set includes 9 colors in 2 oz bottles. The farmhouse colors are soft and neutral in tone and will never go out of style. The pigments are of high quality, so you can achieve beautiful and long-lasting results on your furniture. It is also a great way to test out various colors of chalk paint before investing in larger bottles.

Charming Chalk All-In-One Furniture & Décor Paint 8oz can of Cottage White paint features ultra matte furniture and decor paint perfect for use on furniture, signs, great for stenciling/lettering, on metal, glass, concrete, etc.
Prerequisites/Materials Needed
Editor’s Choice


FolkArt Home Décor Chalk Finish Paint Set (2 Ounce), PROMOFAHDC

Howard Products RF4016 RF3016 Restor-A-Finish, 16 oz, Walnut, 16 Fl Oz
Skill Level & Time Estimate
Skill Level: Intermediate
Total Time Estimate: 2-3 hours
Time breakdown:
– Preparation: 30 minutes
– Painting: 1 hour
– Distressing: 1 hour
– Finishing touches: 30 minutes
Recommended Products

Assorted Grit Sanding Blocks – This set includes 4 sponge sanding blocks (4 x 2.6 x 0.7 inches) in 120, 220, 320, and 400 grits, covering coarse to ultra-fine sanding needs. Color-coded for easy identification.
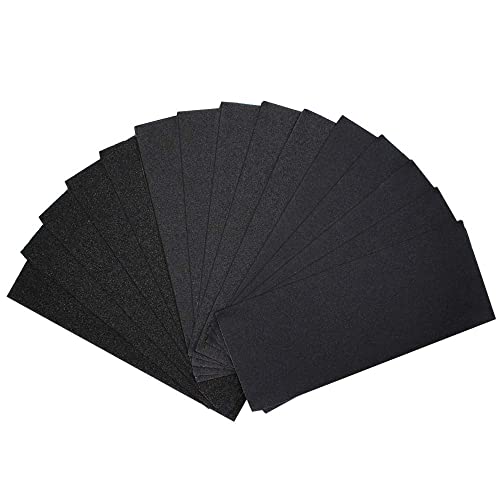
Pakcage include : 15 pcs 9x3.6 Inch sandpapers. 80 grit 120 grit 220 grit each grit 5 pcs

Easy to Identify: The grits of the sanding discs are printed on the backside for easy identification.
Skill Level & Time Estimate
Editor’s Choice

206540 Chalkboard Brush-On Paint, 30 oz, Black
Step 1: Prepare Your Furniture
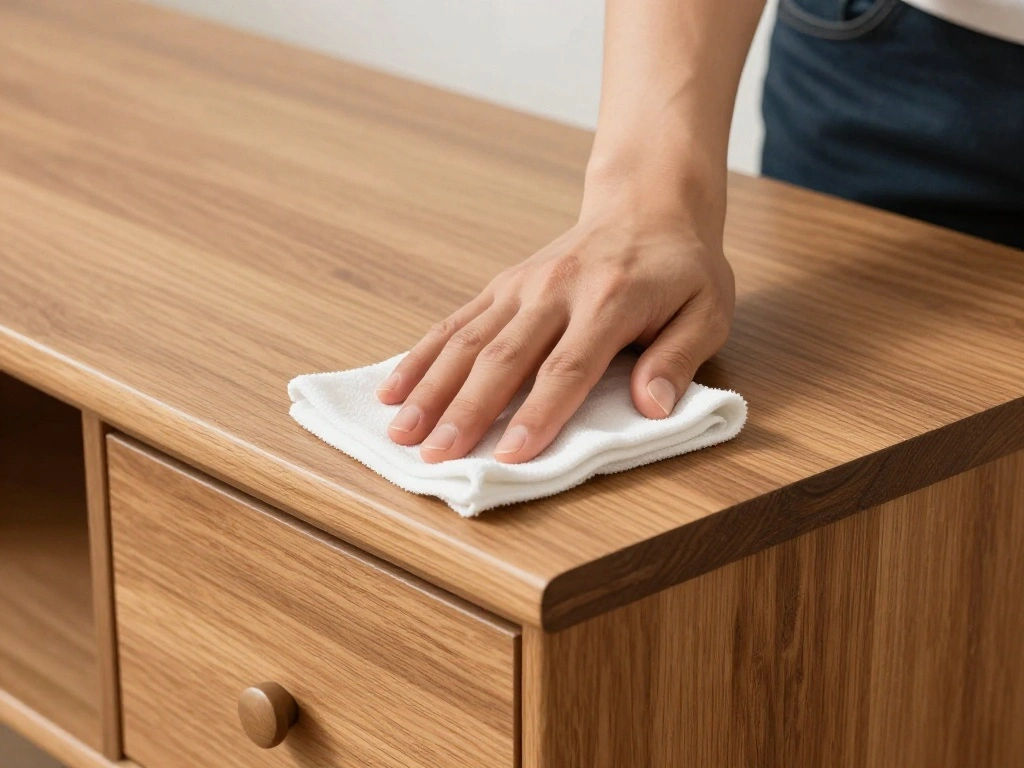
Start by cleaning your furniture piece. This step is crucial as it removes dust and oils that could prevent paint adhesion. Follow these sub-steps:
- Use a damp cloth to wipe down the surface.
- For stubborn stains, use a mild cleaner and a soft sponge.
- Let the furniture dry completely before proceeding.
Why this matters: A clean surface allows the paint to adhere better, resulting in a more even finish.
Pro Tip: If your furniture has a glossy finish, lightly sand it to create a better grip for the paint.
Estimated time for this step: 30 minutes.
Recommended Products

Quickly and easily breaks 40 and 50 type chain; easily press-fits tight tolerance 40, 50 O-ring chain side plates to the correct depth for clip or rivet link installation

ULTRA-DURABLE - Made from high-quality carbon steel, it has a significantly high strength, prolonging its life and ensuring it can withstand the pressure of chain breaking. The mini chain breaker also features a corrosion-resistant coating, protecting it from rust.

316L Steel Hammer Pendant Necklace.
Step 1: Prepare Your Furniture
Editor’s Choice

Magicfly 15 Pcs Chalk Furniture Paint Set, 9 Colors Ultra Matte Finish A…

LAX_LMY 1 PCS Jean Distressing Tool for Clothes, Professional Stainless …
Step 2: Apply Your Base Coat
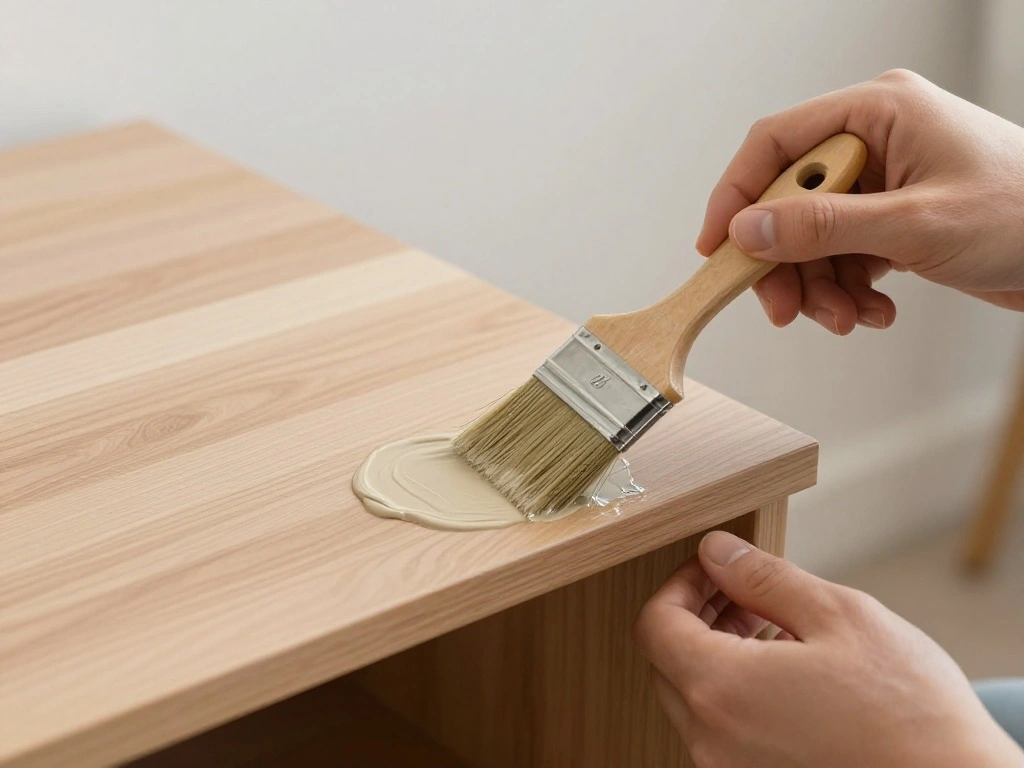
Once your furniture is clean and dry, it’s time to apply the base coat of paint. The base coat should be a solid color that will serve as the foundation for your distressing. Follow these sub-steps:
- Open your chosen paint and stir well.
- Using a paintbrush, apply a thin, even coat of paint to the furniture.
- Allow the first coat to dry for about an hour.
Why this matters: A good base coat provides a solid foundation for your distressing technique and adds depth to the final finish.
Pro Tip: Use a foam brush for a smoother finish.
Estimated time for this step: 1 hour.
Recommended Products

Bluebird’s high-performance Top Coat acts as a protective barrier, safeguarding Furniture, Chalk Paint, Acrylics, and Oil paintings from dust, dirt, scratches, and abrasion. It enhances the vibrancy of colors, adds depth to the painting, and gives it a professional, finished appearance. This Coat can be applied with a roller or brush. Apply no more than 1-2 thin coats as thick applications may result in cloudiness when dry.
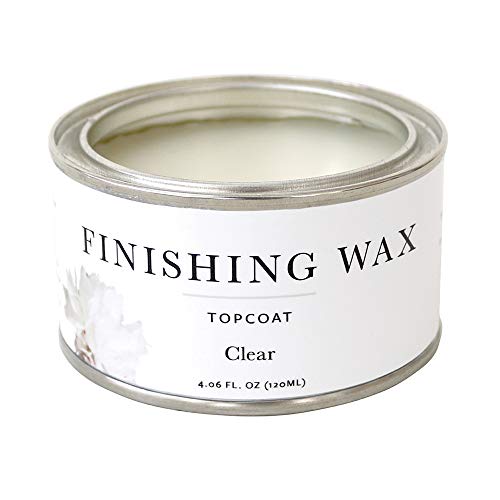
Durable Protection: Seals and protects interior furniture, cabinetry, and home decor. Suitable for painted, stained, or raw wood surfaces.
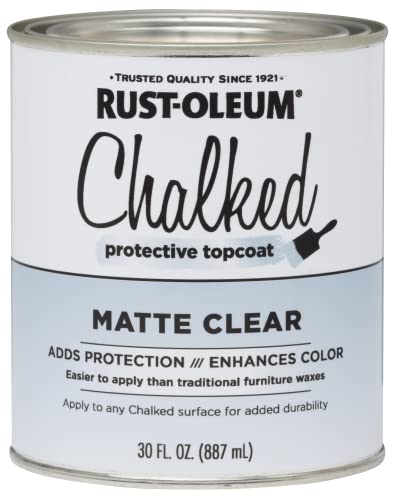
Use on a variety of interior surfaces like wood, metal, ceramic, canvas and easily distress to create a vintage look
Step 2: Apply Your Base Coat
Editor’s Choice

Soucolor Acrylic Paint Brushes Set, Easter Basket Stuffers, 20Pcs Round …

Stainless Steel Paint Stick Car Paint Proportional Measuring Scale Solve…

Jubilee Furniture Paint – Upcycle & Transform Wood, Metal & Glass – …
Step 3: Distress the Paint
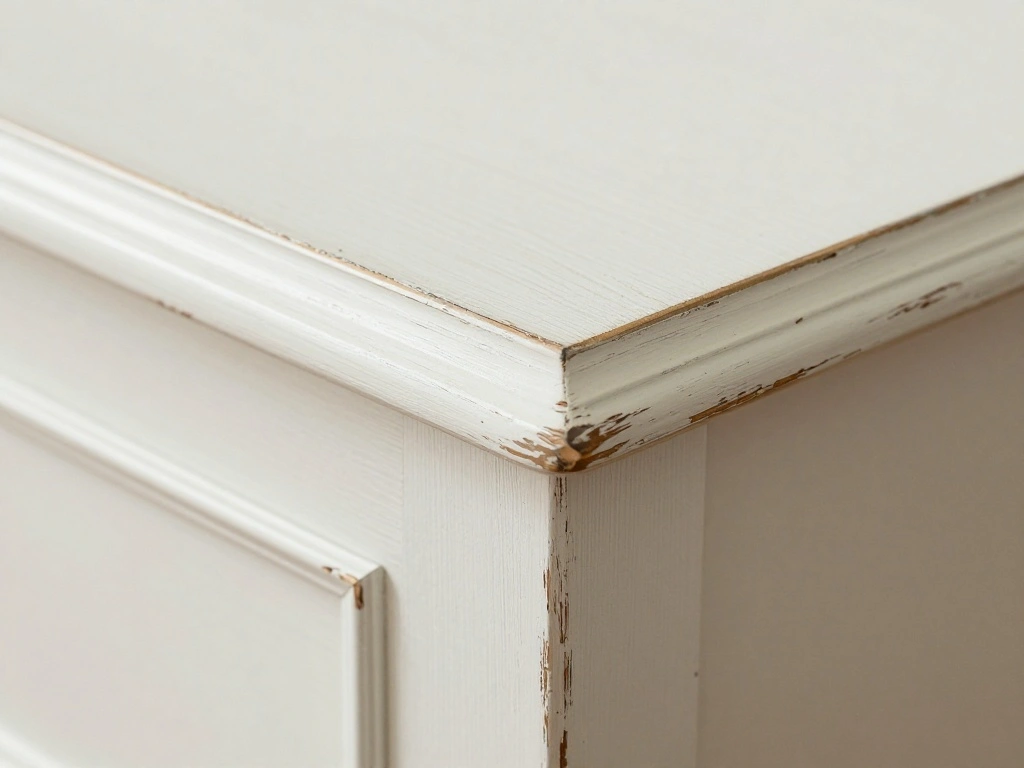
Now comes the fun part—distressing your painted furniture. This step gives your piece that sought-after aged look. Follow these sub-steps:
- Once the base coat is dry, use 120-grit sandpaper to gently sand the edges and surfaces where natural wear would occur.
- If desired, use a hammer or chains to create additional texture on the surface.
- Wipe away dust with a clean rag.
Why this matters: Distressing highlights the features of your furniture, making it appear more authentic and rustic.
Pro Tip: Focus on corners and edges for a more natural look.
Estimated time for this step: 1 hour.
Recommended Products

[UNIQUE BRUSHED EFFECT: Rust-Oleum Milk Paint makes furniture details stand out. With the unique brushed effect and washed matte look, it turns old furniture into an eye-catching piece that transforms your living space, EASY TO CLEAN, SAFE TO USE: Milk Paint is a water-based formula that cleans up easily with soap and water. The low VOC and low odor formula make it easy to work comfortably indoors, LARGE COVERAGE, FAST RECOAT TIME: Each quart covers up to 125 sq. feet. Dry to the touch in just 30 minutes, able to recoat after 1 hour. Recoat multiple times to obtain desired color, PROJECTS DONE FAST: No need for primers; features excellent adhesion in a one-step buildable coating, making it easy to finish new or vintage pieces fast. One coat creates a semi-transparent look; additional coats customize the look, LET CREATIVITY SHINE: Premium matte finish can be layered with different techniques for a custom look. Try brushing on in a “V” pattern for a vintage, washed look. Go a step further and use light sanding to create a weathered texture]
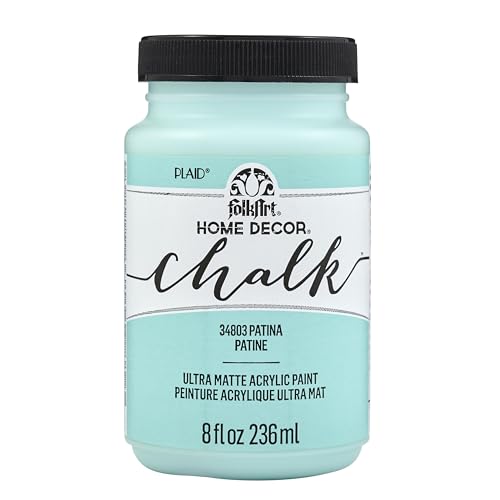
VERSATILE SIZE - This unique chalk acrylic paint comes in a convenient 8 oz size and has a rich, highly pigmented formula - perfect for all your home décor projects!

EASY TO USE, EVEN FOR BEGINNERS: Whether you’re new to DIY or a pro, Rust-Oleum Chalked makes painting easy and enjoyable. Minimal prep required means you can jump right into your project confidently and focus on creativity—not complicated steps
Step 3: Distress the Paint
Editor’s Choice

6 In 1 Mini Hammer & Screwdriver Set, Small Hammer Portable Multitool Ha…

HOMEXCEL Microfiber Cleaning Cloth, 8 Pack Cleaning Rags, Cleaning Towel…

Portable Electric Nail Drill Professional 45000 RPM, Rechargeable Electr…
Step 4: Apply a Top Coat
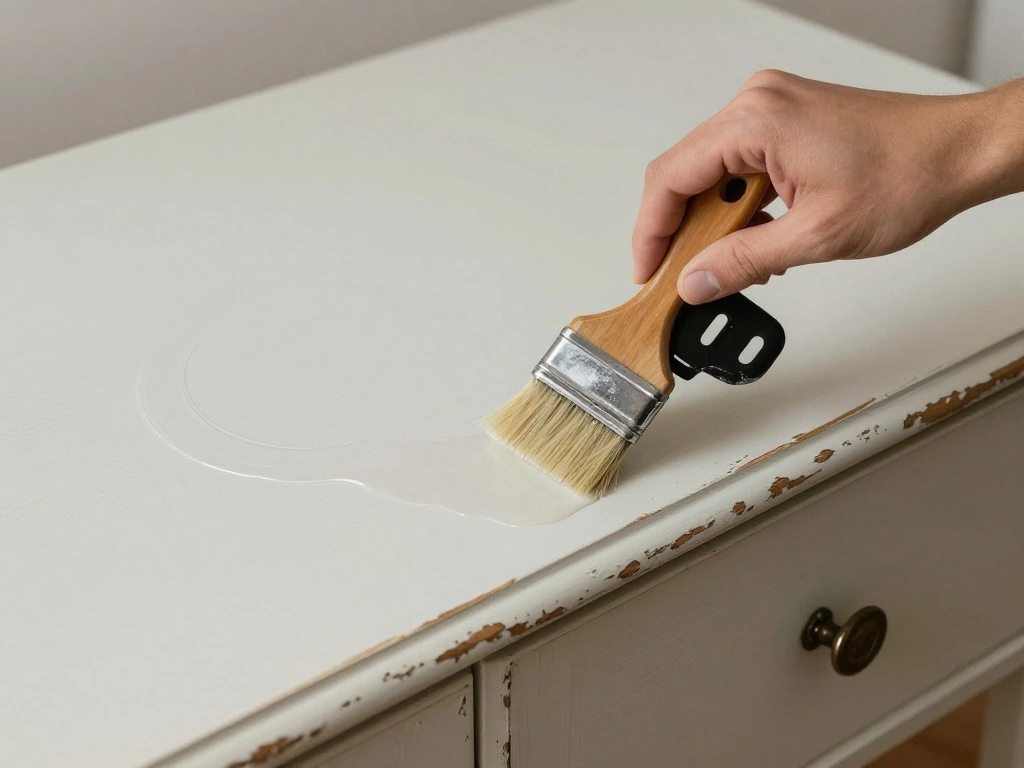
After achieving your desired level of distressing, it’s important to protect your work with a top coat. This helps seal the paint and adds durability. Follow these sub-steps:
- Choose your clear coat (polyurethane or wax) based on the desired finish.
- Using a foam brush, apply a thin layer of the clear coat over the entire piece.
- Allow the top coat to dry according to the manufacturer’s instructions.
Why this matters: A top coat not only protects your furniture but also enhances the beauty of the paint and distressing.
Pro Tip: For a matte finish, use a matte polyurethane.
Estimated time for this step: 30 minutes.
Recommended Products
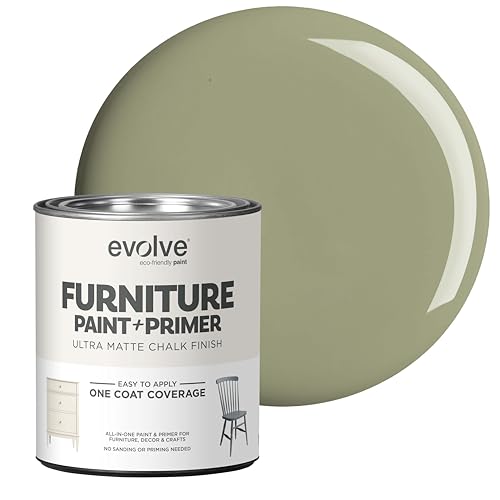
ULTRA-MATTE VINTAGE FINISH: Achieve a soft, velvety matte look perfect for farmhouse, shabby chic, and vintage-style furniture. This high-pigment formula provides a sophisticated, non-reflective finish for dressers, cabinets, and home decor.

ULTRA-MATTE VINTAGE FINISH: Achieve a soft, velvety matte look perfect for farmhouse, shabby chic, and vintage-style furniture. This high-pigment formula provides a sophisticated, non-reflective finish for dressers, cabinets, and home decor.

ULTRA-MATTE VINTAGE FINISH: Achieve a soft, velvety matte look perfect for farmhouse, shabby chic, and vintage-style furniture. This high-pigment formula provides a sophisticated, non-reflective finish for dressers, cabinets, and home decor.
Step 4: Apply a Top Coat
Editor’s Choice

KoluaWax Premium Waxing Kit for Women – Beginner Friendly – Complete Wax…

Shackets for Women 2024 Fall Flannel Zip Up Fuzzy Plaid Jacket Plus Size…

Makeup Brushes Set for Women Professional,UorPoto 10Pcs Sponge Eyeshadow…
Step 5: Final Touches
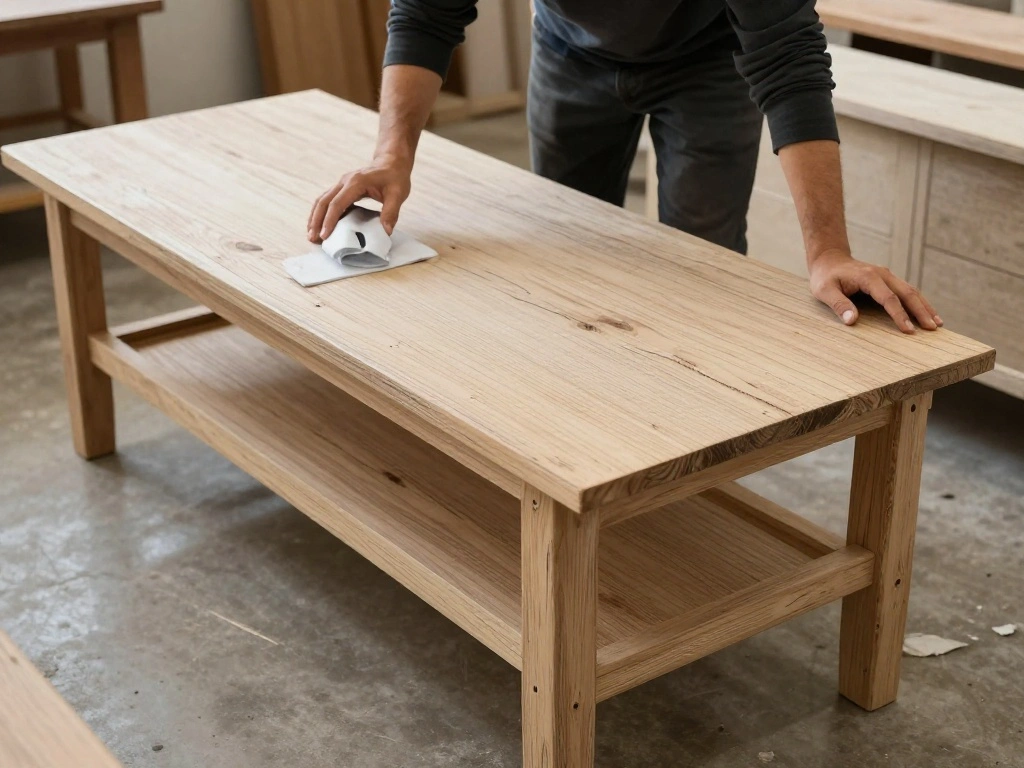
Once your top coat is dry, it’s time for the final touches that will elevate your piece. Follow these sub-steps:
- Inspect your furniture for any areas that need additional distressing or touch-ups.
- Use a fine-grit sandpaper to smooth any rough edges if needed.
- Consider adding handles or hardware for enhanced aesthetics.
Why this matters: Final touches refine your work and ensure your furniture is ready for display.
Pro Tip: A contrasting hardware color can add an attractive pop to your piece.
Estimated time for this step: 30 minutes.
Recommended Products

Premium european high density foam - robust and durable foam sanding blocks for hand sanding

220 Grit: Includes 8 sanding blocks, 220 grit (fine); our sanding sponge is reusable, washable, and suitable for all your sanding needs

High-Precision Abrasive Paper: This Shineboc sandpaper set comes with 10 sheets of 220 grit sandpaper, providing ample supply for demanding sanding tasks.
Step 5: Final Touches
Editor’s Choice

2PCS Vintage Style Pulls Handles, Antique Bronze Hollow Decor Cabinet Kn…

Minwax Paste Finishing Wax, 16 oz., Natural Finish

51 Pcs Ultra Fine Wet Dry Sandpaper 120 to 3000,5000,7000,8000,10000 Ass…
Step 6: Enjoy Your Distressed Furniture
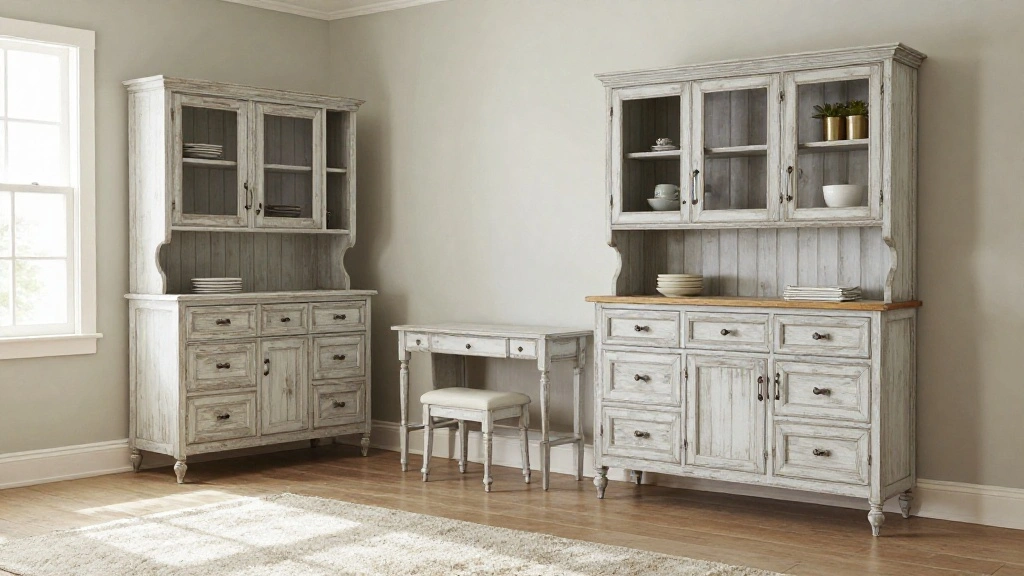
Now that your furniture is complete, it’s time to admire your hard work! Place it in your desired location and style it with decor that complements its rustic charm. Follow these sub-steps:
- Choose a suitable spot in your home for the furniture.
- Style it with decorative items like vases or books.
- Take a moment to appreciate your new farmhouse piece!
Why this matters: Enjoying your finished product is the final reward, showcasing your creativity and effort.
Pro Tip: Share your project on social media to inspire others!
Estimated time for this step: 30 minutes.
Recommended Products

Mr. Pen 8oz Hammer, Made from High Density Carbon Steel, Anti-rust and Durable

ULTRA-DURABLE - Made from high-quality carbon steel, it has a significantly high strength, prolonging its life and ensuring it can withstand the pressure of chain breaking. The mini chain breaker also features a corrosion-resistant coating, protecting it from rust.

✔Material: High Carbon Steel, Compound Strengthening;
Step 6: Enjoy Your Distressed Furniture
Editor’s Choice

Framed Inspirational Wall Art Motivational Canvas Print for Home and Off…

Zormon White Vases for Decor, Heart Shaped Ceramic Vase Set of 2, Nordic…

Farmhouse Rustic Inspirational Family Quote Live Laugh Love Throw Pillow…
Pro Tips
- Test Distressing Techniques: Before applying on the main piece, practice on a scrap wood sample to see how the paint and distressing tools work together.
- Layer Colors: For added depth, consider using multiple paint layers with different colors before distressing.
- Use Natural Materials: Incorporate natural materials like burlap or wood accents to enhance the farmhouse aesthetic.
- Consider the Finish: A matte finish will give a more rustic look compared to a glossy finish, choose based on your desired style.
- Keep It Simple: Don’t overdo the distressing; subtle wear can often look more authentic and appealing.
Recommended Products

Great for minor repairs on wood surfaces including hardwood floors
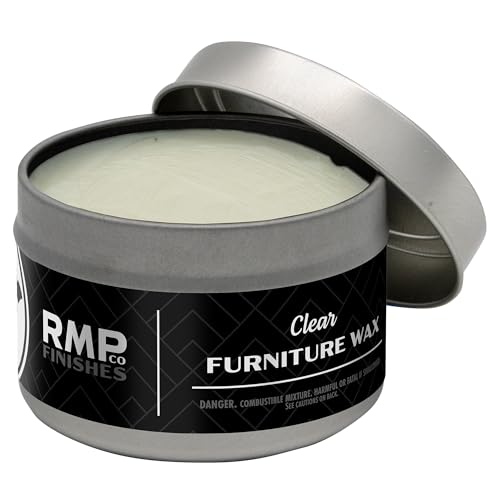
FURNITURE WAX: Designed for furniture refinishing, sealing Milk Paint, or top-coating other chalky style paints on home furniture; Dries hard to a matte sheen, leaving a soft, lustrous shine and creating a protective surface
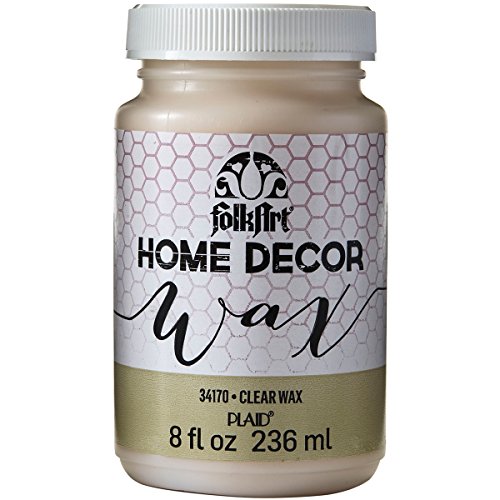
VERSATILE & CONVENIENT SIZE - This paraffin-infused wax sealer and protectant comes in an easy-to-use 8 oz bottle - perfect for use with the FolkArt Home Décor Wax Paint Brush
Pro Tips
Editor’s Choice

Tepo Burlap Fabric 25″ x 15 Feet (5 Yards) – Natural Jute Fabric for D…

Power Sectional Sofa Couch Set, Living Room Furniture Sets, Power Reclin…

Transon Flat Paint Brush Set 3pcs for Acrylic Watercolor Gouache Oil and…
Common Mistakes to Avoid
Warning: Skipping surface preparation can lead to paint peeling. Always clean and sand surfaces.
Warning: Over-sanding can damage the wood. Apply gentle pressure.
Warning: Failing to let paint dry between coats can cause smudging. Be patient and follow drying times.
Warning: Using the wrong type of top coat may alter the look. Choose based on your desired finish.
Warning: Over-distressing can make the piece look unnatural. Aim for a balanced, realistic wear.
Common Mistakes to Avoid
Editor’s Choice

S SATC Sanding Blocks 5 Inch Hook and Loop Sanding Block 2 PCS Round and…

Compatible with iPhone 15 Pro Max Case, Cute Girly Glitter Bling Butterf…
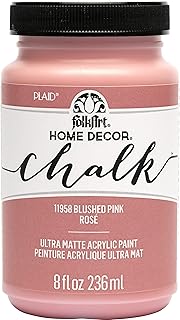
FolkArt, Blushed Pink Assorted Home Décor 8 fl oz / 236 ml Acrylic Chal…
Troubleshooting Section
Problem: Paint is peeling.
Solution: Ensure proper surface preparation next time and check for moisture issues.
Problem: Distressing looks too harsh.
Solution: Lightly sand the distressed areas to soften the look.
Problem: Uneven paint coverage.
Solution: Apply an additional thin coat, allowing for proper drying time.
Problem: Top coat is sticky.
Solution: Ensure you applied it evenly; if it persists, you may need to strip and start over.
Problem: Not enough distressing effect.
Solution: Carefully apply more distressing techniques, focusing on high-wear areas.
Variations/Alternative Methods
1. Color Wash: Instead of solid paint, use a color wash technique for a more translucent look.
Pros: Lighter finish; Cons: Can be harder to control.
2. Stencil Distressing: Use stencils to add patterns before distressing.
Pros: Unique designs; Cons: Requires more precision.
3. Natural Aging: Allow furniture to age naturally without paint, using natural oils for protection.
Pros: Authentic look; Cons: Takes time, less control over appearance.
Variations/Alternative Methods
Editor’s Choice

FINGERINSPIRE 4 Styles Woman Stencils 8.3×11.7 Inch Water Drop Woman Ste…

2 Packs Yoni Oil for Women, All Natural Feminine Oil Intimate Deodorant …

6 Sets Paint Your Own Sunflower Coaster Kit, 6 Absorbent Ceramic Tiles w…
FAQs
What if I don’t have chalk paint? You can use latex paint, but chalk paint gives a better finish for distressing.
How long should I let the paint dry? Follow the manufacturer’s instructions, typically 1-2 hours.
Is it safe to use a hammer for distressing? Yes, as long as you use it gently to avoid damaging the wood.
Can I use distressing techniques on laminate furniture? It’s not recommended; laminate may chip or peel.
How do I maintain my distressed furniture? Wipe with a dry cloth; avoid harsh chemicals that could strip the finish.
FAQs
Editor’s Choice
FolkArt, Blushed Pink Assorted Home Décor 8 fl oz / 236 ml Acrylic Chal…
LAX_LMY 1 PCS Jean Distressing Tool for Clothes, Professional Stainless …

Bienbee Knee Pads for Men, Knee Pads Wrist Guard Knee and Elbow Pads Adu…
Conclusion
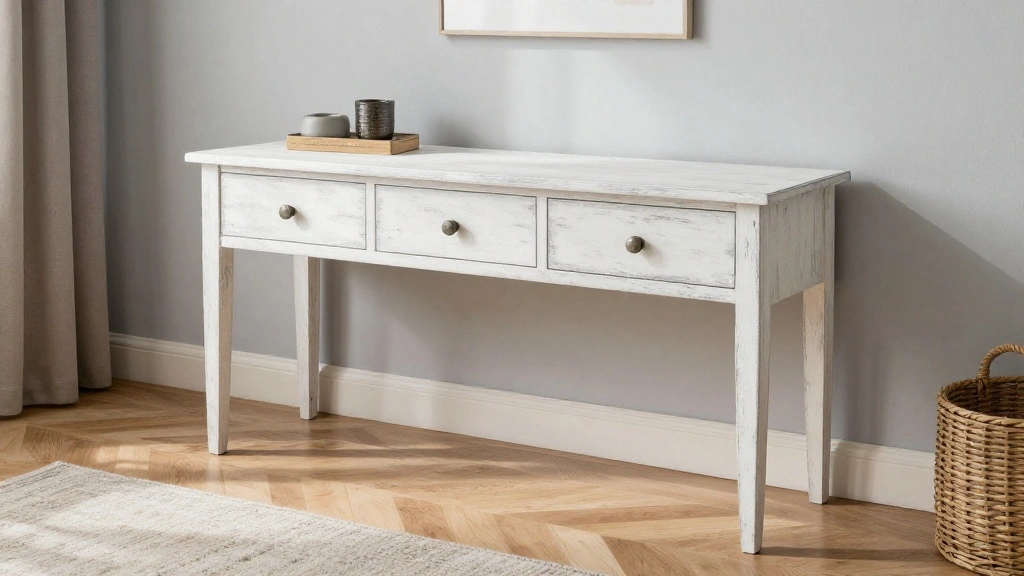
Congratulations on transforming your furniture into a stunning piece with a farmhouse finish! You’ve not only enhanced your home decor but also developed valuable skills in the process. Take pride in your work and consider exploring other DIY projects to continue your creative journey. If you enjoyed this guide, check out additional resources on furniture painting and upcycling for further inspiration. Happy crafting!