
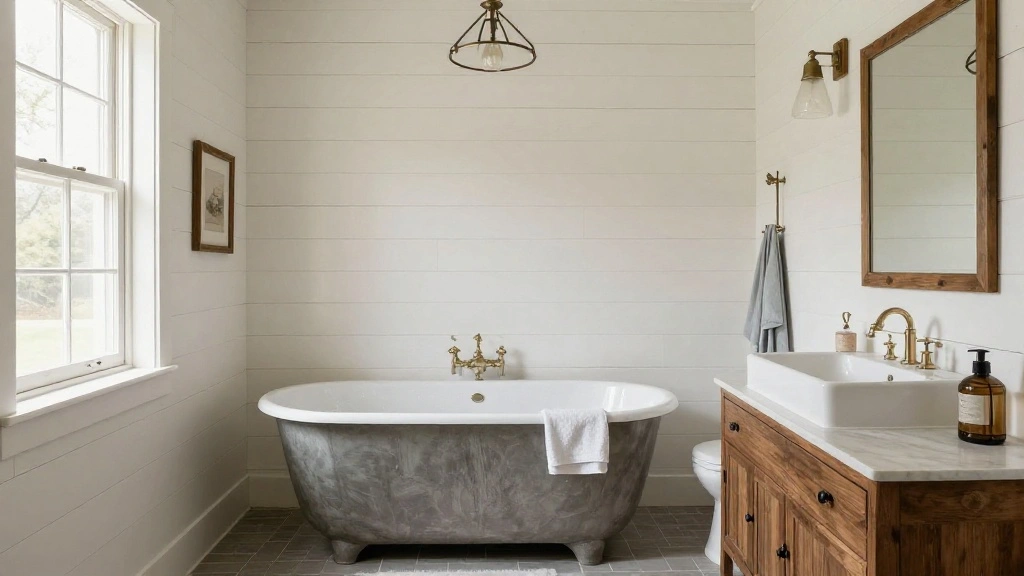
Are you looking to transform your bathroom into a cozy, farmhouse-inspired retreat? Installing shiplap can instantly add charm and character to your space. However, many homeowners hesitate to take on this project due to concerns about difficulty and technique. Don’t let that stop you! With the right guidance, you can achieve a stunning look that enhances your home’s aesthetic.
In this guide, you will learn how to effectively install shiplap in your farmhouse bathroom. By the end of this project, you will have a beautifully finished wall that reflects your style. This article provides a step-by-step approach, ensuring you understand each part of the process.
This task is rated as intermediate in terms of skill level and will take approximately 2-3 hours to complete. Grab your tools and let’s get started!
TL;DR Summary
- Gather materials and tools for shiplap installation.
- Prepare your bathroom walls for installation.
- Install shiplap boards in a step-by-step manner.
- Finish with paint or stain to complete the look.
Recommended Products

[Luxdecor Real Wood Wall Planks]:100% Real Pine Wood Wall Planks With Natural Knots and Dents, the Surface Of Wood Shiplap Planks Is Processed With High Temperature Carbonization, the Real Wood Wall Shiplap Planks Is Non-Toxic, Sterilized and More Safe For Children,Voc Free Process Ensures These Stick on Shiplap Planks For Walls Are Safe To Use In Home

PVC WALL PANELS, 6-PIECE KIT: Elevate your walls with Plastpro’s 3-ft wainscoting panel kit. The complete solution for bathrooms, kitchens, bedrooms & living rooms. Includes 6 reversible PVC panels (3 ft high × 7¼ in wide), each pre-finished, pre-grooved, and ready to interlock. No nails or adhesive required.
TL;DR Summary
Editor’s Choice
Luxdecor Real Wood Planks for Wall- White Shiplap Boards 5″ Peel and Sti…


Power Drill Cordless: DEKOPRO Cordless Drill 20V Electric Power Drills S…

3Pcs Circular Bubble Level Bullseye Degree Marked Surface Round Spirit L…
Prerequisites/Materials Needed
- Shiplap boards (1″ x 6″ recommended, quantity based on wall size)
- Level
- Stud finder
- Caulk and caulk gun
- Wood glue
- Pneumatic nail gun or hammer and nails
- Paint or stain (optional)
- Paintbrush or roller (if painting)
Recommended Products

Elevate a hallway, bathroom or living area with a board and batten accent wall

PVC WALL PANELS, 7-PIECE KIT: Elevate your walls with Plastpro’s 8-ft wainscoting panel kit. The complete solution for bathrooms, kitchens, bedrooms & living rooms. Each set includes 7 reversible PVC panels plus trim. Simply snap tongue-and-groove edges together for a seamless professional finish in hours. No special tools required.

Larger Size For A Striking Visual Impact – Are you searching for a bold piece of rustic farmhouse decor for bathroom? Our statement wood farmhouse towel holder looks like wall art that stands out above all urban/rustic accessories.
Prerequisites/Materials Needed
Editor’s Choice

Heavy Duty Cordless Nail Gun, Portable 21V Battery Powered Brad Nailer &…

Edge 1 in. x 6 in. x 6 ft. Rustic Collection Shiplap Pine Board (Brite) …

Stud Finder Wall Scanner – 5 in 1 Stud Finder Tool w/Smart Chip and HD L…
Skill Level & Time Estimate
Skill Level: intermediate
Total time estimate: 2-3 hours
Breakdown:
1. Gather materials: 30 minutes
2. Prepare the walls: 30 minutes
3. Install shiplap: 1-2 hours
4. Finish with paint/stain: 30 minutes
Recommended Products

True Waterproof & Reusable Surface: Spills wipe clean instantly! Our Shiplap fabric bulletin board paper roll repels liquids, allowing effortless cleaning with a damp cloth. Reuse it endlessly for classroom decorations, backdrops, or craft backgrounds – a sustainable, cost-saving alternative to disposable paper

Authentic Distressed Look Design : The realistic appearance and gray-white tone of white wooden wallpaper,showcases a wood texture with natural imperfections,that captures the timeless beauty weathered wooden planks

🏠DETAILS: 17.7 X78.8 INCH, total 9.7 sq.ft(45cmX2m)per roll, Self adhesive(No extra glue needed). Made of durable PVC, white shiplap peel and stick wallpaper, waterproof. Fully removable.
Skill Level & Time Estimate
Editor’s Choice
3Pcs Circular Bubble Level Bullseye Degree Marked Surface Round Spirit L…

Totally Bamboo Rock & Branch Series Shiplap Texas State Shaped Wood Serv…
Step 1: Gather Your Tools and Materials
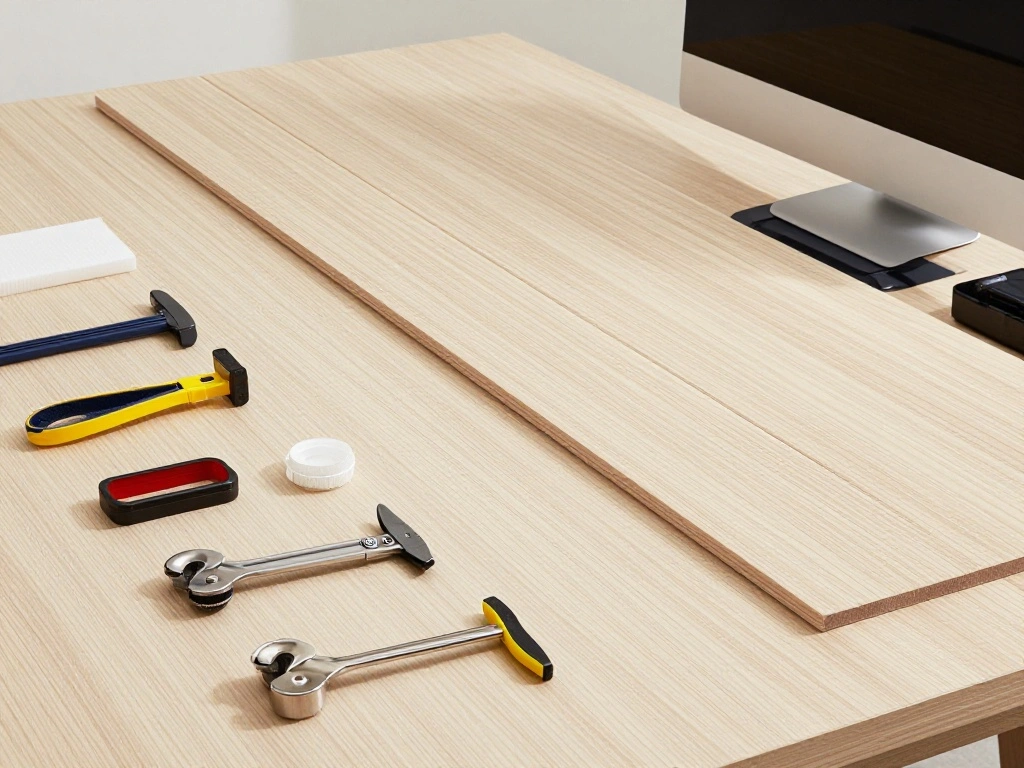
Before you start, ensure you have everything you need for the project:
- Collect shiplap boards based on your wall size.
- Gather tools such as a level, stud finder, paint or caulk, and a nail gun.
Pro Tip: Pre-measure your wall space to determine how many boards you’ll need. This will save you time and ensure a smooth installation.
Why this matters: Having all materials at hand prevents interruptions during installation, making the process more efficient.
Time estimate for this step: 30 minutes.
Recommended Products

Transform your space effortlessly without searching for separate parts. Each package comes complete with 8 premium main wall panels and 2 perfectly matching finishing trims. This curated set provides everything you need to create a cohesive, designer-level accent wall or elegant half-wall paneling right out of the box.

RECLAIMED WOOD ACCENT: Real reclaimed and recycled wood, naturally-weathered wood paneling adds a beautiful, rustic accent to your walls

【REAL WOOD】– Made of 100% dried fir wood imitating vintage reclaimed barnwood appearance for interior finish. The colors will vary from browns to grays depending on the batch.
Step 1: Gather Your Tools and Materials
Editor’s Choice

NEU Master Pneumatic Brad Nailer, 2 in 1 Nail Gun/Staple Gun Works with …

Torpedo Level Magnetic, Firecore 9 Inch Shockproof Small Leveler Tool wi…
Stud Finder Wall Scanner – 5 in 1 Stud Finder Tool w/Smart Chip and HD L…
Step 2: Prepare the Walls
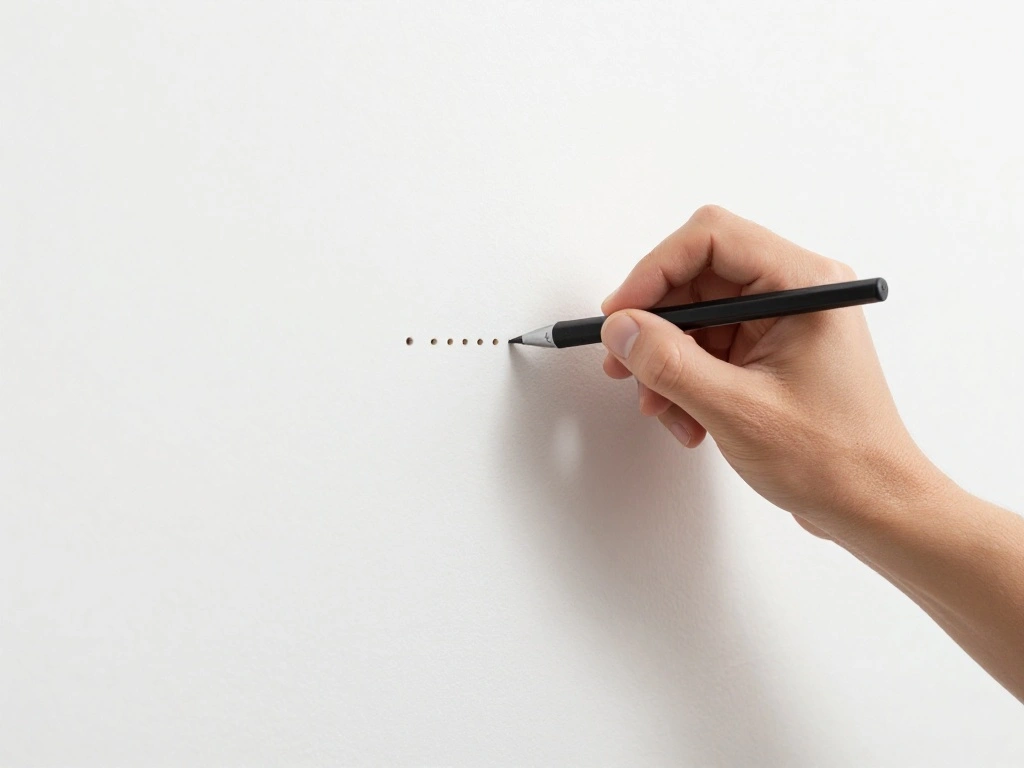
Before installing shiplap, you must prepare your walls:
- Use a stud finder to locate studs in the wall.
- Mark the locations with a pencil.
- Remove any old wallpaper or loose paint to create a clean surface.
Warning: Ensure the walls are dry and free from any moisture. This is crucial for a lasting installation.
Why this matters: Proper wall preparation ensures the shiplap adheres well and stays secure over time.
Time estimate for this step: 30 minutes.
Recommended Products

DIY Installation Made Easy: Cut, peel, and stick in just 3 simple steps. No special tools required. Effortless installation for a quick and hassle-free experience.

【Package includes】The total length of each Unfinished scalloped wood trim is 15.75 inch /40 cm, the width is 2.17 inch /5.5 cm, 6 hollow-out scalloped; If you need a decoration with a unique scalloped wavy edge, it will be a very good choice; Not only they enhance the aesthetic of your space, but they also are versatile enough to be applied for a range of DIY projects

Artistic-Can be a frame or decoration for all backspalsh tiles and the edge.
Step 3: Cut the Shiplap Boards to Size
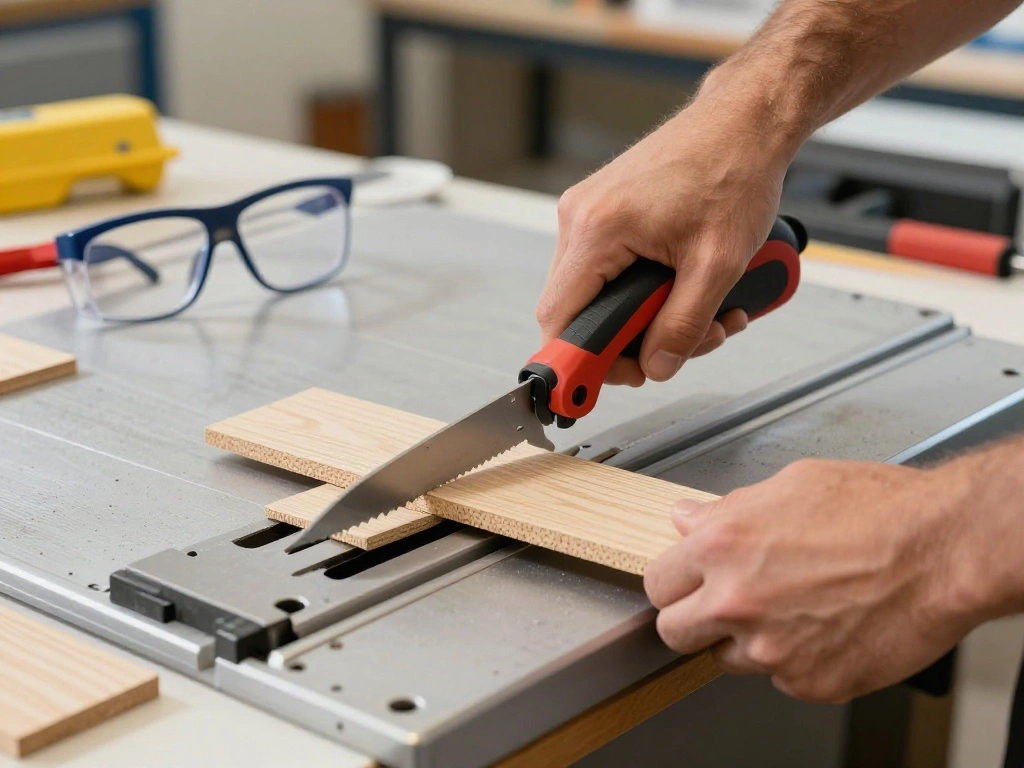
Once your walls are ready, it’s time to cut the shiplap boards:
- Measure the height of the wall.
- Cut the boards to the desired length using a miter saw.
Pro Tip: Cut all boards before starting installation for efficiency.
Why this matters: Accurate cuts ensure a professional-looking finish and help avoid gaps or overlaps during installation.
Time estimate for this step: 30 minutes.
Recommended Products

Ideal for DIY projects: Install on walls, islands, banquettes, headboards, beams, cabinet doors, trim and much more!

Details: 15.8"x78.7", covering 8.6 sq.ft. The wood slats wallpaper has a rustic look and shiplap effect, and the wood grain design gives everything a fresh, modern look. Multiple white/gray wood rolls can be seamlessly spliced and combined without difference.

Stylish Wall Upgrade: This wainscotting wall panel kit adds texture and charm to any space. The 37.8” tall beadboard panels create a beautiful decorative accent for living rooms, bedrooms, kitchens, studies, and more
Step 3: Cut the Shiplap Boards to Size
Editor’s Choice

CRAFTSMAN Tape Measure, Compact Easy Grip, 16 FT (CMHT37441S)
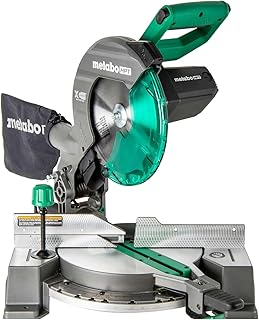
Metabo HPT 10-Inch Single Bevel Compound Miter Saw, 15-Amp Power Saw wit…

The Millwork Outlet Primed Nickel Gap Shiplap, 8 Pieces, 5″ x 72″, Real …
Step 4: Attach the First Row of Shiplap
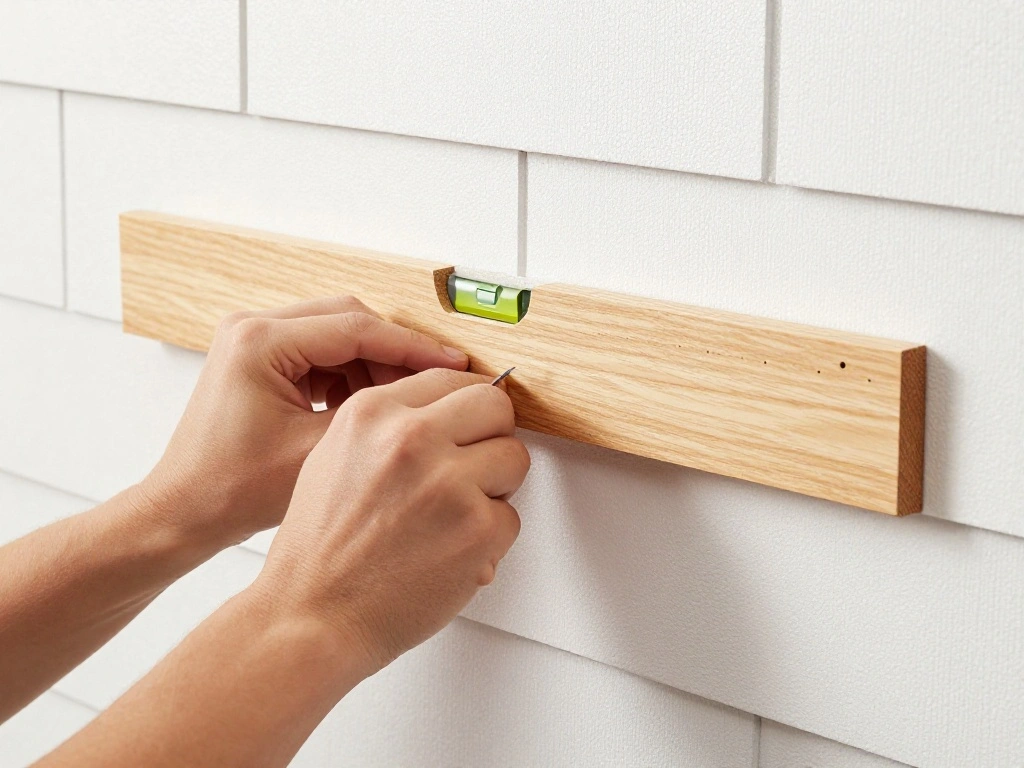
Begin the installation with the first row:
- Position the first board at the bottom of the wall.
- Use a level to ensure it is straight.
- Nail it into the studs using your nail gun or hammer.
Pro Tip: Leave a small gap at the bottom to allow for expansion and contraction.
Why this matters: Starting with a level board is critical for the alignment of subsequent rows.
Time estimate for this step: 30 minutes.
Step 4: Attach the First Row of Shiplap
Editor’s Choice
Luxdecor Real Wood Planks for Wall- White Shiplap Boards 5″ Peel and Sti…
3Pcs Circular Bubble Level Bullseye Degree Marked Surface Round Spirit L…

Bielmeier Electric Staple Gun, 2 in 1 Lithium-ion Electric Stapler, 4V C…
Step 5: Continue Adding Shiplap Rows
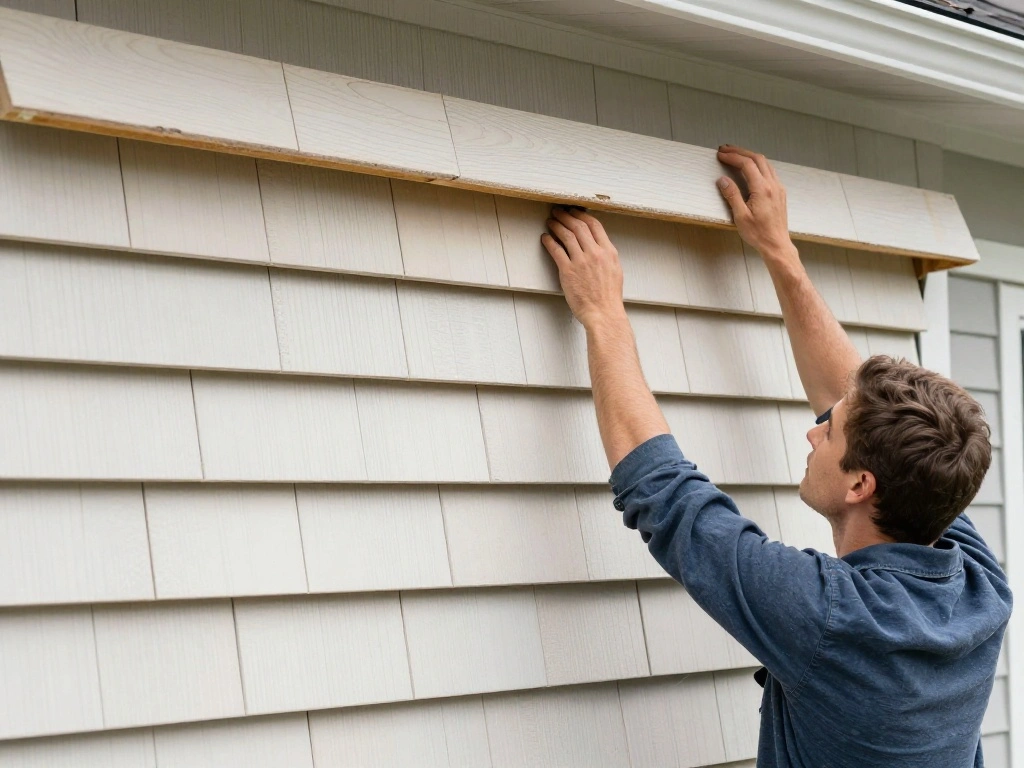
After securing the first row, continue with the subsequent rows:
- Align the next board with the groove of the previous one.
- Nail it into the wall, ensuring it is level.
- Repeat this process until the wall is covered.
Warning: Ensure each board is tightly fitted to avoid gaps.
Why this matters: Consistent alignment and tight fits create a seamless look.
Time estimate for this step: 1-1.5 hours.
Recommended Products

BRAND--Since 2018, HEROAD brand was specially created for WOOD GRAIN series wallpapers.


Step 5: Continue Adding Shiplap Rows
Editor’s Choice

Metabo HPT Finish Nailer with Air Duster, Pro-Preferred Pneumatic Power …
Torpedo Level Magnetic, Firecore 9 Inch Shockproof Small Leveler Tool wi…
Luxdecor Real Wood Planks for Wall- White Shiplap Boards 5″ Peel and Sti…
Step 6: Finish the Top Row
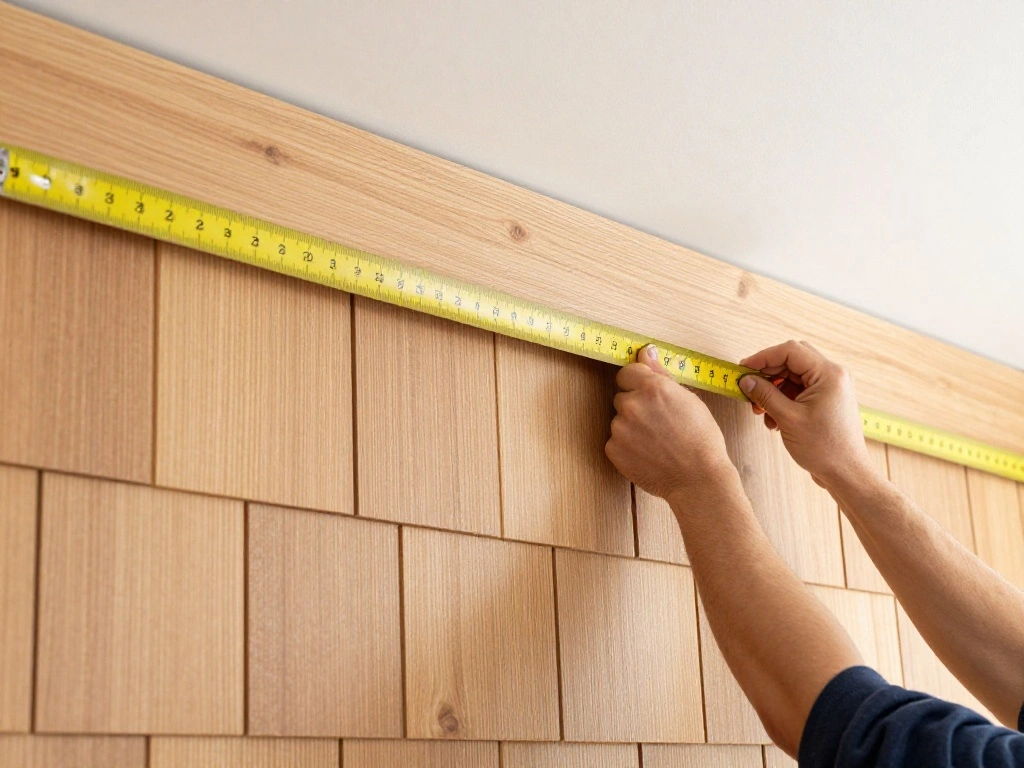
As you reach the top of the wall, you may need to cut the last row:
- Measure the remaining height to ensure a snug fit.
- Cut the board to size and position it at the top.
- Nail it securely into place.
Pro Tip: Use a jigsaw for more intricate cuts around fixtures.
Why this matters: A well-finished top row completes the overall look and prevents any unfinished edges.
Time estimate for this step: 30 minutes.
Recommended Products
Authentic Distressed Look Design:The realistic appearance and gray-white tone of white wooden wallpaper,showcases a wood texture with natural imperfections,that captures the timeless beauty weathered wooden planks

Paulownia Wood Material: the wall paneling kit molding kit is made of paulownia wood, which is durable, waterproof, and easy to clean; wall wainscoting kits surface is smooth, not easily deformed, is moisture-resistant and breathable
RECLAIMED WOOD ACCENT: Real reclaimed and recycled wood, naturally-weathered wood paneling adds a beautiful, rustic accent to your walls
Step 7: Caulk and Fill Gaps
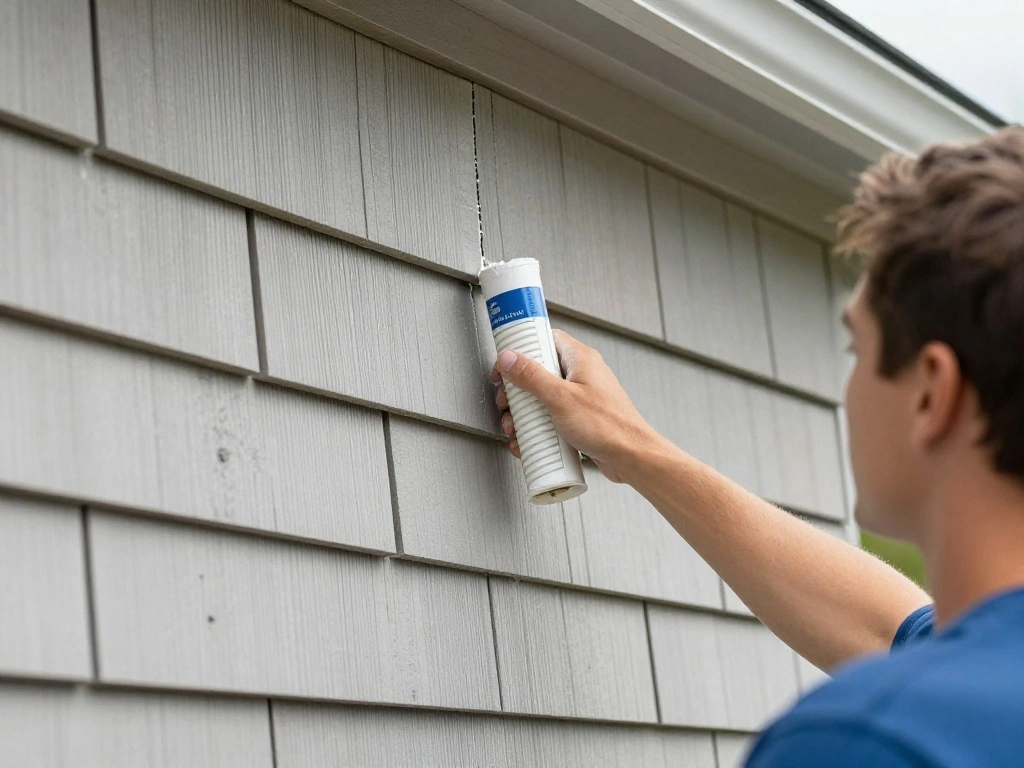
After all boards are installed, it’s time to finish the edges:
- Apply caulk along the seams and edges to cover gaps.
- Fill nail holes with wood filler and sand smooth.
Warning: Ensure the caulk is paintable if you plan to paint over it.
Why this matters: This step gives your shiplap a polished and professional appearance.
Time estimate for this step: 30 minutes.
Recommended Products

【Long lifespan】Decorative strips are made of excellent TPE material,which are soft, elastic, reliable,durable and not easily detached or fade and deform over time after installation, resulting in a long service life.

【Long lifespan】Wall decoration molding trim is made of excellent TPE material, which are soft, elastic and reliable. It can be used for a long time and not easy to detach or fade after installation

【Material and Appearance】Wall peel and stick molding trim is made of flexible TPE material, which are reliable. It can be used and not easy to fade after installation. Note: not paintable
Step 7: Caulk and Fill Gaps
Editor’s Choice

Gorilla All Purpose Wood Filler, Natural Finish, 16 Ounce Tub (Pack of 1…

4 Pack 5 Inch 8 Holes Foam Sanding Pads, Soft Density Interface Pad, Hoo…

DAP Alex Plus Acrylic Latex Caulk, White, 10.1 Oz (7079818152)
Step 8: Paint or Stain the Shiplap
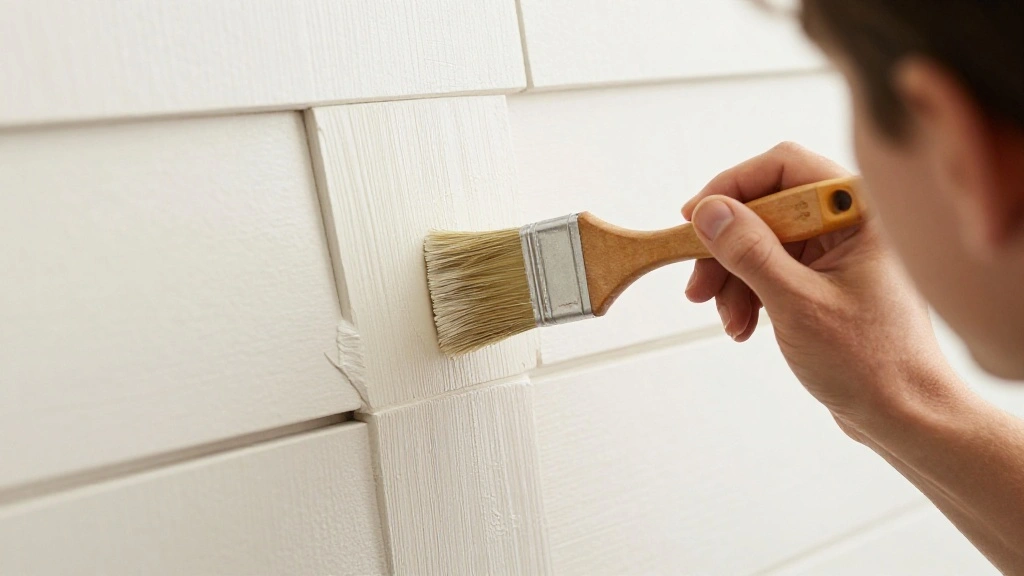
The final step is to finish your shiplap with paint or stain:
- Choose a color or stain that complements your bathroom decor.
- Apply with a brush or roller for even coverage.
Pro Tip: Allow the first coat to dry completely before applying a second coat for best results.
Why this matters: A finished coat not only enhances the look of the shiplap but also protects the wood from moisture.
Time estimate for this step: 30 minutes.
Step 8: Paint or Stain the Shiplap
Editor’s Choice

Varathane 368035 Less Mess Wood Stain and Applicator, 4 oz, Golden Oak

VOOMEY Paint Roller Kit with Extension Pole – 9 Inch Paint Roller with T…
Pro Tips
- Choose the Right Wood: Select high-quality, moisture-resistant wood for bathrooms.
- Plan Your Design: Pre-plan the layout to avoid awkward cuts or patterns.
- Work with a Partner: Having a second pair of hands can speed up the installation process.
- Use a Backer Board: For added stability, consider installing a backer board before shiplap.
- Seal the Edges: Use sealant on edges exposed to moisture for better durability.
Pro Tips
Editor’s Choice

Makita XSJ05Z 18V LXT® Lithium-Ion Brushless Cordless 1/2″ Fiber Cement…

Baltic Birch Plywood 8 x 12 x 1/2 Inch – 12 mm Craft Wood, Pack of 2 B/B…
Common Mistakes to Avoid
Warning: Avoid these common pitfalls to ensure a successful installation:
- Skipping wall preparation: Always clean and repair walls before installation.
- Incorrect measurements: Double-check all measurements before cutting to avoid waste.
- Not using a level: Ensure each board is level for a professional look.
Common Mistakes to Avoid
Editor’s Choice

Motovera Self Leveling Laser Level 100ft, Green Cross Line with Tripod, …

CRAFTSMAN 25-Ft Tape Measure with Fraction Markings, Retractable, Self-L…
Stud Finder Wall Scanner – 5 in 1 Stud Finder Tool w/Smart Chip and HD L…
Troubleshooting Section
Problem: Boards not aligning properly.
Solution: Double-check measurements and adjust the position of the boards as needed.
Problem: Gaps between boards.
Solution: Use caulk to fill gaps for a seamless finish.
Problem: Boards warping after installation.
Solution: Ensure proper ventilation and use moisture-resistant materials.
Troubleshooting Section
Editor’s Choice

Digital Caliper Measuring Tool, Stainless Steel Vernier Caliper Digital …

Goopreen 5 in 1 Caulking Tool Silicone Caulking Grout Removal Sealant Fi…

PVC Wall Panels – 8 Foot, Reversible Beadboard & Shiplap Waterproof Wain…
Variations/Alternative Methods
Consider these variations for different looks:
- Vertical shiplap for a modern twist.
- Painted shiplap vs. stained for different aesthetics.
- Using reclaimed wood for a rustic feel.
Each method has its pros and cons, depending on your desired outcome and bathroom style.
Variations/Alternative Methods
Editor’s Choice

Rockin’ Wood Real Wood Nail Up Application Rustic Reclaimed Naturally We…

Art3d Premade Board and Batten Paintable Wainscoting Kit, MDF Accent Wal…

Wood Stain, 16 Oz Water Based Wood Stain and Sealer in One – No Priming,…
FAQs
- What if I don’t have a stud finder? You can manually knock on the wall to find the studs, but it’s less accurate.
- How long should I wait to paint after installation? Allow the shiplap to settle for at least 24 hours before painting.
- Is it safe to install shiplap in a bathroom? Yes, as long as you use moisture-resistant wood and take proper precautions.
FAQs
Editor’s Choice
Stud Finder Wall Scanner – 5 in 1 Stud Finder Tool w/Smart Chip and HD L…
DEFY Outdoor Wood Stain DG – Semi-Transparent, UV & Moisture Resistant, …
PVC Wall Panels – 8 Foot, Reversible Beadboard & Shiplap Waterproof Wain…
Conclusion
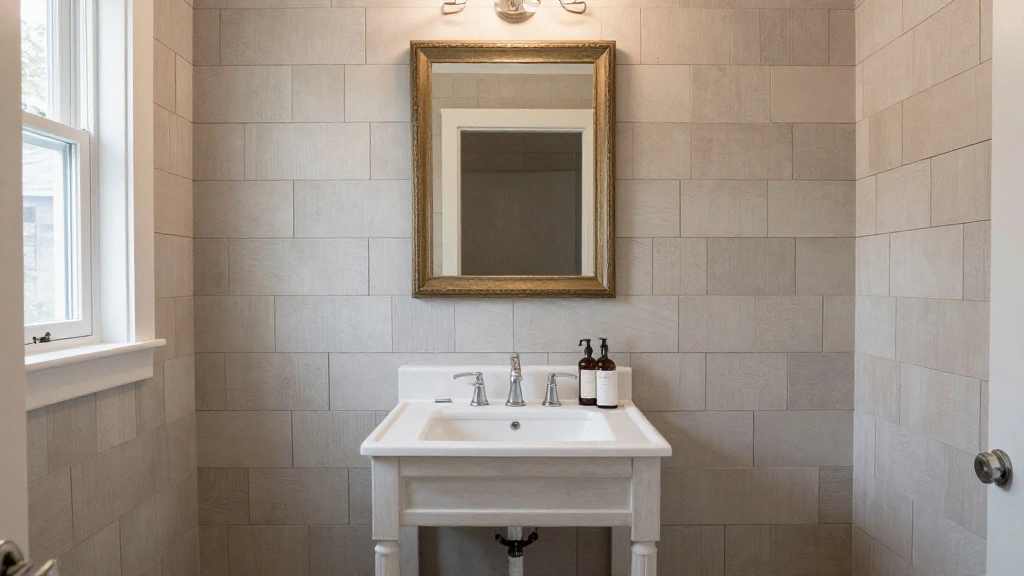
Congratulations! You have successfully installed shiplap in your farmhouse bathroom. This project not only enhances your space but also showcases your DIY skills.
As a next step, consider updating your bathroom fixtures or adding decor that complements your new shiplap walls. Explore more home improvement projects to further enhance your home’s charm!