
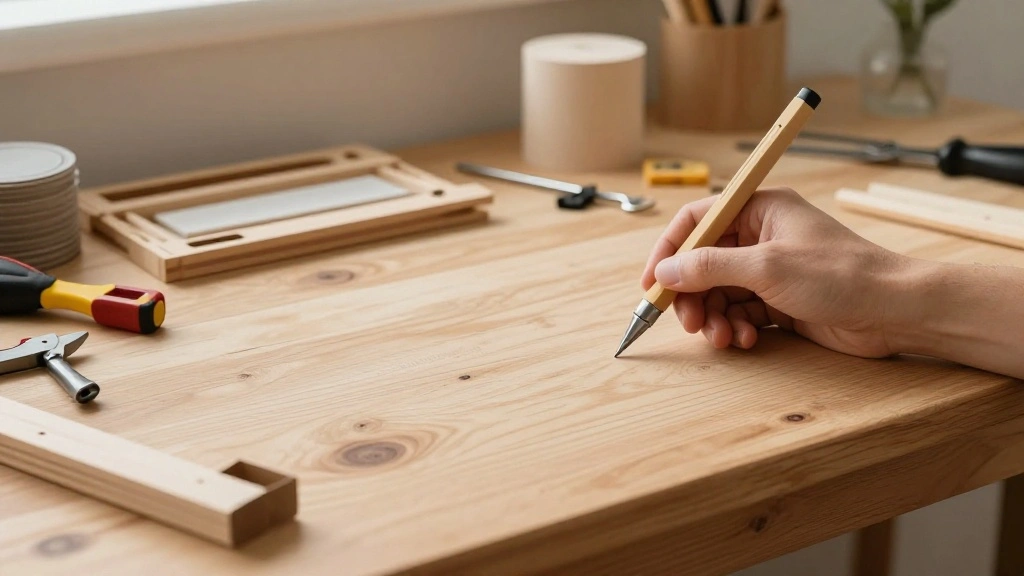
Are you looking to add a personal touch to your home decor? Creating a DIY farmhouse wood sign is a fantastic way to transform your space while showcasing your creativity. Whether for your living room, kitchen, or as a gift for someone special, a wooden sign can bring warmth and charm to any area. Don’t miss out on the opportunity to craft something truly unique!
This guide will walk you through the process of making a beautiful farmhouse wood sign, from gathering materials to finishing touches. By the end, you will have a stunning wooden sign that reflects your style and personality. You will learn how to select the right wood, apply paint or stain, and add lettering – all essential skills for your DIY toolkit.
With a difficulty level of beginner and an estimated time of 2-3 hours, you’ll be able to complete this project with ease. So grab your tools and let’s get started!
TL;DR Summary
- Gather materials like wood, paint, and brushes.
- Prepare the wood by sanding and cleaning it.
- Design your sign layout and apply paint or stain.
- Add lettering and finalize with a protective coat.
Recommended Products

RUSTIC STYLE: Primitives by Kathy wood box sign featuring a sentiment and distressed detailing

WOOD PALLET PLAQUE BLANK -10x10 Inch Unfinished Wood Ready to Decorate and Personalize - For DIY , Gifts & Crafts

Premium Unfinished Wood Material – 12x12x0.25 inches (about the size of a scrapbook paper and as thick as a pencil) - Made from smooth, laser-scored unfinished wood, each quilt block panel arrives ready to paint, stain, or customize for your next creative project.
TL;DR Summary
Editor’s Choice

Apple Barrel, Vibrant Spectrum Collection Acrylic Craft Paint, Promoabii…


Personalized Chicken Coop Signs, Outdoor Chicken Coop Decor, Vintage Far…
Prerequisites/Materials Needed
- Wood board (1×6 inch, 1-2 feet long)
- Sandpaper (medium and fine grit)
- Paint or wood stain (color of your choice)
- Paintbrushes (various sizes)
- Lettering (vinyl or paint pen)
- Clear sealant (optional, for protection)
- Ruler
- Pencil
- Cloth (for dust removal)
Recommended Products

CONVENIENT SIZE - This Apple Barrel Acrylic Paint comes in a versatile 8 oz size that is great for basecoating, stenciling, and so much more


CONVENIENT SIZE - This Apple Barrel Acrylic Paint comes in a versatile 2 oz size that is great for basecoating, stenciling, and so much more
Prerequisites/Materials Needed
Editor’s Choice

Professional Artist Paint Brush Set of 12 – Painting Brushes Kit for Kid…
Skill Level & Time Estimate
Skill Level: beginner
Total Time Estimate: 2-3 hours
Breakdown of time:
– Gather materials: 15 minutes
– Prepare wood: 30 minutes
– Design and paint: 1-2 hours
– Add lettering and seal: 30 minutes
Recommended Products

【Quality Material and Safe Alphabet Stencils】: These painting DIY stencils are made of eco-friendly PET material, laser cutting, sturdy for you to use, and not easy to break. No sharp edges, safe for you.

☆ Complete Set of Welcome Signs: There are 11 pack large stencils in this stencil templates set, includes welcome to our home sign, welcome to our porch sign, and welcome to our patio sign with country style and unique design. Complete set of letter stencils for making vertical and horizontal porch signs, patio signs, garden entrance signs, front door decorations. They are designed to serve as reusable stencils, which can meet your needs to show personalized and unique creativity at all times.
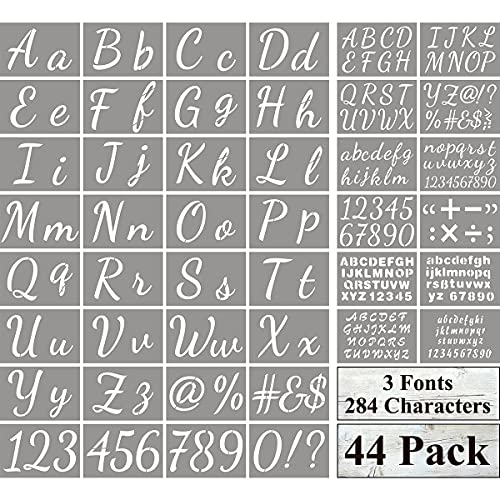
★ LARGE LETTER STENCILS: 44 pack large letter stencils for painting on wood, over 284 designs, 4 complete set of alphabets, includes uppercase letters, lowercase letters, numbers, and most common signs in 3 sizes. Three sizes to meet your needs for different objects. Size: stencil 8"x 5", uppercase letter and lowercase letter: large alphabet about 4" height and 2" height; medium alphabet about 2" height and 1" height; two small alphabets about 0.8" height and 0.6" height.
Skill Level & Time Estimate
Editor’s Choice

Shuttle Art Acrylic Paint, 36 Colors Acrylic Paint Set with Brushes & Pa…

Welcome Stencils for Painting on Wood – 11 Pack Large Vertical Welcome S…

48 PCS Unfinished Rectangle Hanging Signs, 8.8 x 5.7 Inch Wood Slices, B…
Step 1: Gather Your Materials
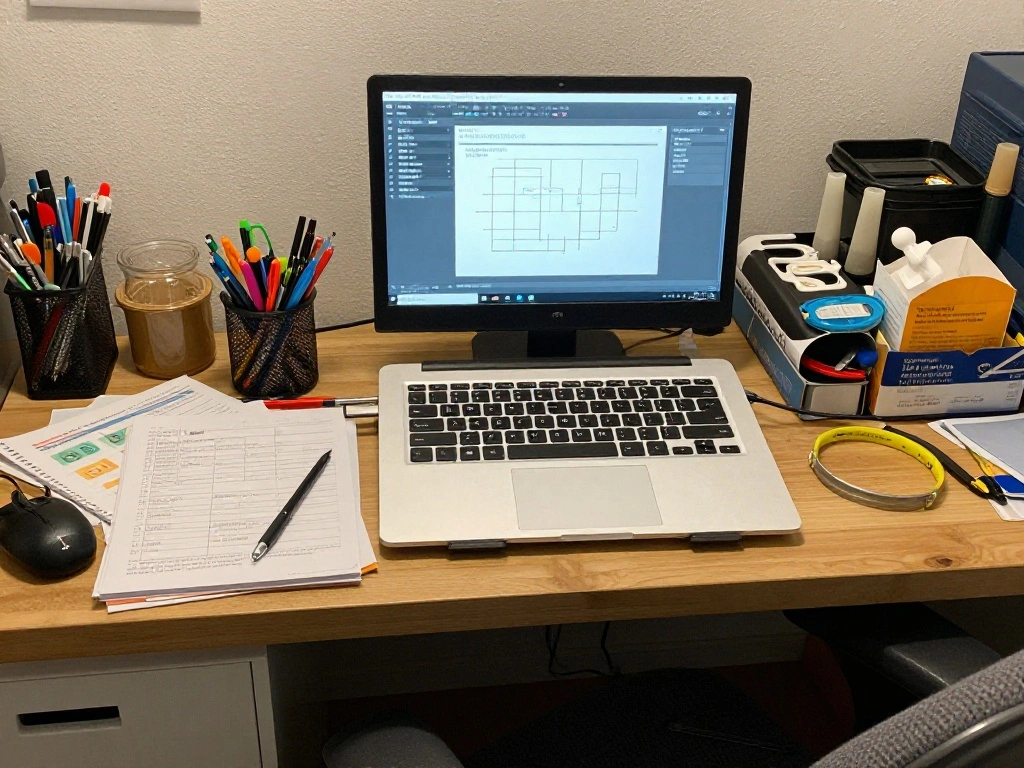
Before starting your project, gather all the necessary materials. This step is crucial for ensuring a smooth crafting experience. Follow these sub-steps:
1. Go to your workspace and lay out all materials.
2. Make sure you have the correct type of wood (1×6 inch board) and that it is cut to the desired length (1-2 feet).
3. Check that you have the paint or stain color you want.
Pro Tip: Organizing your workspace can save you time and frustration later on.
Warning: Avoid using wood that has visible cracks or knots, as these may affect your sign’s durability and appearance.
Why this matters: Having everything ready will help you focus on the crafting process without interruptions.
Time estimate: 15 minutes
Recommended Products
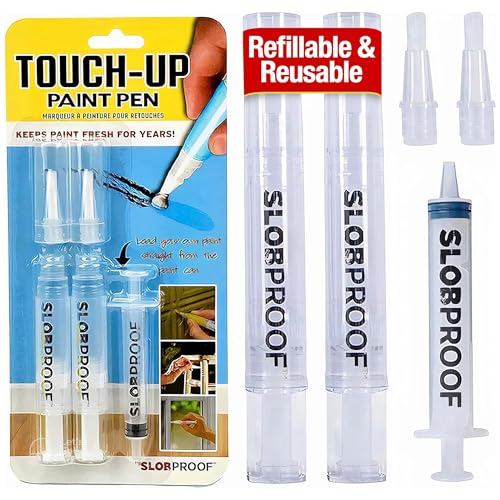
REUSABLE, REFILLABLE PAINT PEN: The Slobproof Refillable Touch-up Paint Pen lets you load your own latex wall paint for accurate color matching. The reusable, easy-to-fill design makes refilling fast, clean, and convenient—no paint roller or brush needed.

【Black 3pcs +White 3pcs】 Black white acrylic paint pen is made of Water-Based acrylic ink and 0.7mm fine tip. Acrylic paint marker has quick-drying, waterproof, fade-resistant. Complies with ASTM D-4236 and EN71-3, MSDS certification. can leave a permanent mark on the desired surface

【Oil Based Paint Markers】These graffiti markers are waterproof after dry. You don't need to bake or seal after finishing your craft work. You can use alcohol to erase the paint you want to modify. Permanent paint markers for plastic, glass, rock, fabric, metal, wood and craft painting.
Step 1: Gather Your Materials
Editor’s Choice
Apple Barrel, Vibrant Spectrum Collection Acrylic Craft Paint, Promoabii…

Deco 79 Wood Sign Home Wall Decor Chalkboard Wall Sculpture with Barn Do…

Soucolor Acrylic Paint Brushes Set, Easter Basket Stuffers, 20Pcs Round …
Step 2: Prepare the Wood
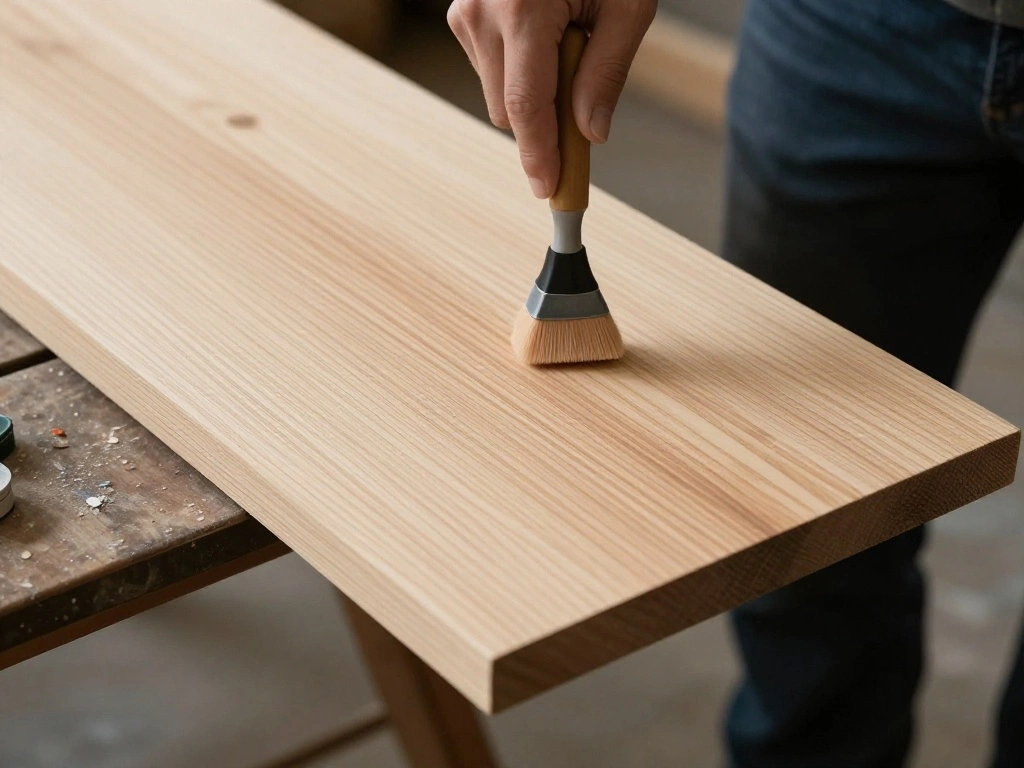
Preparing your wood is essential for a smooth finish. This step involves sanding and cleaning the surface. Follow these sub-steps:
1. Take your sandpaper and start with the medium grit to smooth out any rough edges.
2. Sand the entire surface of the wood until it feels smooth to the touch.
3. Switch to fine grit sandpaper for a final pass.
4. Wipe down the wood with a cloth to remove any dust.
Pro Tip: Sanding helps the paint or stain adhere better, resulting in a more professional look.
Warning: Always sand in the direction of the wood grain to avoid scratches.
Why this matters: Proper preparation ensures a clean surface for painting and a better final product.
Time estimate: 30 minutes
Recommended Products

Flexible joint filler, remains flexible over time
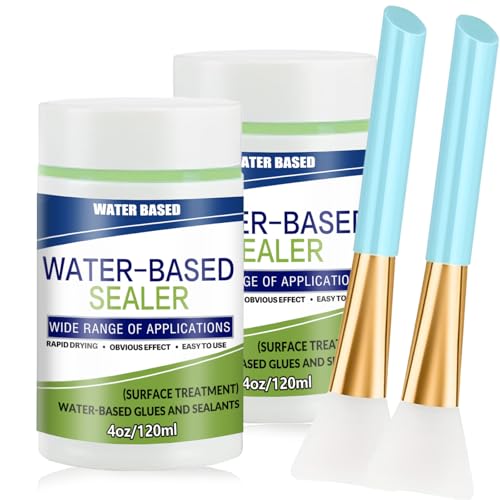
【Multi-Purpose Sealer & Adhesive】 This water-based sealer works perfectly as both a surface sealant and a glue. Ideal for DIY crafts, wood art, plastic models, paper projects, and various decorative applications.

EFFECTIVE WATERPROOFING FOR SMALL REPAIRS - YKF transparent waterproof sealant 12 oz is a water-based clear coating that cures into a dense protective membrane to help block water, air and moisture. Ideal for small leak repair, surface sealing and waterproof protection around roofs, walls, bathrooms, kitchens, sheds and outdoor areas.
Step 2: Prepare the Wood
Editor’s Choice

3M Sandpaper, 100 Grit, 5 Sheets, 9 in x 11 in, Sands Paint, Wood & Meta…

SKIL 5” Random Orbital Sander with Cyclonic Dust Box & 3pc Sanding She…

Fuller Brush 182 Specialty Suede Microfiber Cleaning Cloths – 3-Pack �…
Step 3: Design Your Layout
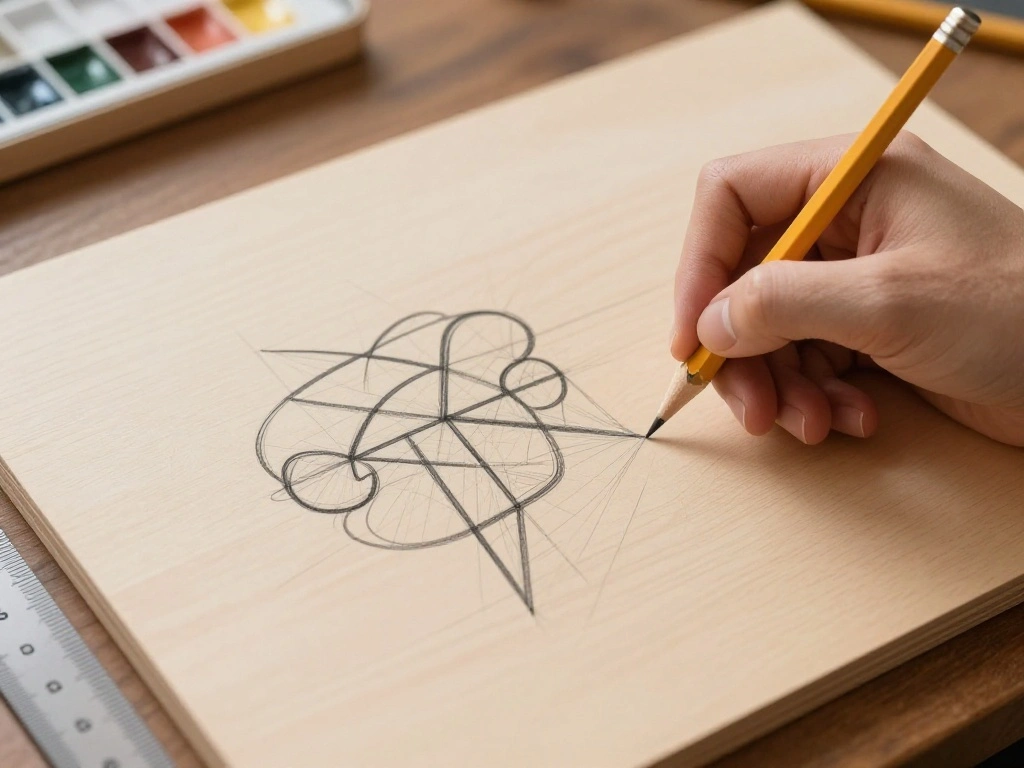
Now it’s time to design your sign’s layout. This step involves planning the text and any decorative elements. Follow these sub-steps:
1. Use a ruler to measure and mark where you want the text to go.
2. Sketch your design lightly with a pencil.
3. Decide on fonts and sizes for the lettering you want to use.
Pro Tip: Use a stencil or vinyl lettering for precision.
Warning: Double-check your spelling before proceeding!
Why this matters: A well-planned layout leads to a visually appealing sign.
Time estimate: 20 minutes
Recommended Products

FARMHOUSE THEMED DESIGNS: This set of decorative, reusable stencils for painting includes 15 large stencils, each measuring 11.8 x 5.9 inches (30 x 20 cm). Featuring popular themes such as "home", "family", "welcome", "together", "luck", "faith" and "home sweet home", these farmhouse family stencils will inspire your creativity and allow you to add a unique charm to your home decor. Impress your friends and family with your DIY skills with these versatile and inspiring designs

【Feature】Our interchangeable welcome sign diamond painting kits Consists of 1 red truck and 12 holiday icons, including spring, summer, fall, winter, Valentine's Day, St Patrick's Day, Easter, 4th of July, Thanksgiving Day, Halloween, Christmas and Farm Animals. This seasonal welcome sign diamond art kit allowing people to enjoy in changing the holiday signs for each season.

Premium Unfinished Wood Material – 15x15x0.25 inches (about the size of a throw pillow and as thick as a pencil) - Made from smooth, laser-scored unfinished wood, each quilt block panel arrives ready to paint, stain, or customize for your next creative project.
Step 3: Design Your Layout
Editor’s Choice


FINGERINSPIRE 4pcs Elegant Woman Painting Stencils with Brush 8.3×11.7in…
4 Pcs Cute Acrylic Rulers – 15cm Lovey Flowers Cartoon Straight Small Ce…
Step 4: Apply Paint or Stain
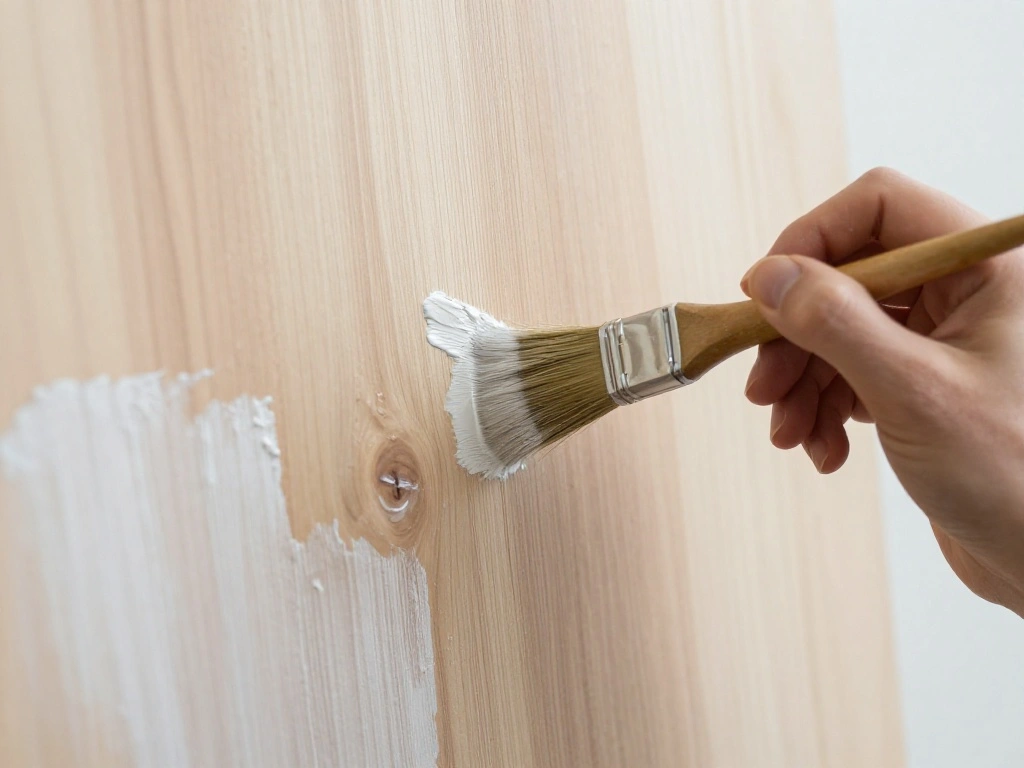
With your layout ready, it’s time to apply paint or stain to your wood sign. Follow these sub-steps:
1. Use a paintbrush to apply your chosen paint or stain evenly across the surface.
2. Allow the first coat to dry completely.
3. Apply a second coat if necessary for better coverage.
Pro Tip: Use a foam brush for a smoother finish when applying paint.
Warning: Ensure you work in a well-ventilated area when using paint or stain.
Why this matters: Applying quality paint or stain ensures a beautiful look and protects the wood.
Time estimate: 1 hour
Recommended Products

Jumbo Permanent Markers Yellow Set: BIGTHUMB jumbo yellow markers are made with the highest-quality non-toxic, acid-free, no odor, no-leakage water-based acrylic ink that is waterproof, quick dry, long-lasting, and smooth ink flow. Each fat permanent marker conforms to ASTM d-4236 and EN-71 safety standards.

CONVENIENT SIZE - This Apple Barrel Acrylic Paint comes in a versatile 8 oz size that is great for basecoating, stenciling, and so much more

Step 4: Apply Paint or Stain
Editor’s Choice

24 Pcs Foam Paint Brushes, Wood Handle Sponge Brushes for Painting, Stai…

15Pcs Paint Brushes Value Pack, Includes 15 Different Types of Brushes, …

Varathane Premium Fast Dry Wood Stain | 1 Hour Dry Time | 1 Coat Color |…
Step 5: Add Lettering
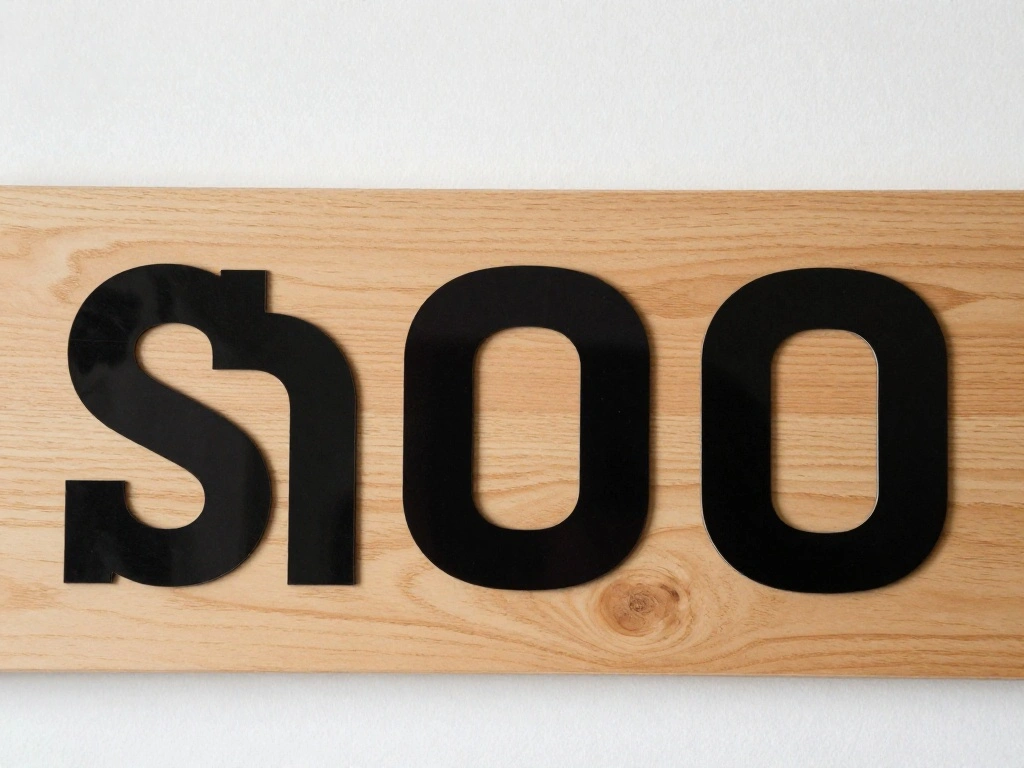
Now it’s time to bring your design to life by adding lettering. Follow these sub-steps:
1. If using vinyl letters, carefully place them according to your layout.
2. If painting, use a fine brush or paint pen to fill in the letters.
3. Allow the lettering to dry completely.
Pro Tip: For a rustic look, use a distressed font.
Warning: Avoid smudging the paint by letting it dry fully before touching.
Why this matters: Clear and accurate lettering is essential for conveying your message effectively.
Time estimate: 30 minutes
Recommended Products

【Package Includes】: You will receive 65 pieces painting stencils totally, including 26 uppercase letters, 10 numbers, 26 lowercase letters, 4 styles symbol stencils. These will give you endless possibilities of customized words to create any DIY art projects as you like. More than that, all the characters have a stylish, calligraphic, cursive, and very pleasant font. (Stencils Font size: 2 inch).
【Quality Material and Safe Alphabet Stencils】: These painting DIY stencils are made of eco-friendly PET material, laser cutting, sturdy for you to use, and not easy to break. No sharp edges, safe for you.

【Package Contents】You will receive 72 reusable painting stencils, 30% more than similar market products! Includes 2 sets of uppercase letters (A–Z, 26 pieces each) and 2 sets of number stencils (0–9). This rich combination enables you to easily create various DIY art projects. With 2 sets of letter and number craft stencils, to ensure your creativity knows no bounds.
Step 5: Add Lettering
Editor’s Choice

ARTISTRO 36 Acrylic Paint Markers – Paint Pens for Drawing – For Fabric,…

6Pcs Miniature Paint Brushes Set with Triangular Handles – for Acrylics,…

Step 6: Final Touches
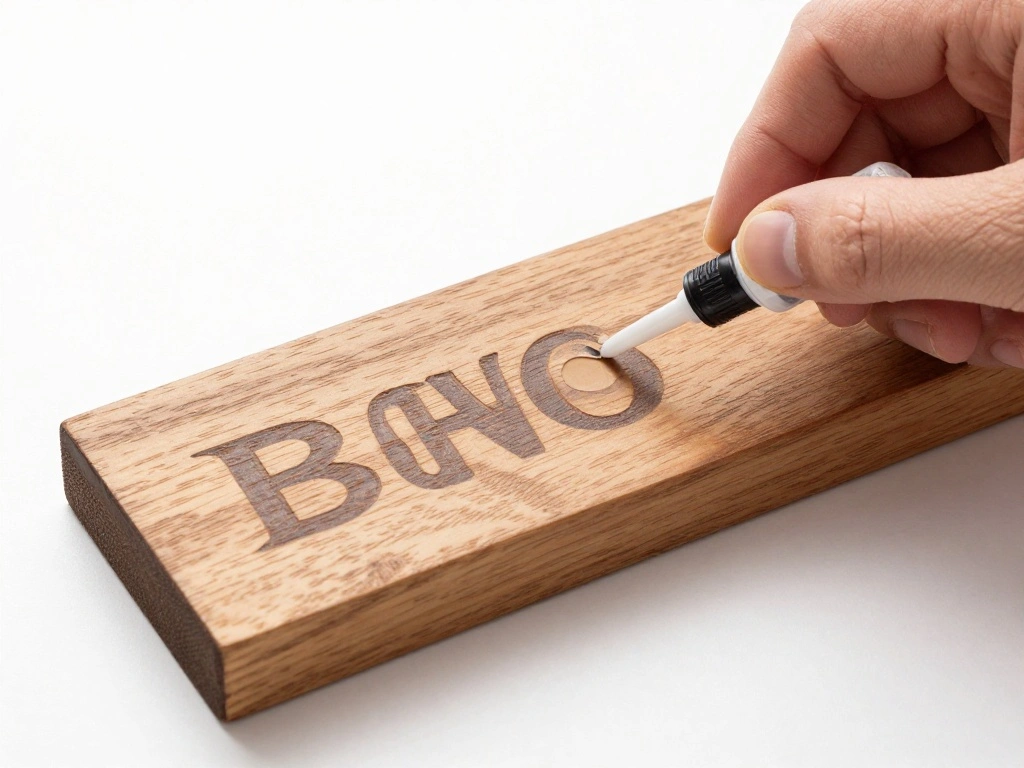
To complete your farmhouse wood sign, add any final touches. Follow these sub-steps:
1. Inspect your sign for any areas that may need touch-ups.
2. If desired, apply a clear sealant to protect the paint or stain.
3. Allow the sign to cure for at least 24 hours before hanging.
Pro Tip: Choose a sealant that is suitable for indoor or outdoor use, depending on where you will display the sign.
Warning: Ensure the sealant is completely dry before handling.
Why this matters: Final touches enhance the durability and appearance of your sign.
Time estimate: 30 minutes
Recommended Products

Vibrant and Versatile Colors: Our Permanent Paint Marker Pens offer an extensive range of bright and vivid colors, ensuring your artistic creations truly pop and come to life. Whether you're working on rock painting, metal marking, wood engraving, or fabric art, our markers provide a stunning color palette to fuel your imagination.

【DURABLE JUMBO TIP】Bunnyclover Jumbo Paint Markers are made with the highest quality acid-free permanent water-based acrylic ink. The 15mm Jumbo felt nib material is with high quality.

3 White & 3 Black Acrylic Markers: The package includes 3 white + 3 black paint markers. Each pen features a flexible brush tip that can draw lines ranging from 1 to 7mm in thickness. Whether it's adding details or coloring large areas, it can meet your needs.
Step 6: Final Touches
Editor’s Choice

3M Sandpaper, 220 Grit, 5 Sheets, 9 in x 11 in, Sands Paint, Wood & Meta…

Olympic WaterGuard 11 oz. Clear Exterior Waterproofing Wood Sealer Spray
Step 7: Hang Your Sign
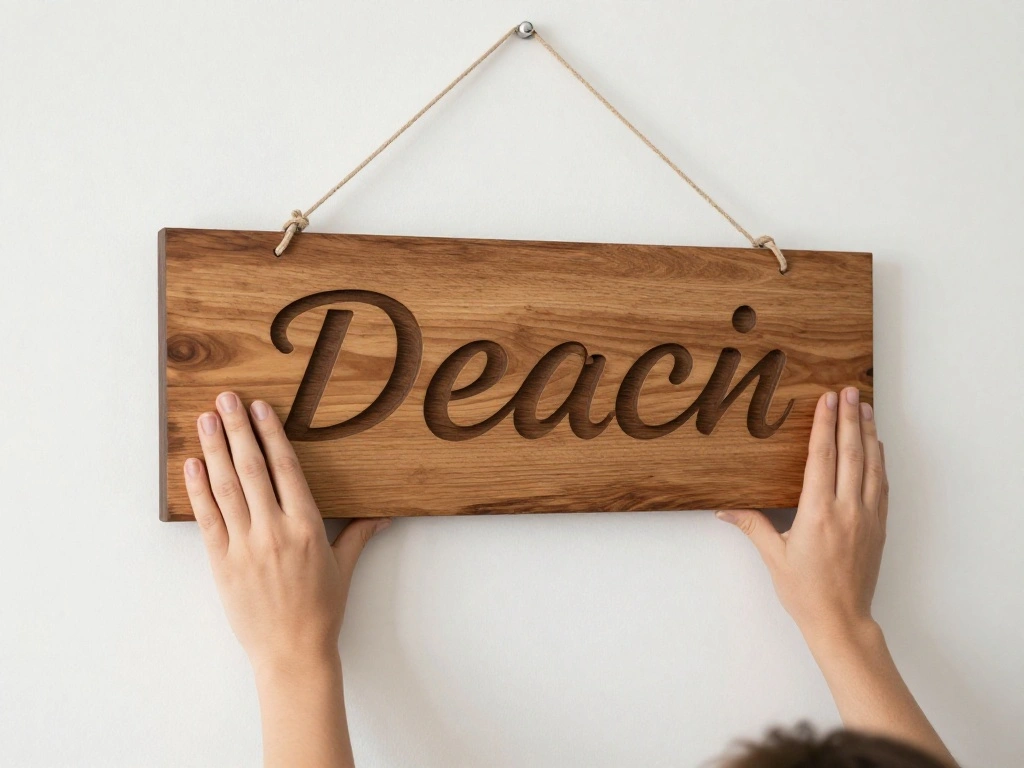
Your farmhouse wood sign is now ready to be displayed! Follow these sub-steps to hang it up:
1. Choose the location for your sign and ensure the wall is clean.
2. Use a level to mark where you want to hang the sign.
3. Use a hammer or drill to secure the hanging hardware.
Pro Tip: Use wall anchors for heavier signs to ensure stability.
Warning: Make sure the sign is securely attached to avoid falling.
Why this matters: Properly hanging your sign ensures it stays in place and looks great.
Time estimate: 20 minutes
Recommended Products

Clear Finish, No White Residue | Water-based transparent sealant dries clear to help protect treated surfaces while keeping the original color and texture visible. Designed for wood, concrete, masonry, brick, stone, tile and grout.
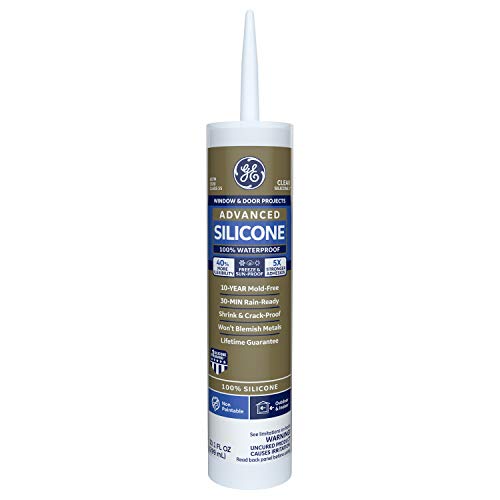
100% WEATHERPROOF: This 100% silicone formula offers excellent protection from
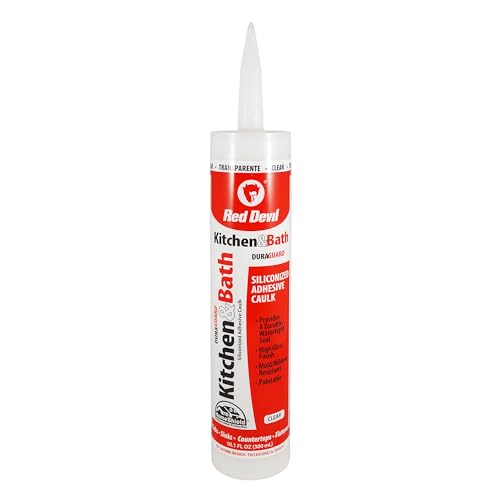
PROVIDES A DURABLE & WATERTIGHT SEAL: Offers good discoloration resistance
Step 7: Hang Your Sign
Editor’s Choice

9” Magnetic Torpedo Pink Level – High-Visibility Pink Finish, 3 Bubb…

CrimsonMark 120Pcs #8 Self Drilling Drywall Anchors and Screws kit #8 x …

WORKPRO 16 oz Claw Hammer with Fiberglass Handle, All Purpose Hammer wit…
Step 8: Enjoy Your Creation
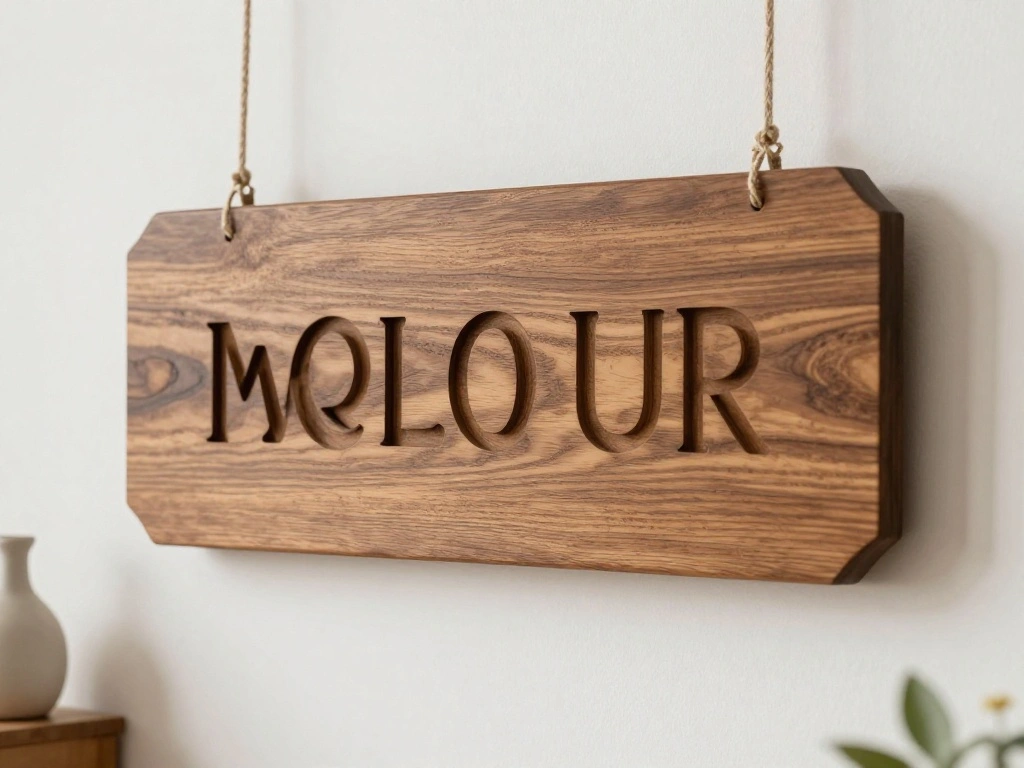
Step back and admire your handiwork! Enjoy the satisfaction of having created a beautiful farmhouse wood sign. Follow these sub-steps to appreciate your work:
1. Take a moment to appreciate the design and effort you put in.
2. Share your creation with friends and family or on social media.
3. Consider making more signs as gifts or for different rooms in your home.
Pro Tip: Document your process with photos to inspire others!
Warning: Avoid placing your sign in direct sunlight if it’s painted, as this can fade colors.
Why this matters: Celebrating your work motivates you to take on more DIY projects!
Time estimate: 10 minutes
Step 8: Enjoy Your Creation
Editor’s Choice

Pro Grade – Chip Brush – Paint Brush Set – 24 Pack – Natural China B…

Primitives by Kathy 30365 Inspired Box Sign, Rustic Farmhouse
Apple Barrel, Vibrant Spectrum Collection Acrylic Craft Paint, Promoabii…
Step 9: Clean Up Your Workspace

After finishing your project, it’s important to clean up your workspace. Follow these sub-steps:
1. Gather and dispose of any waste materials, like paint containers.
2. Wipe down surfaces and tools used during the project.
3. Store leftover materials for future projects.
Pro Tip: Keeping your workspace organized will make future projects easier and more enjoyable.
Warning: Don’t leave sharp tools or materials out, as this can pose a safety hazard.
Why this matters: Maintaining a clean workspace promotes safety and efficiency.
Time estimate: 15 minutes
Step 9: Clean Up Your Workspace
Editor’s Choice

Tub O’ Towels Heavy-Duty Multi-Surface Cleaning Wipes – Extra-Large 10…

Vtopmart 6 Qt Plastic Storage Bins with Lids, Clear Sensory Bins, Arts C…

Hefty Strong 30 Gallon Trash Bags, Large Trash Bags 30 Gallon Size, Dura…
Step 10: Share Your Experience
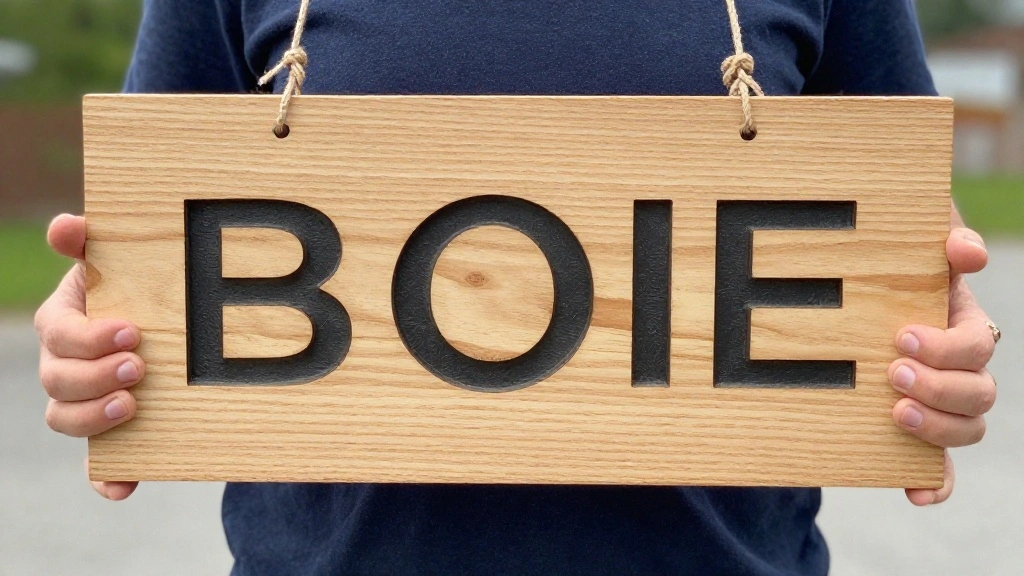
Now that you’ve completed your farmhouse wood sign, consider sharing your experience with others. Follow these sub-steps:
1. Share pictures of your finished sign on social media.
2. Write a blog post or comment on forums about your process.
3. Encourage others to try making their own signs.
Pro Tip: Engaging with a DIY community can provide support and inspiration for future projects.
Warning: Be cautious about sharing personal information when posting online.
Why this matters: Sharing your journey can inspire others and create a sense of community.
Time estimate: 20 minutes
Step 10: Share Your Experience
Editor’s Choice
ArtSkills Wood Burning Tool Kit – 55 Piece Complete Woodburning Arts a…

Paterr 16 Set Pre Drawn Canvas Bags Set Paint and Sip Kit for Adults Pai…

FINGERINSPIRE 4PCS Modern Woman Painting Stencils with Paint Brush 7.9×7…
Pro Tips
- Choose Quality Materials: Invest in good quality wood and paint for a more professional finish.
- Practice Lettering: If you’re hand-painting letters, practice on scrap wood before applying it to your sign.
- Experiment with Distressing: For a rustic look, lightly sand the edges after painting.
- Use a Projector: To transfer intricate designs, use a projector to trace onto the wood.
- Plan Your Color Palette: Consider the colors in your space to ensure your sign complements your decor.
Pro Tips
Editor’s Choice

Caydo S1 LED Art Projector for Tracing, Enlarge Images 2.5X-11X up to 80…

Shuttle Art Acrylic Paint Set, 15 x 12ml Tubes Artist Quality Non Toxic …

10 Pieces 3.5×1.6×0.2 Inch Unfinished Wood Rectangle Board for Paintings…
Common Mistakes to Avoid
Warning: Not sanding the wood properly can lead to a rough finish. Always sand thoroughly before applying paint.
Warning: Skipping the sealant can result in fading or damage over time. Always seal your painted or stained wood.
Warning: Incorrectly spacing letters can make your sign look unprofessional. Measure carefully before applying.
Common Mistakes to Avoid
Editor’s Choice

Thompson’s WaterSeal Clear Wood Sealer, Clear, 1 Gallon

1/3, 1/2, 3/4, 1, 2 Inch Letter Stencils for Painting, 28 Pack Reusable …
SKIL 5” Random Orbital Sander with Cyclonic Dust Box & 3pc Sanding She…
Troubleshooting Section
Problem: Paint or stain is uneven.
Solution: Sand the uneven areas lightly and apply an additional coat.
Problem: Lettering is smudged.
Solution: Touch up with paint or replace vinyl letters.
Problem: The sign won’t hang straight.
Solution: Check the mounting hardware and adjust as necessary.
Troubleshooting Section
Editor’s Choice

Romeda 8-Pack Sanding Sponge, Four Grits Per Pack 60/80/120/220, Washabl…

KURUI Drywall Anchors Assortment Kit for Sheetrock Concrete Brick, 350Pc…

810 Piece 10 Sheet Letter Stickers – Self Adhesive Vinyl Waterproof Mail…
Variations/Alternative Methods
1. Wood Pallet Sign: Instead of a solid board, use reclaimed wood pallets for a rustic look.
2. Engraved Signs: For a more lasting option, consider engraving the letters into the wood using a rotary tool.
3. Framed Signs: Add a frame around your sign for a polished look; this can also help with hanging.
Variations/Alternative Methods
Editor’s Choice

Pionites Heavy Duty Slide-in Folding A Frame Sign Sidewalk Sign 24x 36 I…

4300-5/40 Rotary Tool Kit with LED Light – 5 Attachments & 40 Accessorie…

Pallet Board Co. – 20 Sq. Ft. Bundle of Reclaimed Pallet Boards – Nail U…
FAQs
What if I don’t have a saw?
You can ask your local hardware store to cut the wood for you.
How long should I let the paint dry?
Typically, allow at least 2 hours for paint to dry before applying a second coat.
Is it safe to use outdoor signs?
Yes, but ensure you use outdoor paint and sealant for protection against the elements.
FAQs
Editor’s Choice

Mod Podge Waterbase Sealer, Glue and Finish for Outdoor (8-Ounce), CS112…

Thompson’s WaterSeal Multi-Surface Waterproofer Stain, Clear, 1 Gallon

HURRICANE 4 Piece Wood Chisel Set for Woodworking. CR-V Steel Beveled Ed…
Conclusion
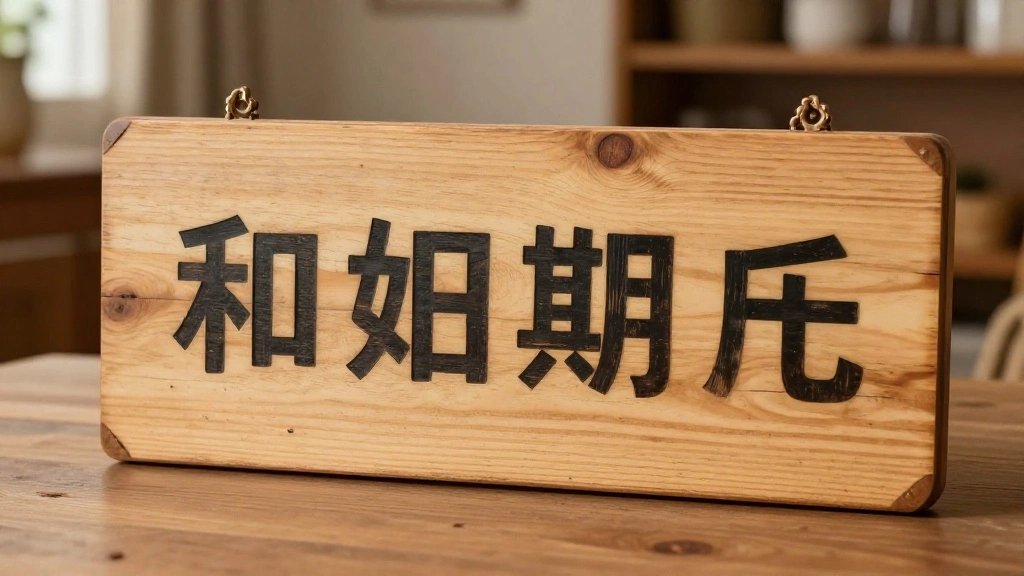
Congratulations! You’ve successfully created your very own farmhouse wood sign. This project not only enhances your home decor but also allows you to express your creativity. Now that you know the basics of woodworking and sign-making, consider trying other DIY projects. You can create personalized gifts for friends, family, or even seasonal decorations for your home.
Keep your newfound skills handy for future crafting adventures, and remember to share your creations and experiences with others. Happy crafting!